by Danielle Leavitt ’17

Sometimes traditional Thanksgiving desserts need a pick me up. Move over pumpkin pie, apple pie, and pecan pie for this amazing frozen dessert that takes two minutes to make and can be just the thing missing from your Thanksgiving table. Fresh, natural, low calorie, and even sugar free if desired, this pie will leave your family and guests wanting you to make it all year long.

Ingredients:
1 8oz tub Cool Whip (any flavor or variety! Comes in regular, lite, sugar free, chocolate)
2 small containers of gluten free yogurt (Chobani, Dannon, Yoplait). Best if mixed with berries or other flavors to compliment the Cool Whip
1 Mi-Del brand gluten free graham cracker crust with lid. This can be found at Whole Foods, other specialty natural foods store, or purchased online.
Optional: add a cup each of extra berries (strawberries, blueberries, raspberries etc). Fresh or frozen both work.
Directions
1. In a medium size bowl mix together Cool Whip, both containers of yogurt and berries (if added) to a smooth consistency.

2. Pour entire mixture into the pre-made graham cracker crust. Cover with lid and place into the freezer for several hours or until frozen.

3. Slice and eat!

So simple, this delicious and creamy frozen treat has been at our Thanksgiving table for many years. A gluten free Thanksgiving cannot only be tasty, but a surprising welcome to some of the more traditional desserts!


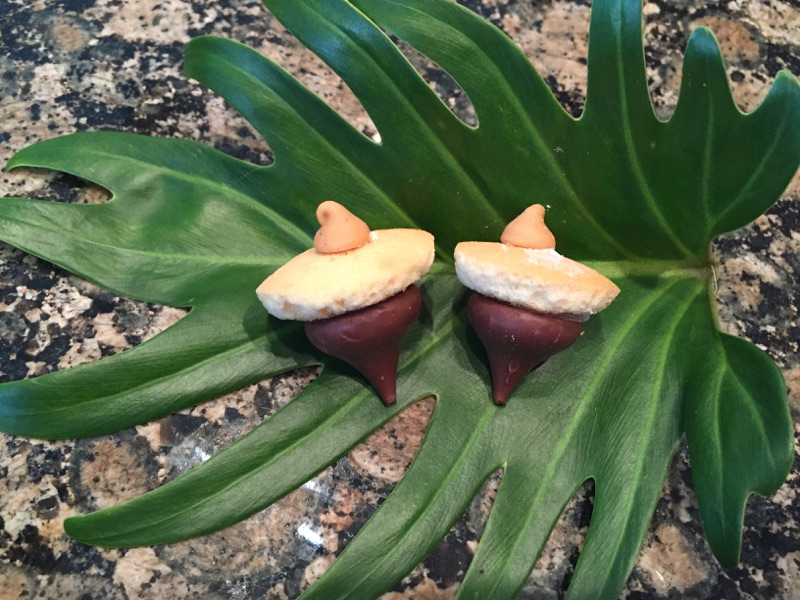

 2. Squeeze a small amount of icing onto the bottom of an unwrapped Hershey Kiss and place it onto the center of the cookie. Let sit for a few minutes to allow the icing to harden.
 This amazing acorn treat is a simple and tasty way to honor the squirrel and enjoy a great gluten free bite at the same time.


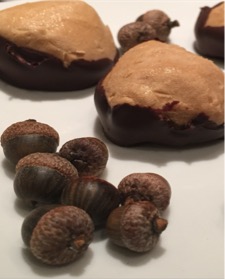

 The final product can be frozen for future outings or eaten right away. The combination of peanut butter and chocolate creates a creamy, nutty, and delectable bite. Fall treats can be easy to make, gluten free, and taste amazing!