Gluten-Free Peanut Butter Oreo Icebox Cake

by Danielle Leavitt

I’m getting my sweet tooth back after a winter of warm soups and comfort food. I’m craving something frozen, with whipped cream, cookies, and peanuts….like a hot fudge sundae! This Peanut Butter Oreo Icebox Cake takes the traditional hot fudge sundae to the next level. It is easy, NO BAKE, all gluten-free, and I promise you will enjoy it.  Have fun with this one! You can use many different toppings like peanuts, strawberries, M&M’s, chocolate chips, and caramel or hot fudge sauces.

Ingredients:

  • 1 16oz container Cool Whip or other nondairy whipped topping
  • 1 ½ cups peanut butter, crunchy or creamy (it is easiest to use a creamier based peanut butter for mixing and spreading purposes)
  • ¾ cup fudge sauce
  • ¼-1/3 cup crushed peanuts
  • 2 boxes gluten free Oreo cookies (I use Glutino brand)
  • 8 x 8 aluminum baking pan lined with non-stick tin foil

Preparation:

  1. Create four rows of Oreos along the bottom of the aluminum pan
  1. In a separate bowl, mix the Cool Whip and peanut butter until totally combined
  1. Spread ½ of the peanut butter mixture over the Oreo’s, then top with another layer of Oreo’s
  1. Drizzle ½ cup of the fudge sauce over top
  1. Spread on the remaining peanut butter mixture and drizzle on top the remaining fudge sauce
  1. Crumble all the remaining Oreo’s and sprinkle them, along with the peanuts or other toppings, over the top

7. Place in refrigerator 4-8 hours, or preferably in freezer for 3-4 hours

8. Slice and enjoy!

Spring has sprung, and it’s great to enjoy a gluten-free frozen treat that is so easy to make and tastes great!!!!!

oreo5

Plating Food in Annenberg

by Emily Brother ’19

Inspired by the instagram chef, Jacques La Merde, who mimicked the plating techniques of haute cuisine using junk food, I attempted to create my own gourmet-looking dishes using the food from Annenberg. Here are a few of the plates that I made:

  1. Vegetarian Frittata Garnished with Carrots, Greens, and Tabasco Sauce

IMG_4240

2. Sausage Links with Quinoa Raising & Black Bean Salad and Barbeque Sauce

IMG_4263

3. Vegetarian Chili with Lettuce, Green Pepper Sauce, and Dijon Mustard

IMG_4279

4. Pound Cake with Yogurt and Red Wine Vinaigrette

IMG_4296

5. Chicken Bake with Lima Beans and Ketchup

IMG_4305

6. Carrots, Cucumber, and Corn with Balsamic Vinegar

IMG_4327

  1. Granola and Yogurt with Peanut Butter and Strawberry Jelly

IMG_4338

8. Herb Roasted Chicken with Penne Pasta and Puttanesca Sauce
IMG_4358

Our Favorite Foods from the 2015 Boston Local Food Festival

DSC_0054
Cheese steak dumplings with pastrami, bacon, kimchi and swiss cheese from Koy, 16 North Street, Boston MA
Chicken and Biscuits from the Granary Tavern, 170 Milk St, Boston MA
DSC_0034
Strawberry smoothies in cantaloupes from Singh’s Roti
Banana cake pop from Tia's Cakes and Pastries, Boston MA
Banana cake pop from Tia’s Cakes and Pastries, Boston MA
Apple pie cake in a jar from Tia's Cakes and Pastries, Boston MA
Apple pie cake in a jar from Tia’s Cakes and Pastries, Boston MA
Chocolate caramel cake jars from Tia's Cakes and Pastries, Boston MA
Chocolate caramel cake jars from Tia’s Cakes and Pastries, Boston MA
DSC_0020
Steem caffeinated peanut butter…one tablespoon has the equivalent of one 7oz. cup of coffee! Available online at steempb.com
A spread of seafood from Big Rock Oysters, 501 Depot St, Harwich, MA
Blueberry shortcake vegan ice cream from FoMu, 128 Arlington Street, Arlington, MA

Three Cheers for Chocolate: Triple Chocolate Mousse Cake

By Victoria Piccione ’16

You can also follow Victoria’s baking adventures on her personal blog Sweet Dreams: Adventures in Baking

You know it’s going to be a good night when you walk into the dhall and find chocolate cream pie for dessert. There’s something about the light and creamy chocolate filling paired with the crumbly graham cracker crust that causes your stresses from the day to melt away. I know you know what I’m talking about because the excitement is audible as people first see the night’s dessert offering. There are proclamations of satisfaction. You just don’t get that with the lemon shortbread bars. Needless to say, my Saturday brunch was made when I saw that little mound of sugary heaven.

DSC_0438

But what if I told you that you could make something with not one but two layers of chocolate mousse? And rather than a disintegrating graham cracker crust that honestly could benefit from a little butter to hold it together, a layer of flourless chocolate cake serves as the base for these two-toned layers of chocolate decadence? Don’t get me wrong; I’ll be the first to admit to embarrassingly excessive excitement when HUDS spoils us with chocolate cream pie. But I’ve also tasted the magic of Cook’s Country Triple Chocolate Mousse Cake and experienced its transformative effect.

DSC_0472

The cake takes some effort: with three layers of different flavors and consistencies, there are a good number of steps to this recipe. But none are particularly challenging, and you can work on one layer while the other is baking or chilling. It’s almost like science class in sixth grade where you experiment with colored liquids of different densities that form a beautiful rainbow of layered liquids. Except the cake and mousses aren’t going to move through each other, so…

DSC_0439

Maybe the comparison doesn’t work, but the idea is there. The excitement is the same, the thrill of three distinct layers of different colors, the same. Except unlike middle school science class, it’s not water and rubbing alcohol and baby oil, so I can promise you it’ll be much more edible than any retro density-related science project. And for everyone who shares my sentiments that chocolate cream pie is HUDS gold, I promise you that this triple chocolate mousse cake will exceed even your sweetest dreams.

Ingredients:

Flourless Chocolate Cake (Bottom Layer)

6 Tbs. butter, cut into pieces

7 oz. bittersweet chocolate, chopped

¾ tsp. instant espresso powder

2 tsp. vanilla extract

4 eggs, separated

Pinch of salt

⅓ cup brown sugar

Dark Chocolate Mousse (Middle Layer)

2 Tbs. cocoa powder

5 Tbs. hot water

7 oz. bittersweet chocolate, chopped

1 ½ cups heavy cream

1 Tbs. granulated sugar

⅛ tsp. salt

White Chocolate Mousse (Top Layer)

¾ tsp. powdered gelatin

1 Tbs. water

6 oz. white chocolate chips

1 ½ cups heavy cream

Bottom Layer:

  1. Preheat oven to 325°F, and grease sides and bottom of 9” springform pan that’s at least 3 inches in height.
  2. In a double boiler, melt the butter, chocolate and espresso powder, stirring occasionally until smooth. Remove from heat and let cool for about 5 minutes, then whisk in the egg yolks and vanilla. Set aside.
  3. In a stand mixer with whisk attachment, beat the egg whites and salt at medium-high speed until frothy, about 30 seconds. Add half of the brown sugar, beating until combined. Add the remaining brown sugar and beat on high until soft peaks form, about 1 minute longer.
  4. Whisk one-third of the beaten egg whites into the chocolate mixture, then fold in the remaining whites with a rubber spatula until fully incorporated and no white streaks remain. Transfer batter to prepared springform pan, smoothing top.
  5. Bake in the preheated oven for about 12 – 18 minutes, or until the cake has risen, is firm around the edges and the center is set but still soft (center springs back when pressed gently with finger). Let cool completely, about 1 hour, leaving the cake in the pan.

Middle Layer:

  1. In a small bowl, whisk together the cocoa powder and hot water. Set aside.
  2. In a double boiler, melt the chocolate. Remove from the heat and cool for about 5 minutes.
  3. In a stand mixer with whisk attachment, whip the cream, granulated sugar and salt on medium speed until begins to thicken, about 30 seconds. Increase speed to high and whip until soft peaks form, about 30 – 60 seconds. This is easiest if the cream and bowl/whisk attachment are cold.
  4. Whisk the cocoa mixture into melted chocolate, then whisk in one-third of the whipped cream to lighten chocolate mixture. Fold in remaining whipped cream with rubber spatula until no streaks remain.
  5. Spoon mousse into springform pan over cooled cake, gently tapping pan on counter to remove air bubbles. Smooth top and refrigerate for at least 15 minutes as you prepare the white chocolate mousse.

Top Layer:

  1. In a small bowl, sprinkle gelatin over the water and let stand for at least 5 minutes.
  2. Place the white chocolate in a medium heatproof bowl, then bring ½ cup of heavy cream to simmer in small saucepan over medium heat. Remove from heat, add the gelatin mixture, and whisk until fully dissolved.
  3. Immediately pour the cream mixture over the white chocolate chips and let sit for about 1 minute. Whisk the mixture until the chocolate is melted and mixture is completely smooth. This may require some reheating in the microwave, but make sure to temper the chocolate by using only short intervals. Let cool to room temperature, stirring occasionally; the mixture will thicken somewhat.
  4. In a stand mixer with whisk attachment, whip remaining cup of cream on medium speed until it begins to thicken, then increase speed and whip until soft peaks form, about 30 – 60 additional seconds.
  5. Whisk one-third of whipped cream into white chocolate mixture, then fold in remaining whipped cream with rubber spatula until no streaks remain.
  6. Spoon white chocolate mousse into pan over dark chocolate mousse layer, smoothing top. Let chill in refrigerator until set, at least 2 ½ hours.
  7. Remove the cake from fridge and let sit at room temperature for 45 minutes before releasing from springform pan. Dust top with shaved chocolate or cocoa. Before releasing from pan, run a thin knife around sides of cake. For clean, picture-perfect slices, dip sharp knife in hot water and pat dry between cuts.
  8. Enjoy, knowing you’ve exceeded even the best that HUDS had to offer!

DSC_0486

Recipe adapted from Cook’s Illustrated.

DIY Ice Cream Cake

By Caroline Gentile ’17

My go-to birthday present for my friends is food.  More specifically, I like to give people ice cream cake.  To me, there is no better food combination than ice cream and cake!  While JP Licks offers delicious ice cream cakes, they tend to be on the more expensive side.  Behold, a recipe for an ice cream cake for which the ingredients can all be purchased at CVS and that can be made in your very own dorm room!

You’ll need:

2 boxes of vanilla ice cream sandwiches (12 bars)

Cool whip

Oreos

Any cookie of your choice (I use Chips Ahoy)

Hershey’s chocolate sauce

A plate that will fit in your sad little dorm room freezer

A knife


Assembly:

Lay three ice cream bars next to each other on the plate. Using your knife, spread a nice, thick layer of Cool Whip over all three of the bars.  The Cool Whip may be a bit hard to spread, so let it sit out at room temperature for 10-15 minutes until it becomes more spreadable. Then, on top of the cool whip, layer crumbles of Oreos and/or other cookies of your choice.

Now, for the next layer: three more ice cream bars on top of the Cool Whip/cookie crumbles.  Then another layer of Cool Whip and cookie crumbles. Repeat with three more ice cream bars. Your cake should have three layers, with 9 ice cream bars.  You can attempt to make a four layer cake, but this is very ambitious, and such cakes tend not to fit in the typical, Harvard-approved freezers.

Once you have assembled all of your layers, cover the whole cake in Cool Whip.  On top of the cake, decorate with cookies and drizzle with chocolate sauce.  Enjoy!!

Golden Bars of Heaven: Pumpkin Streusel Snack Cake

by Victoria Piccione

These days, one is considered “basic” if she (or he) admits to being pumpkin-obsessed. But I would argue that there is nothing basic about pumpkin. If anything, it’s one of the season’s richest flavors. It has an earthy warmth that’s just begging to be paired with chocolate. It adds spice to one’s life and eases the cruel transition out of Daylight Savings Time. And this snack cake or, more fittingly, golden bars of heaven are certainly not basic.

DSC_0153

Last year, I made pumpkin bread nearly every three weeks, starting in October and ending in April, not because it was finally no longer winter but because I’d run out of canned pumpkin. I consider this pumpkin bread pretty much unbeatable: it’s the perfect breakfast, perfect afternoon snack, perfect dessert, perfect bedtime treat, and perfect post-exam pity food. But as someone who regularly and genuinely laments that there are far, far more recipes that exist than I can possibly try in a lifetime, I’m always aware of the need to explore new options, and an email from one of my favorite blogs instructed me on exactly where I ought to go adventuring.

When an email titled “Pumpkin Chocolate Chip Streusel Cake” arrives in your inbox, full of mouthwatering, tantalizing photos, you don’t just let it pass. You don’t simply archive it and let it disappear into the depths of cyberspace. You struggle not to lose your head until you try your hand at creating it yourself. Or at least I do. I couldn’t wait. It had started to invade my dreams.
These bars are dense. They are rich. And they are moist. They’re perfectly studded with chocolate chips, and the spices are subtle but balanced. I had some salted caramel sauce on hand from these divine apple crumb bars, so naturally I couldn’t resist adding some to the pumpkin. And inspired by the pumpkin bread that I can never get off my mind, I threw in a handful of butterscotch chips, for they bring pumpkin to the next level, in some inexplicable way.

DSC_0142

There’s nothing particularly fancy about the cake. It’s simple, and it’s easy to whip together. While I’d still have no shame in eating a piece for breakfast, there’s definitely something about the cake that’s distinctly more dessert-like. Pumpkin pie can be polarizing – it’s sort of a love-it-or-hate-it food – but these bars fall entirely on the love-it end of the spectrum.

Pumpkin Chocolate Chip Streusel Cake

Adapted from Two Peas and Their Pod

For the cake:

2 cups flour

2 tsp. cinnamon

½ tsp. ground nutmeg

1 tsp. baking soda

¾ tsp. salt

1 cup (2 sticks) unsalted butter, room temp.

¾ granulated sugar

¾ cup brown sugar

1 egg

1 Tbs. vanilla extract

1 cup pumpkin puree*

1 cup chocolate chips

⅓ cup butterscotch chips

For the streusel:

⅔ cup flour

½ cup brown sugar

½ tsp. cinnamon

6 Tbs. cold unsalted butter, cut into small pieces

½ cup chocolate chips

Optional: salted caramel sauce

*When I first made this recipe, I didn’t realize it called for 1 cup of pumpkin puree rather than 1 can of pumpkin puree. The bars were still delicious (though a bit wet), but could’ve used some more spice. For a more cake-y consistency, stick to the 1 cup of pumpkin puree. I think that 1 can (which is nearly 2 cups) makes for a tasty, moist bar if you just add a dash more of cinnamon and nutmeg.

1) Preheat oven to 350°F, and butter and grease a 9” x 13” cake pan.

2) In a small bowl, whisk together the flour, cinnamon, nutmeg, baking soda and salt. Set aside.

3) In a large bowl, using an electric mixer, cream together the butter and sugars. Beat in the egg and vanilla until combined. Add the pumpkin puree, reduce the speed to low and gradually add the flour mixture until just combined. Fold in the chocolate chips. Evenly spread the batter in the prepared pan.

4) Pour about a half-cup of salted caramel sauce over the batter, swirling it into the batter. Smooth over with a rubber spatula.

5) For the streusel, combine the flour, brown sugar, and cinnamon in a medium bowl. Using your fingertips or a fork, add the butter, working it into the dry ingredients until the mixture is crumbly. Sprinkle the streusel over the top of the cake, then top with chocolate chips and drizzle with salted caramel sauce.

6) Bake in the preheated oven for about 35-40 minutes or until the sides pull away from the pan and a toothpick comes out clean – there may be some streaks of melted chocolate. Let cool completely on a wire rack. Enjoy – serving with an additional drizzle of salted caramel sauce to be extra indulgent!

DSC_0152

Faneuil Hall: A Food Lover’s Paradise

Orlea Miller ‘16

Because this is my third year living in Cambridge, I like to consider myself a Faneuil Hall expert. Every time I have a visitor at school, Faneuil Hall is one of our first stops on the trip: it is a place I know will always deliver the perfect taste of Boston, in more ways than one.

Faneuil Hall gives tourists the chance to try just about every cuisine (local and beyond) while also serving as the perfect haven for all the foodies out there.

I’ve heard of a few unfortunate Faneuil Hall experiences, typically involving a friend walking into the marketplace hungry, and selecting the first option they encounter. They then saunter through the rest of the food booths, barely able to walk as they regret their cursory decision to buy the first bagel pizza or Chinese dish they smelled. As they pass Boston Chowda, Pizzeria Regina, or the cannoli and cake slices from the North End Bakery, they cannot believe all of the opportunities they missed in their ravenous haste. When it comes to Faneuil Hall, this is biggest mistake you can make.

Foreseeing this problem, I typically advise my guests beforehand to be patient. Walk up and down, survey every Faneuil Hall food booth carefully before selecting anything; share two to four entrees with the rest of your party, so you can enjoy all that the marketplace has to offer. Most importantly, stop when you feel the slightest bit full so you can take advantage of the cakes, pastries, caramel apples, and gelato that you’ll have to choose at the end of the outing.

On my most recent visit, my aunt and I arrived on Friday afternoon around 2:30 p.m. Though I was admittedly starving, there were a few people and plenty of space to walk, so I was able to show her all that Faneuil Hall without feeling overwhelmed by the tourists that saturate the central aisle during lunchtime, and especially on the weekends.

Upon entering the Hall, we were greeted with sweet and savory choices at the booths displaying their fall offerings. First up, we eyed Sprinkles Ice Cream and Fudge Shop, showcasing its traditional fudge flavors alongside seasonal favorites.

2

As we moved two inches further, we smelled Boston Pretzel Bakery’s oven. As if the plain, salted, cinnamon sugar, a
nd Parmesan options weren’t enough, this pretzel shop was advertising its Boston Pretzel (pictured right): a mix of salt and sesame shaped like a “B”. As we neared the counter, the owner offered us a sample of her signature pretzel, which we immediately agreed was tastier than any pretzel we’d ever tried. The Boston pretzel wasn’t too salted or under flavored; it was the perfect combination of crispy and doughy. The owner also made sure to share that it was even all-natural!

3

3.5

Like I said, Faneuil Hall has something for everyone, even the meat-lovers out there! The next popular booth appeared to be the Prime Shoppe, serving up your traditional barbeque fare such as turkey, ribs, mashed potatoes, and corn.

4

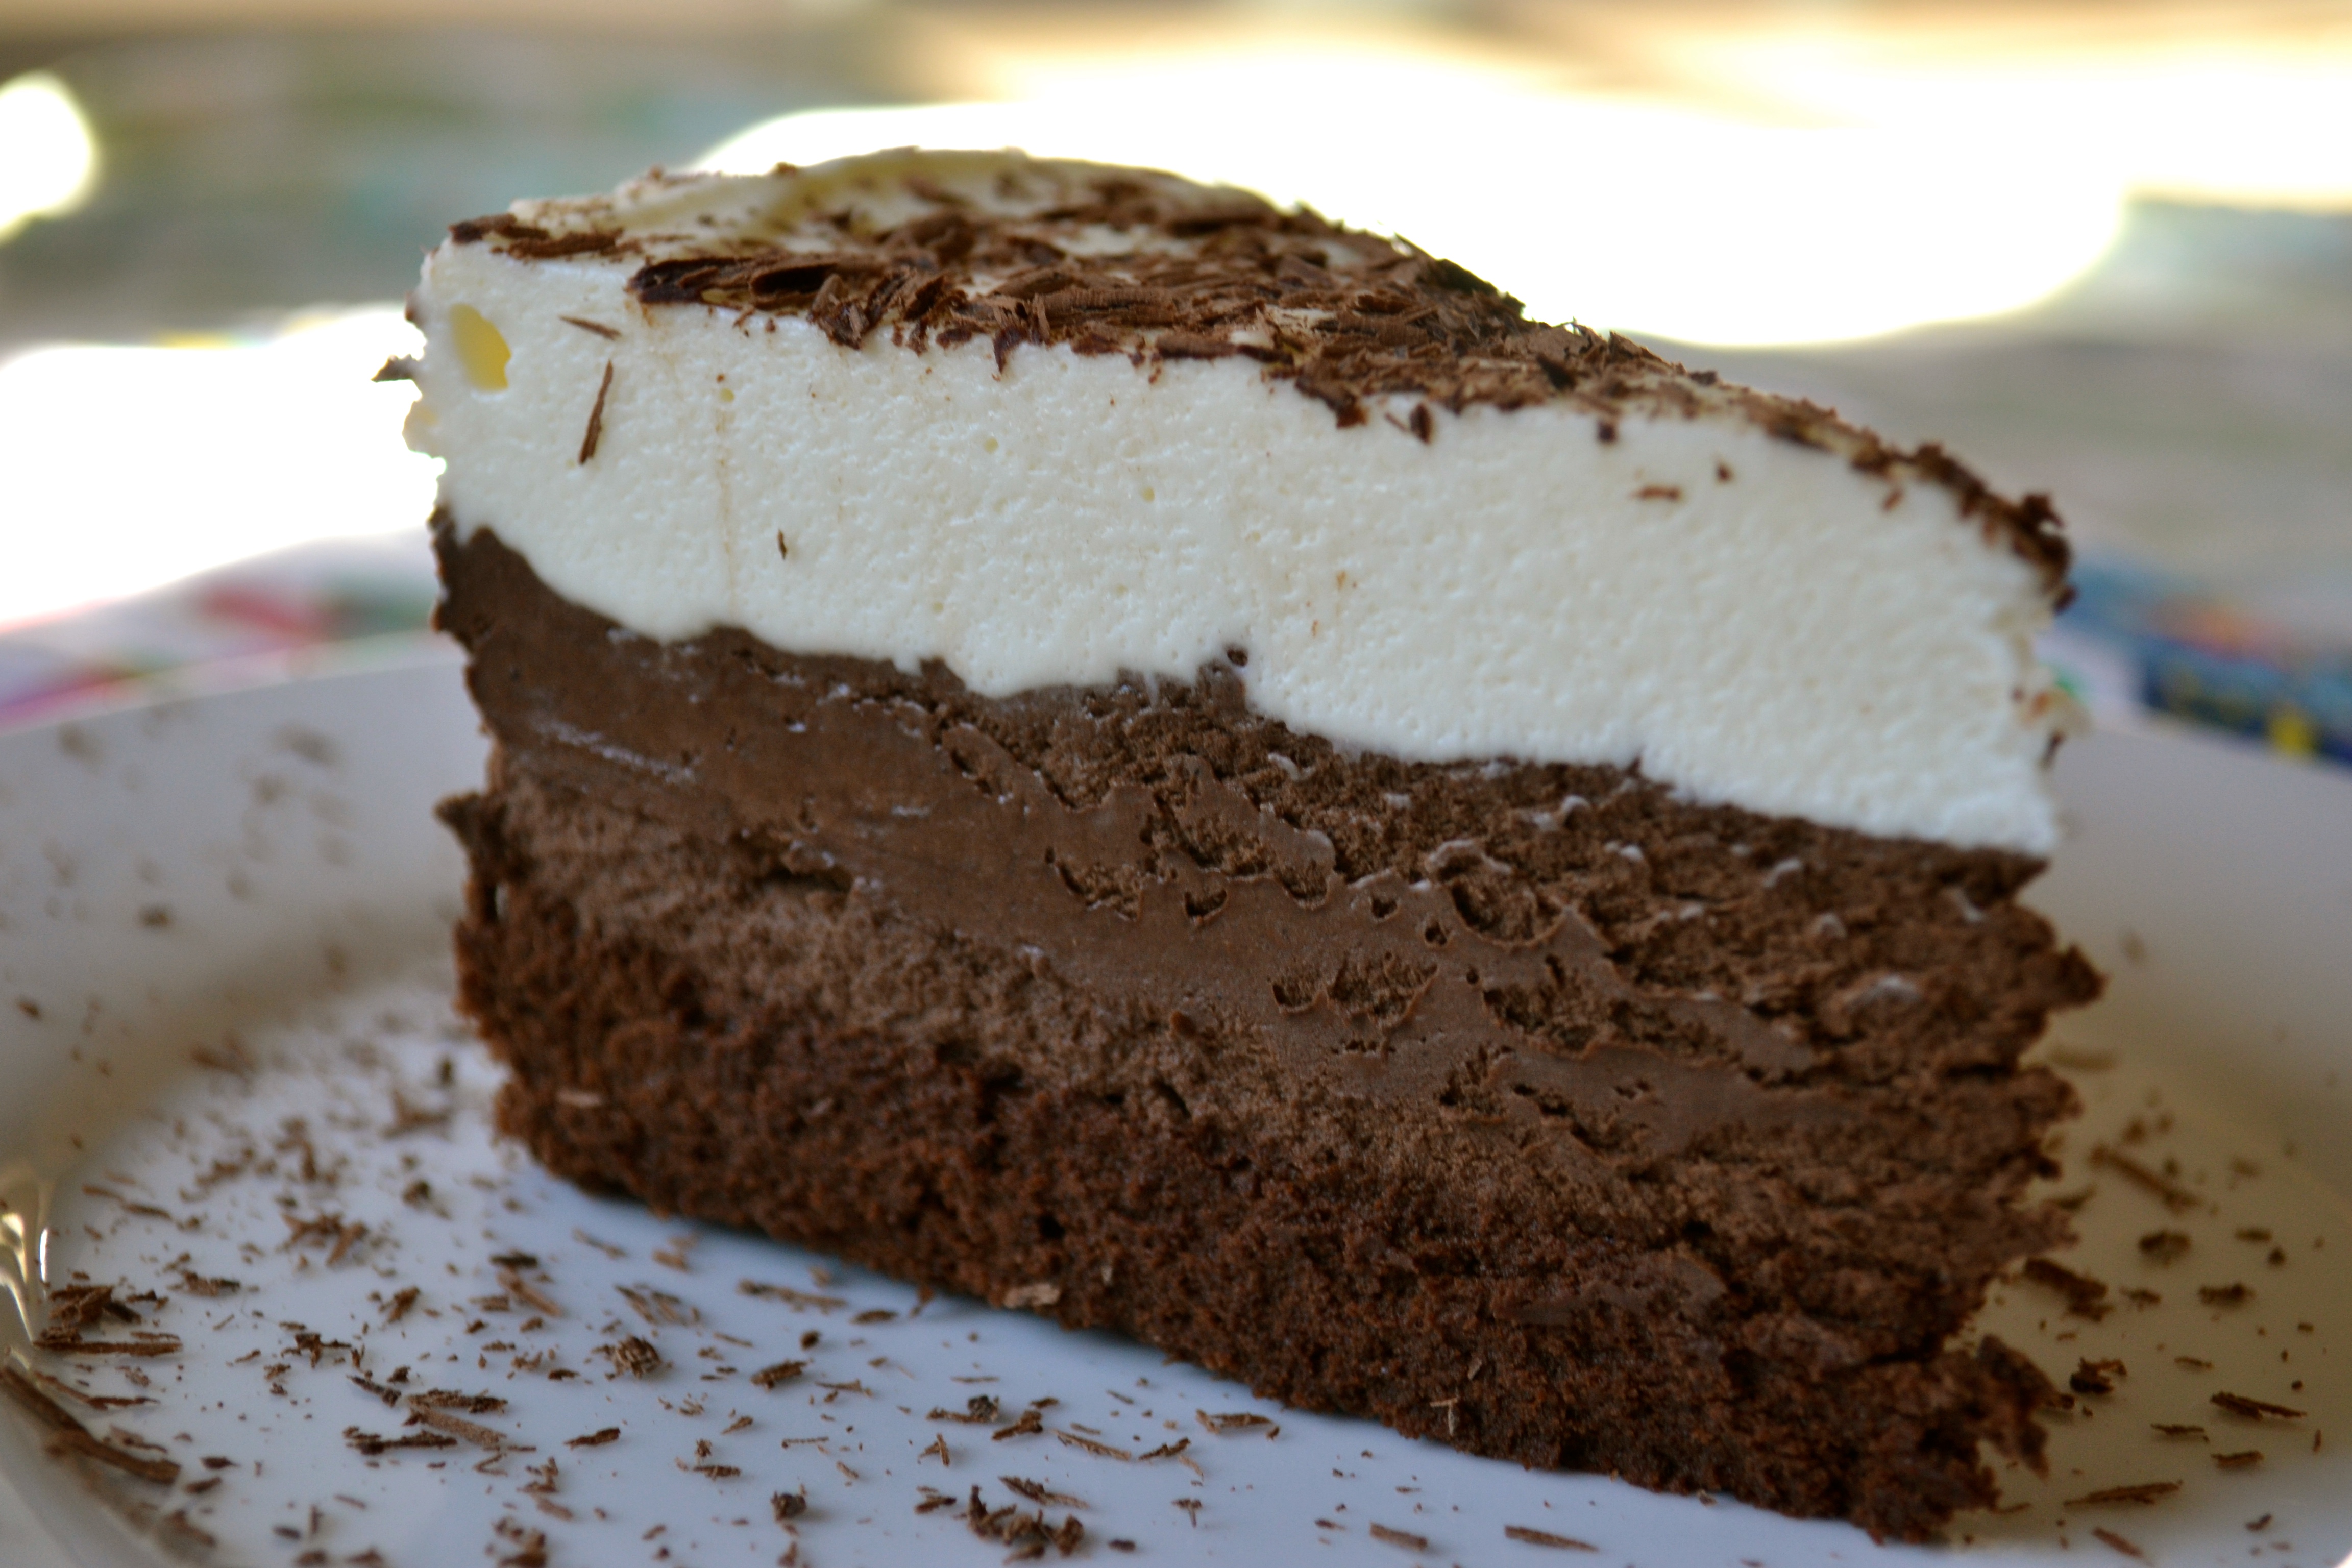
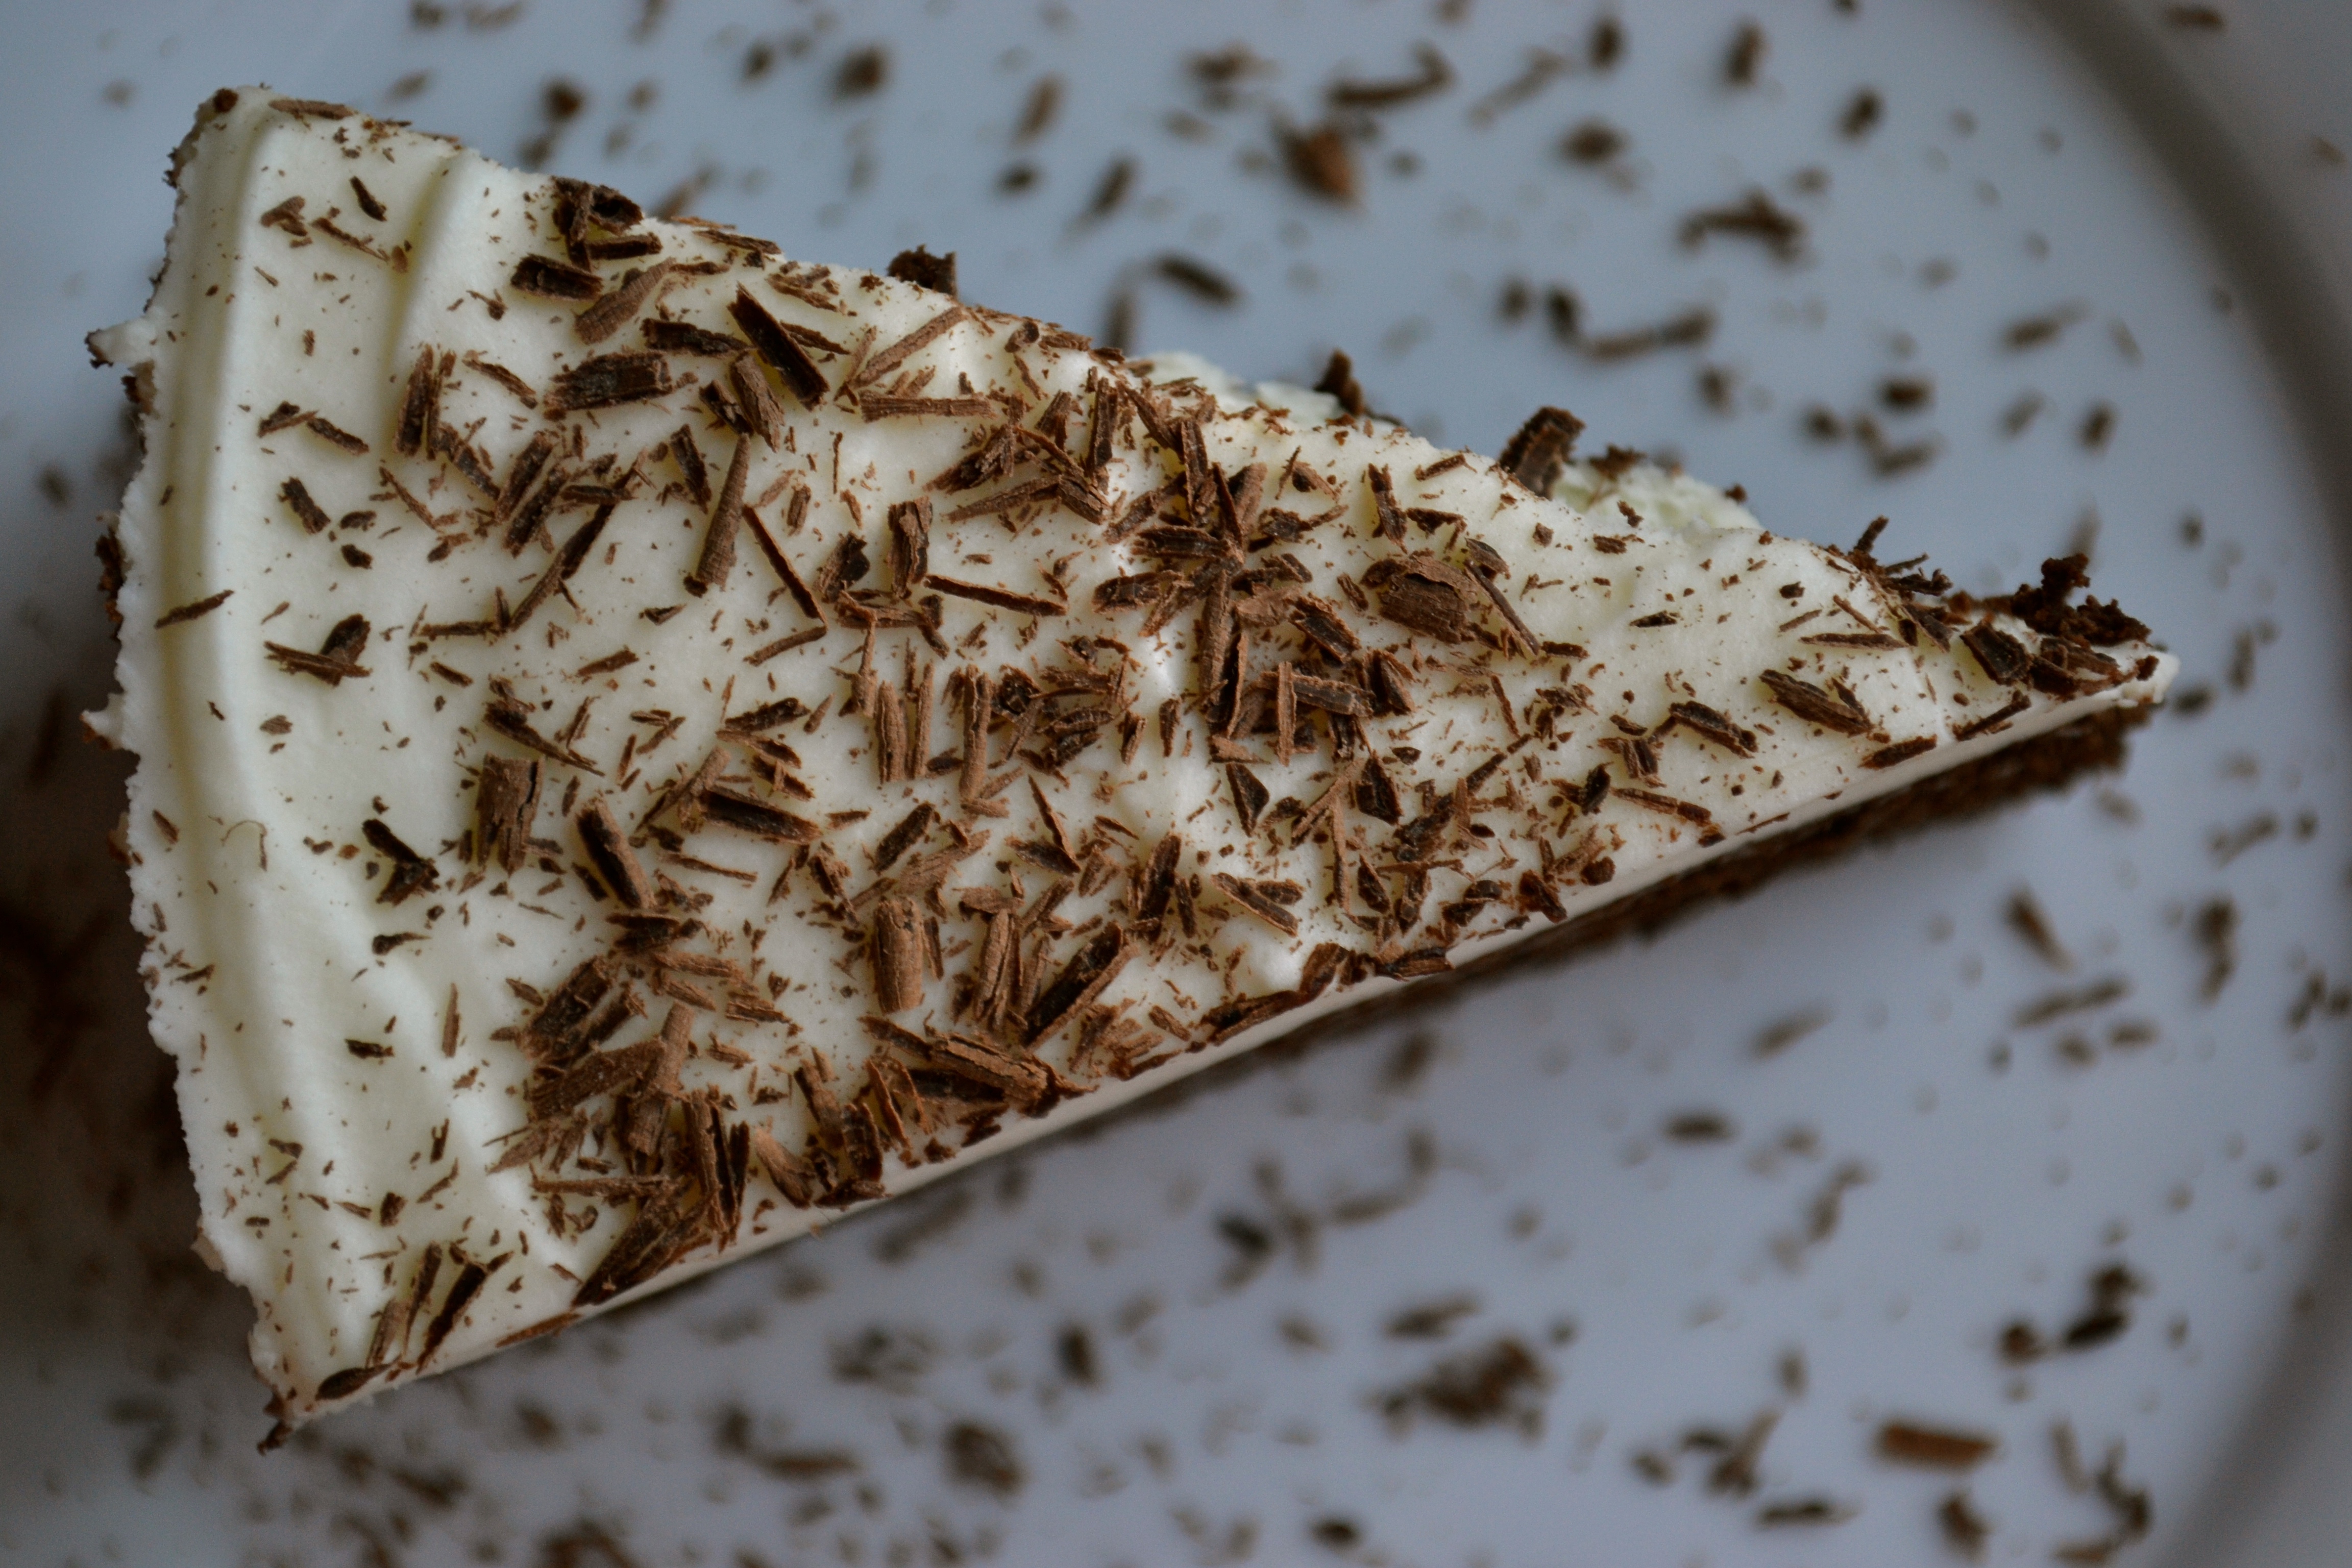
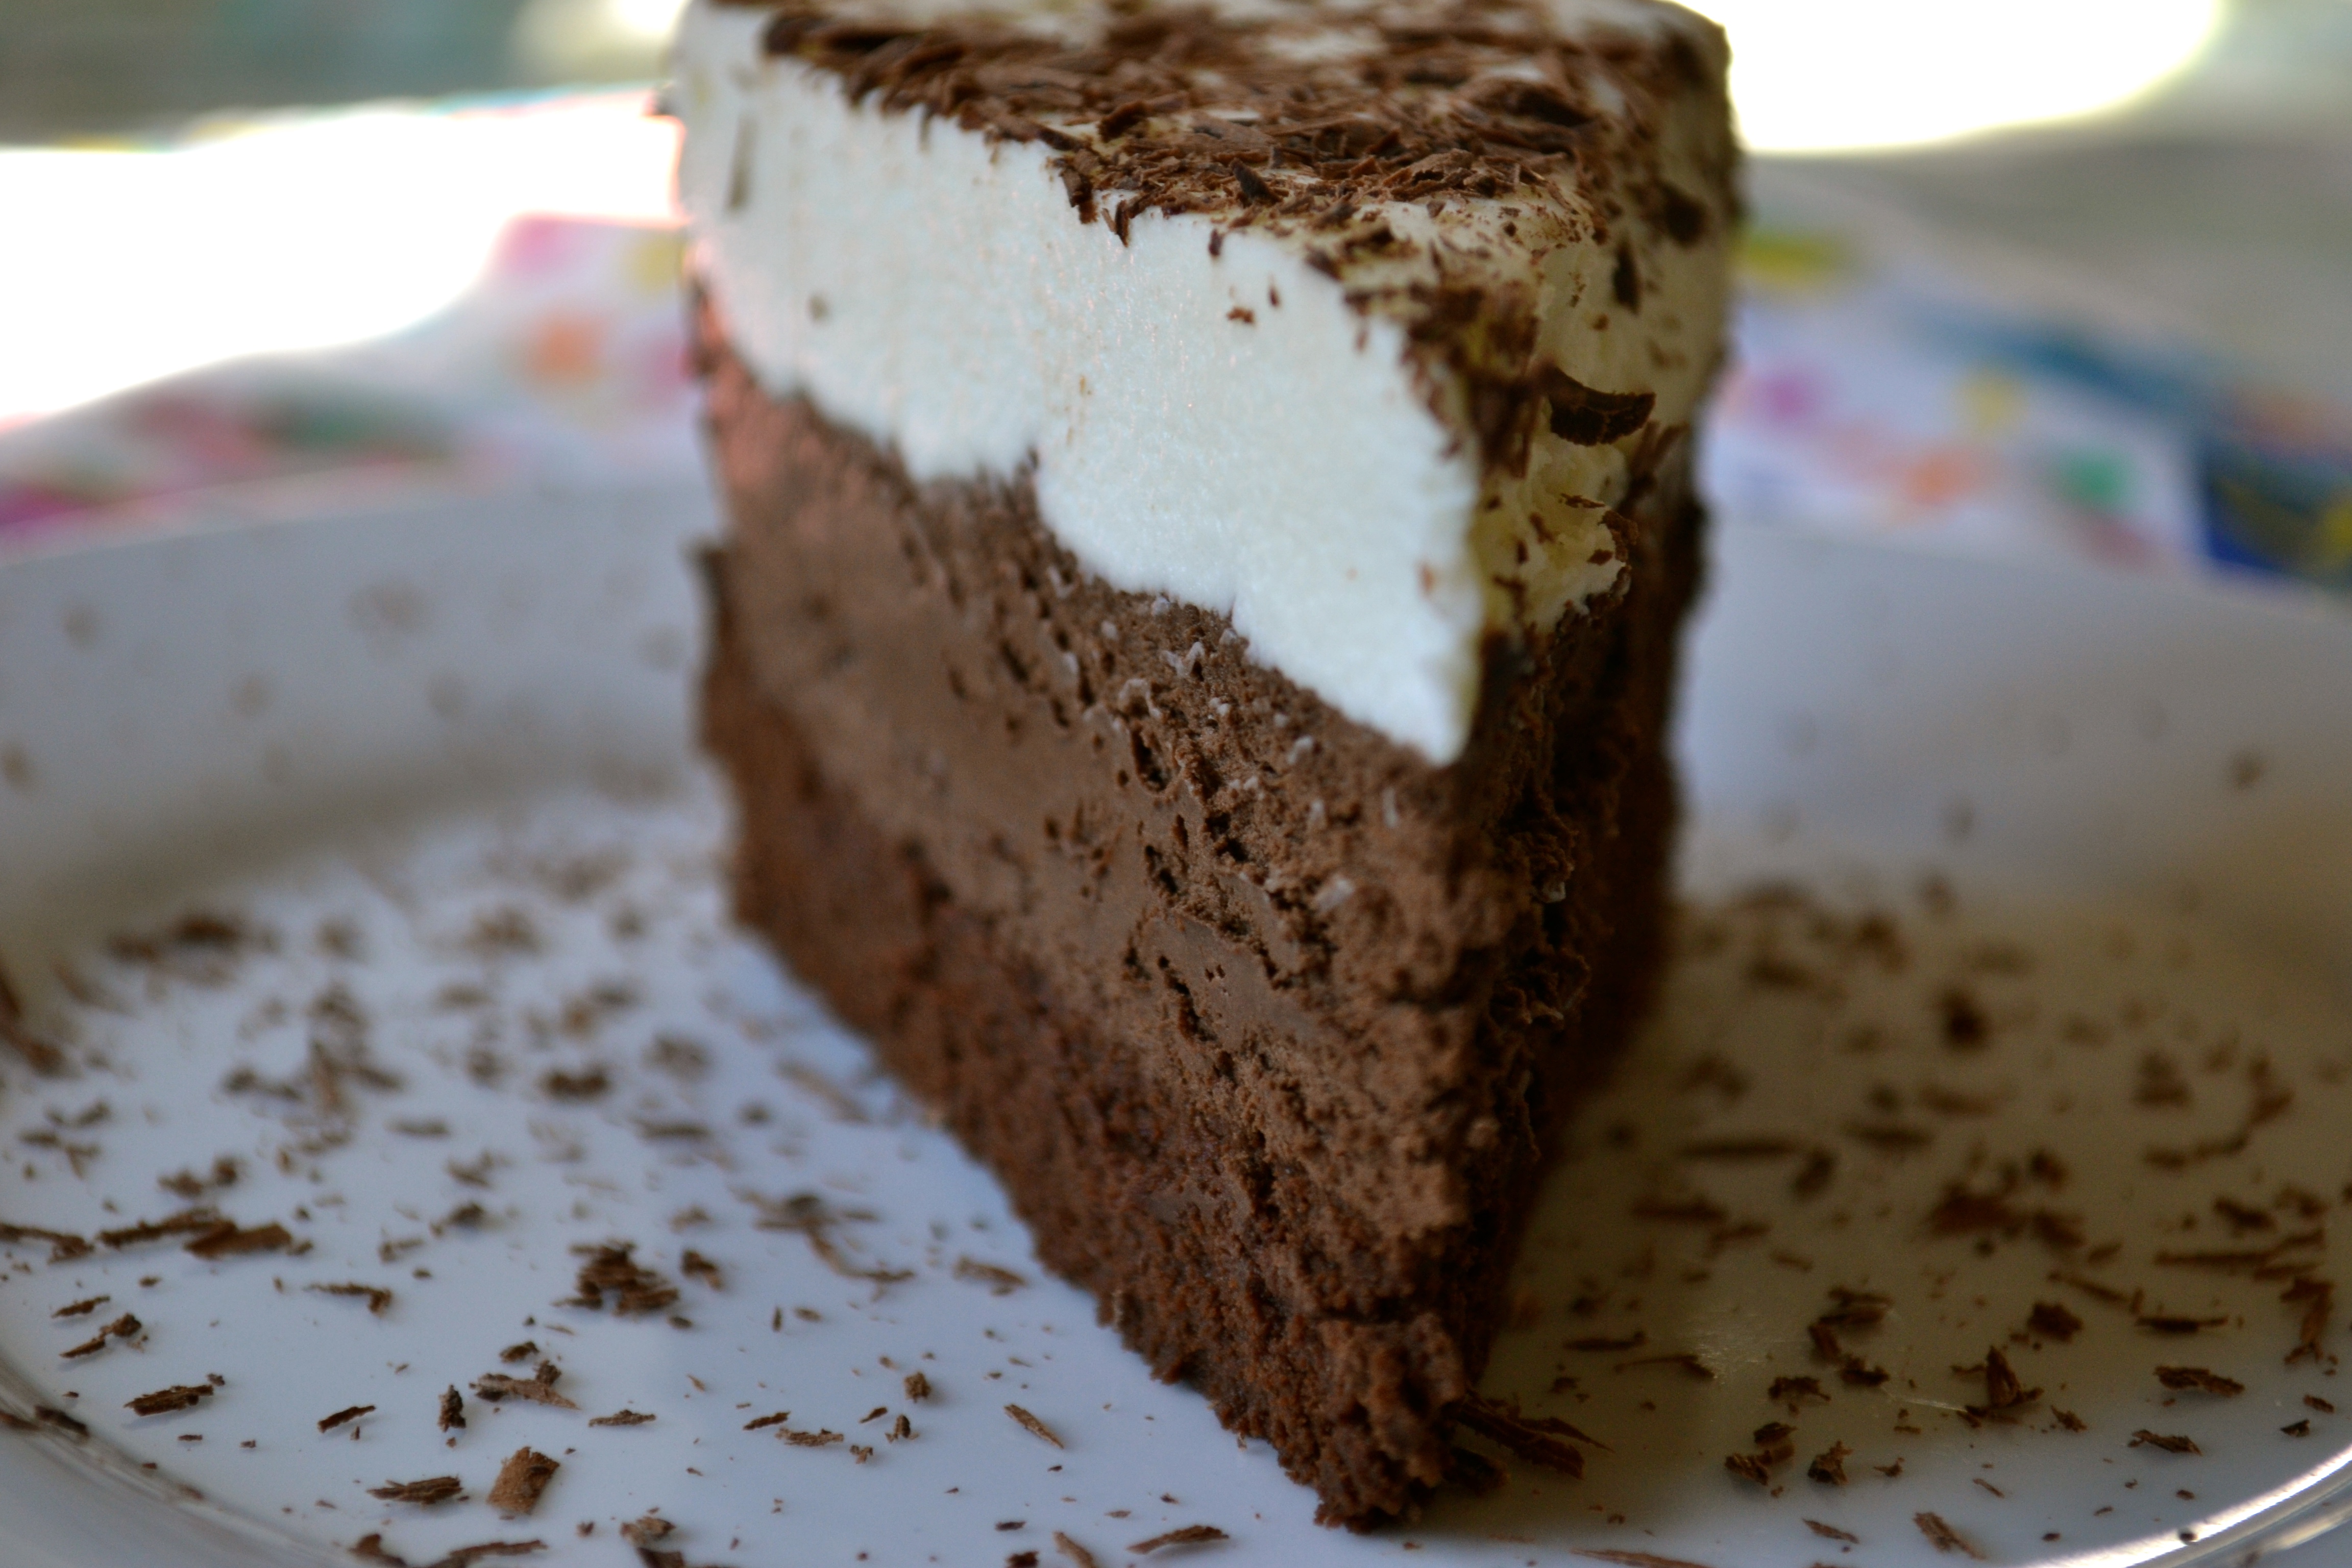
We quickly spotted the second dessert option of the day, Carol Ann Bake Shop. While the windows weren’t totally stocked following the lunch crowd consumption, there was a little bit of everything left including Boston Crème Pie, German Chocolate Cake, Chocolate Mousse Cake, and Strawberry Shortcake; we were quickly able to tell what the popular choices were!

5

6

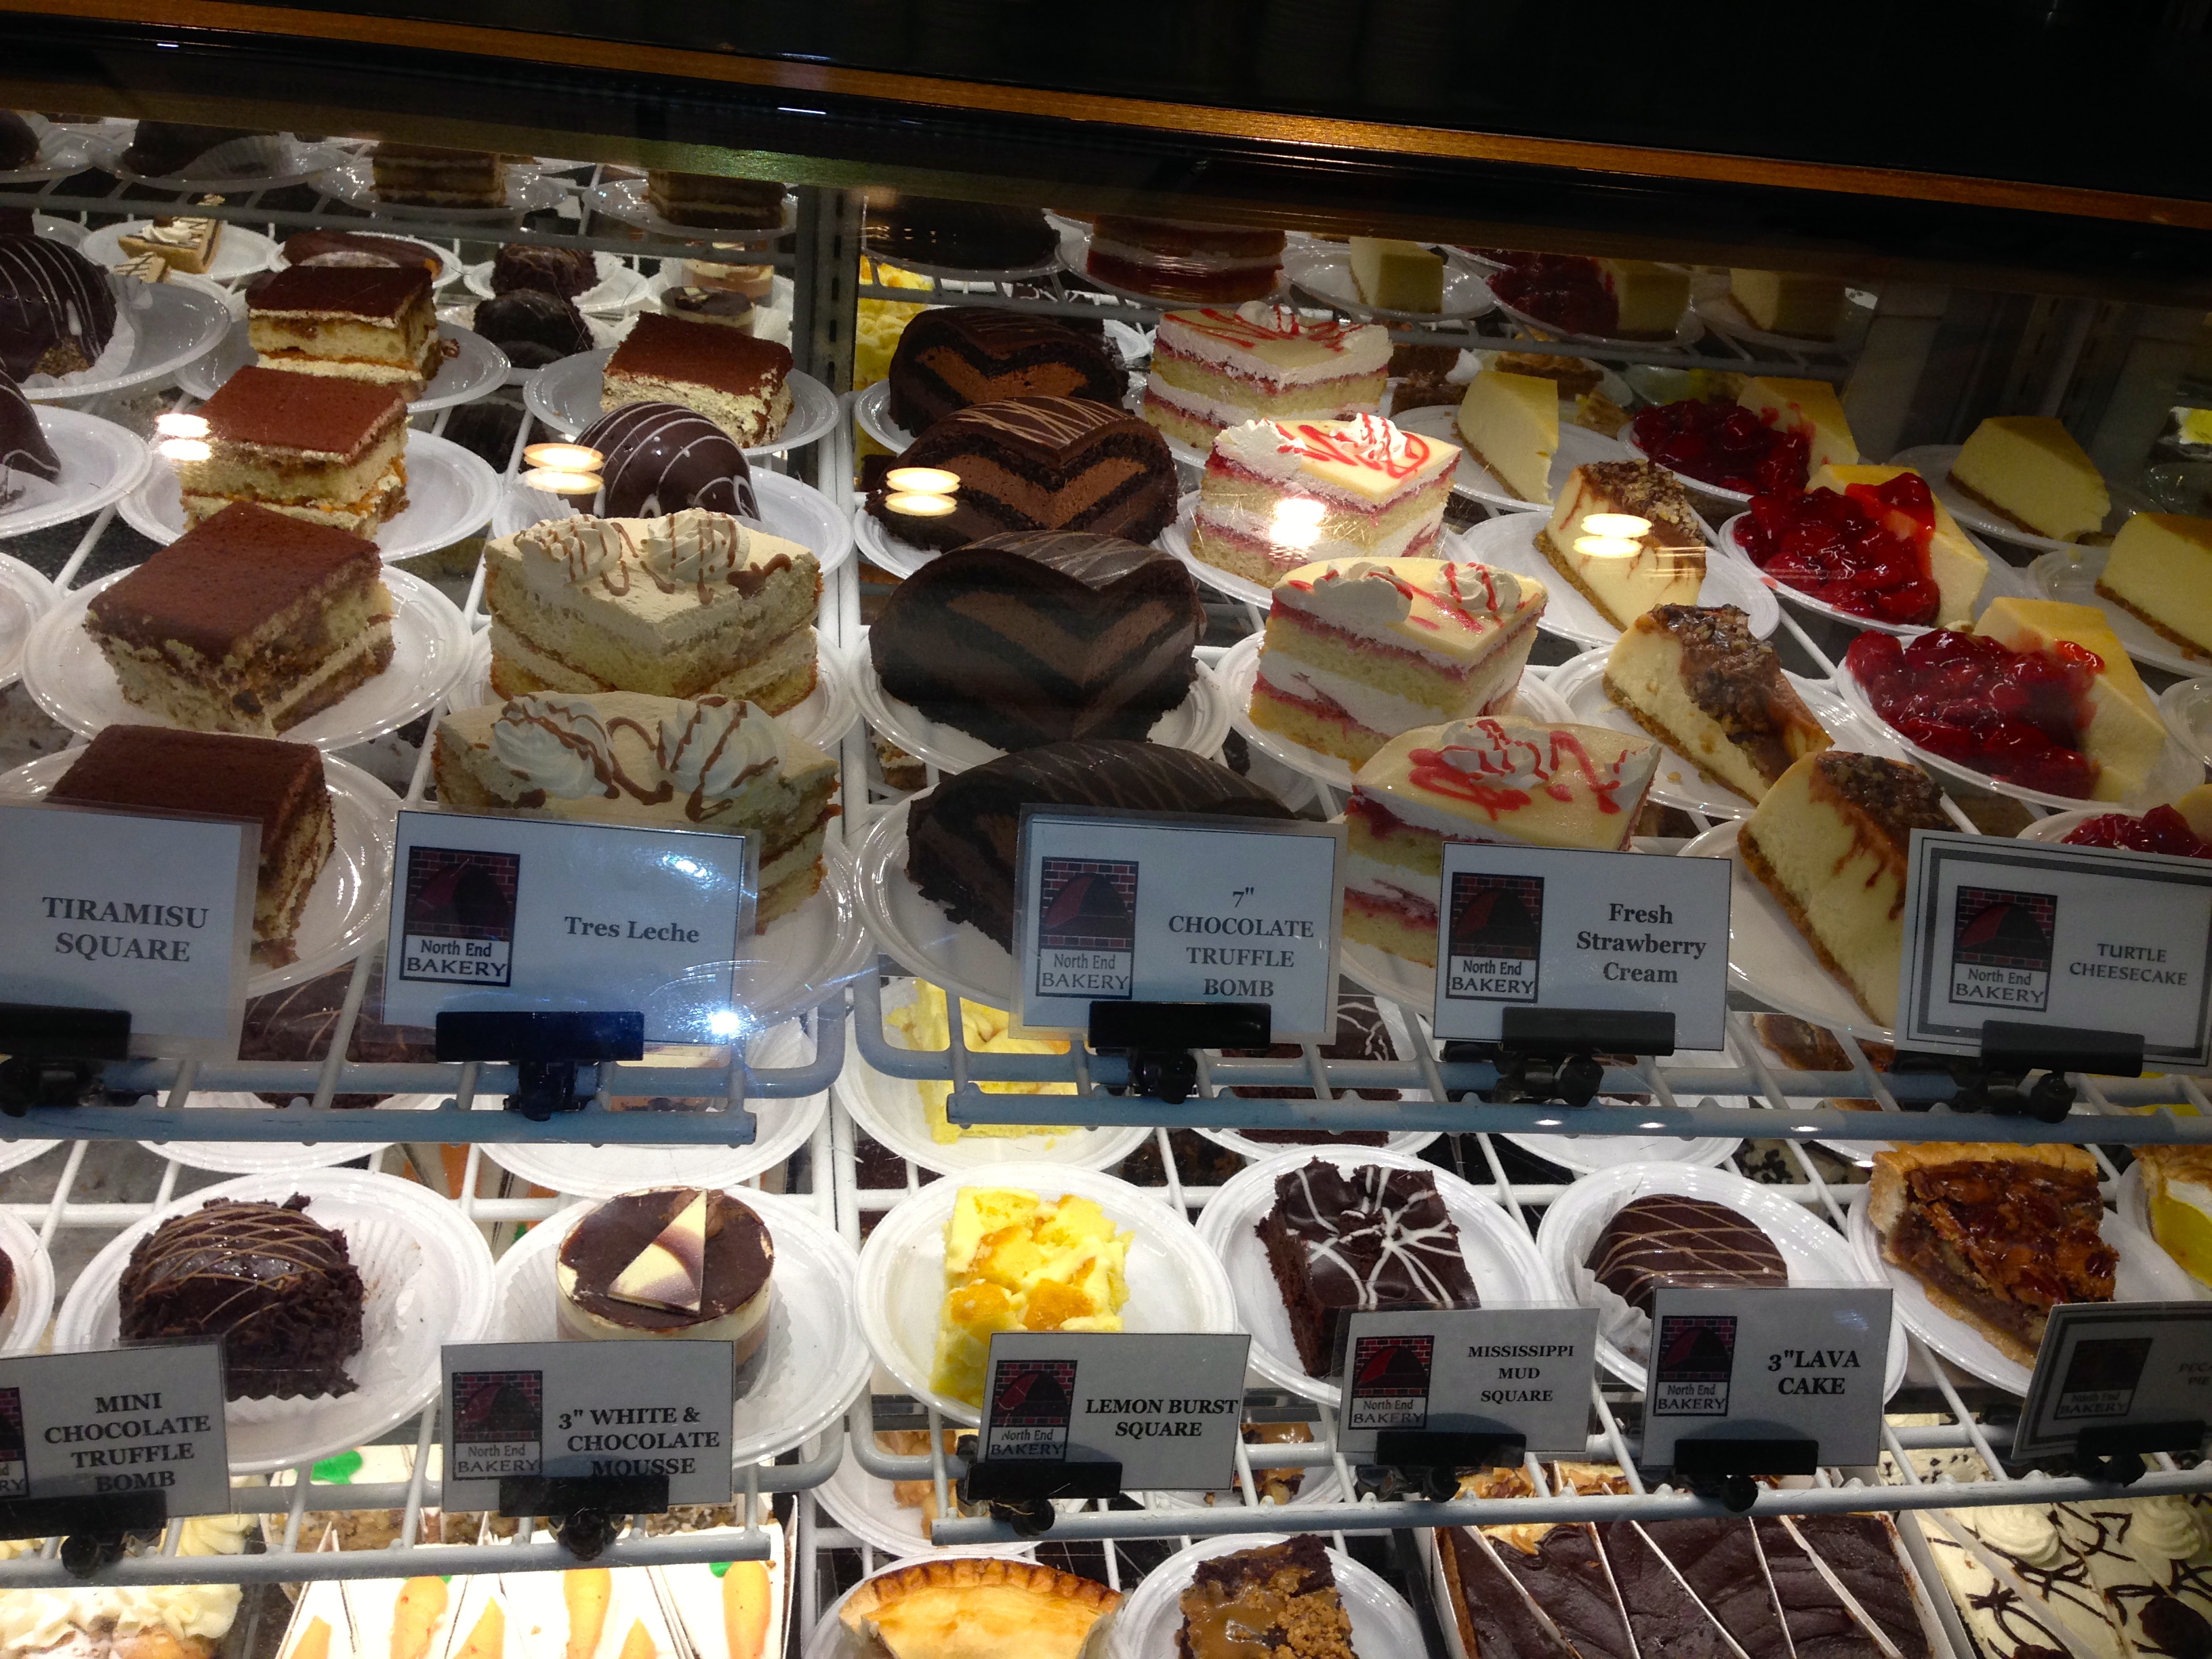
Before finding our lunch for the day, we were tempted by a few other sweet options: The North End Bakery’s mouth-watering cake slices (which always look and taste the best in my opinion) and Joey’s Gelateria, a reminder that the North End is really just down the street.

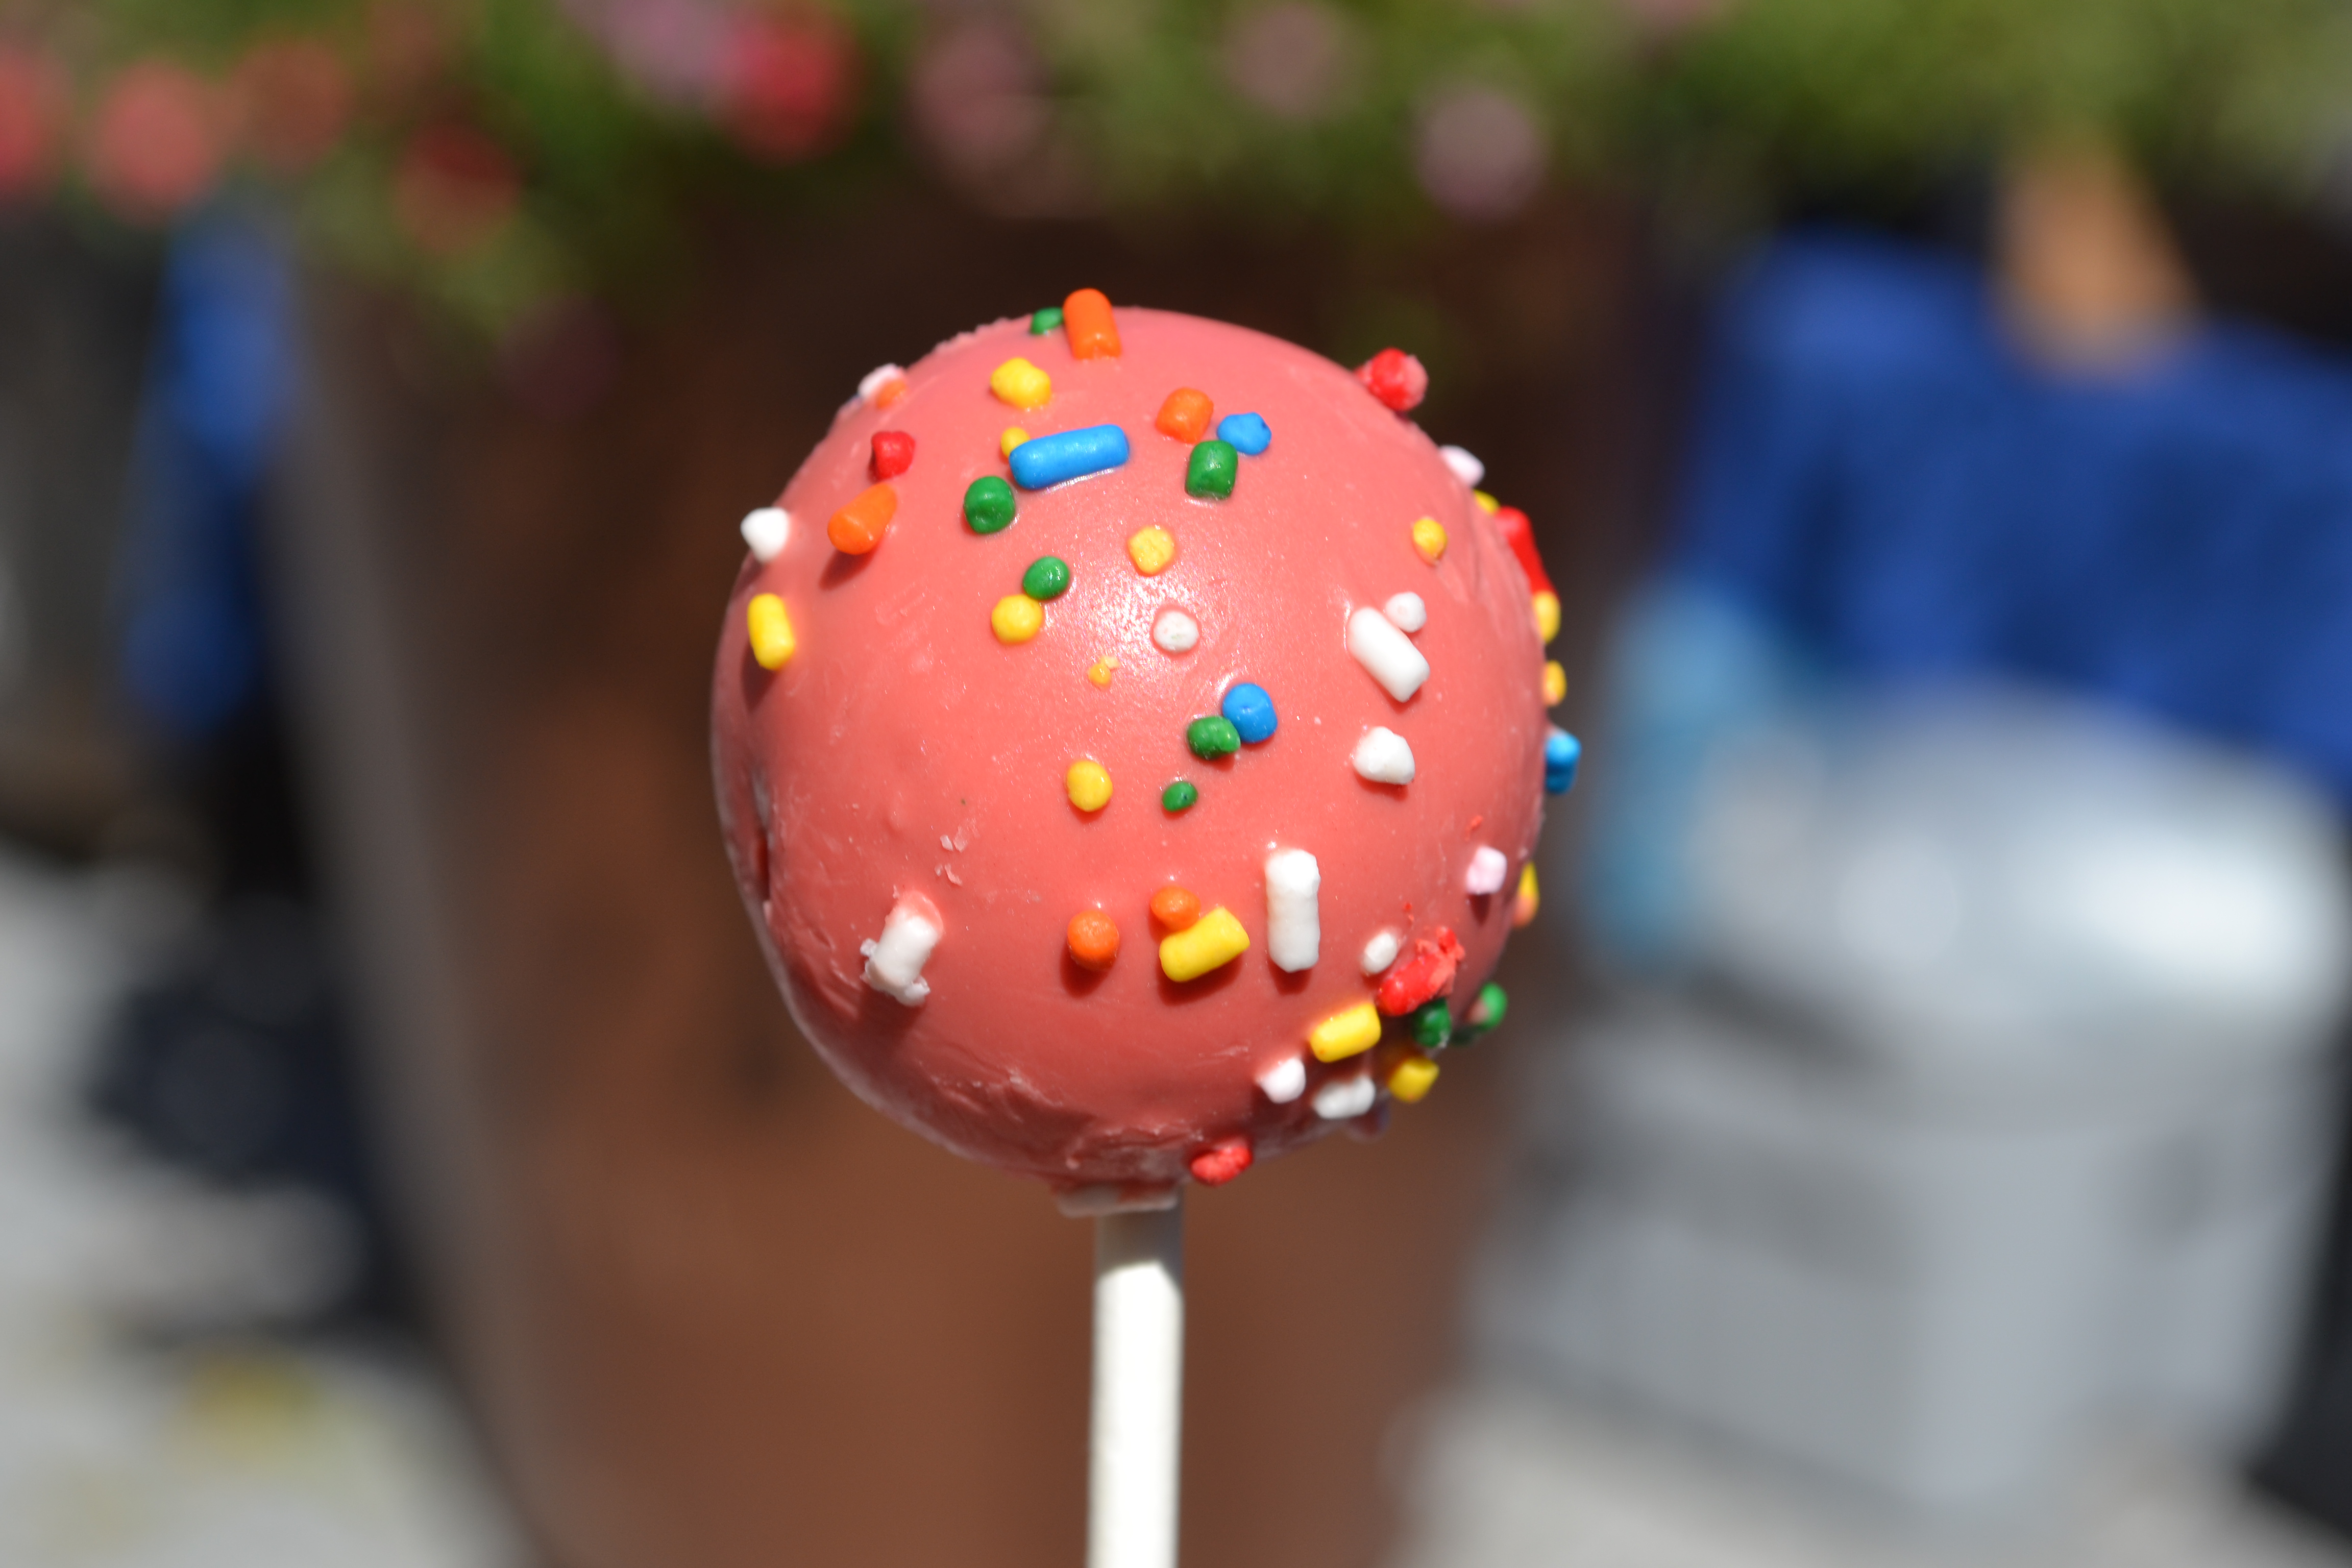
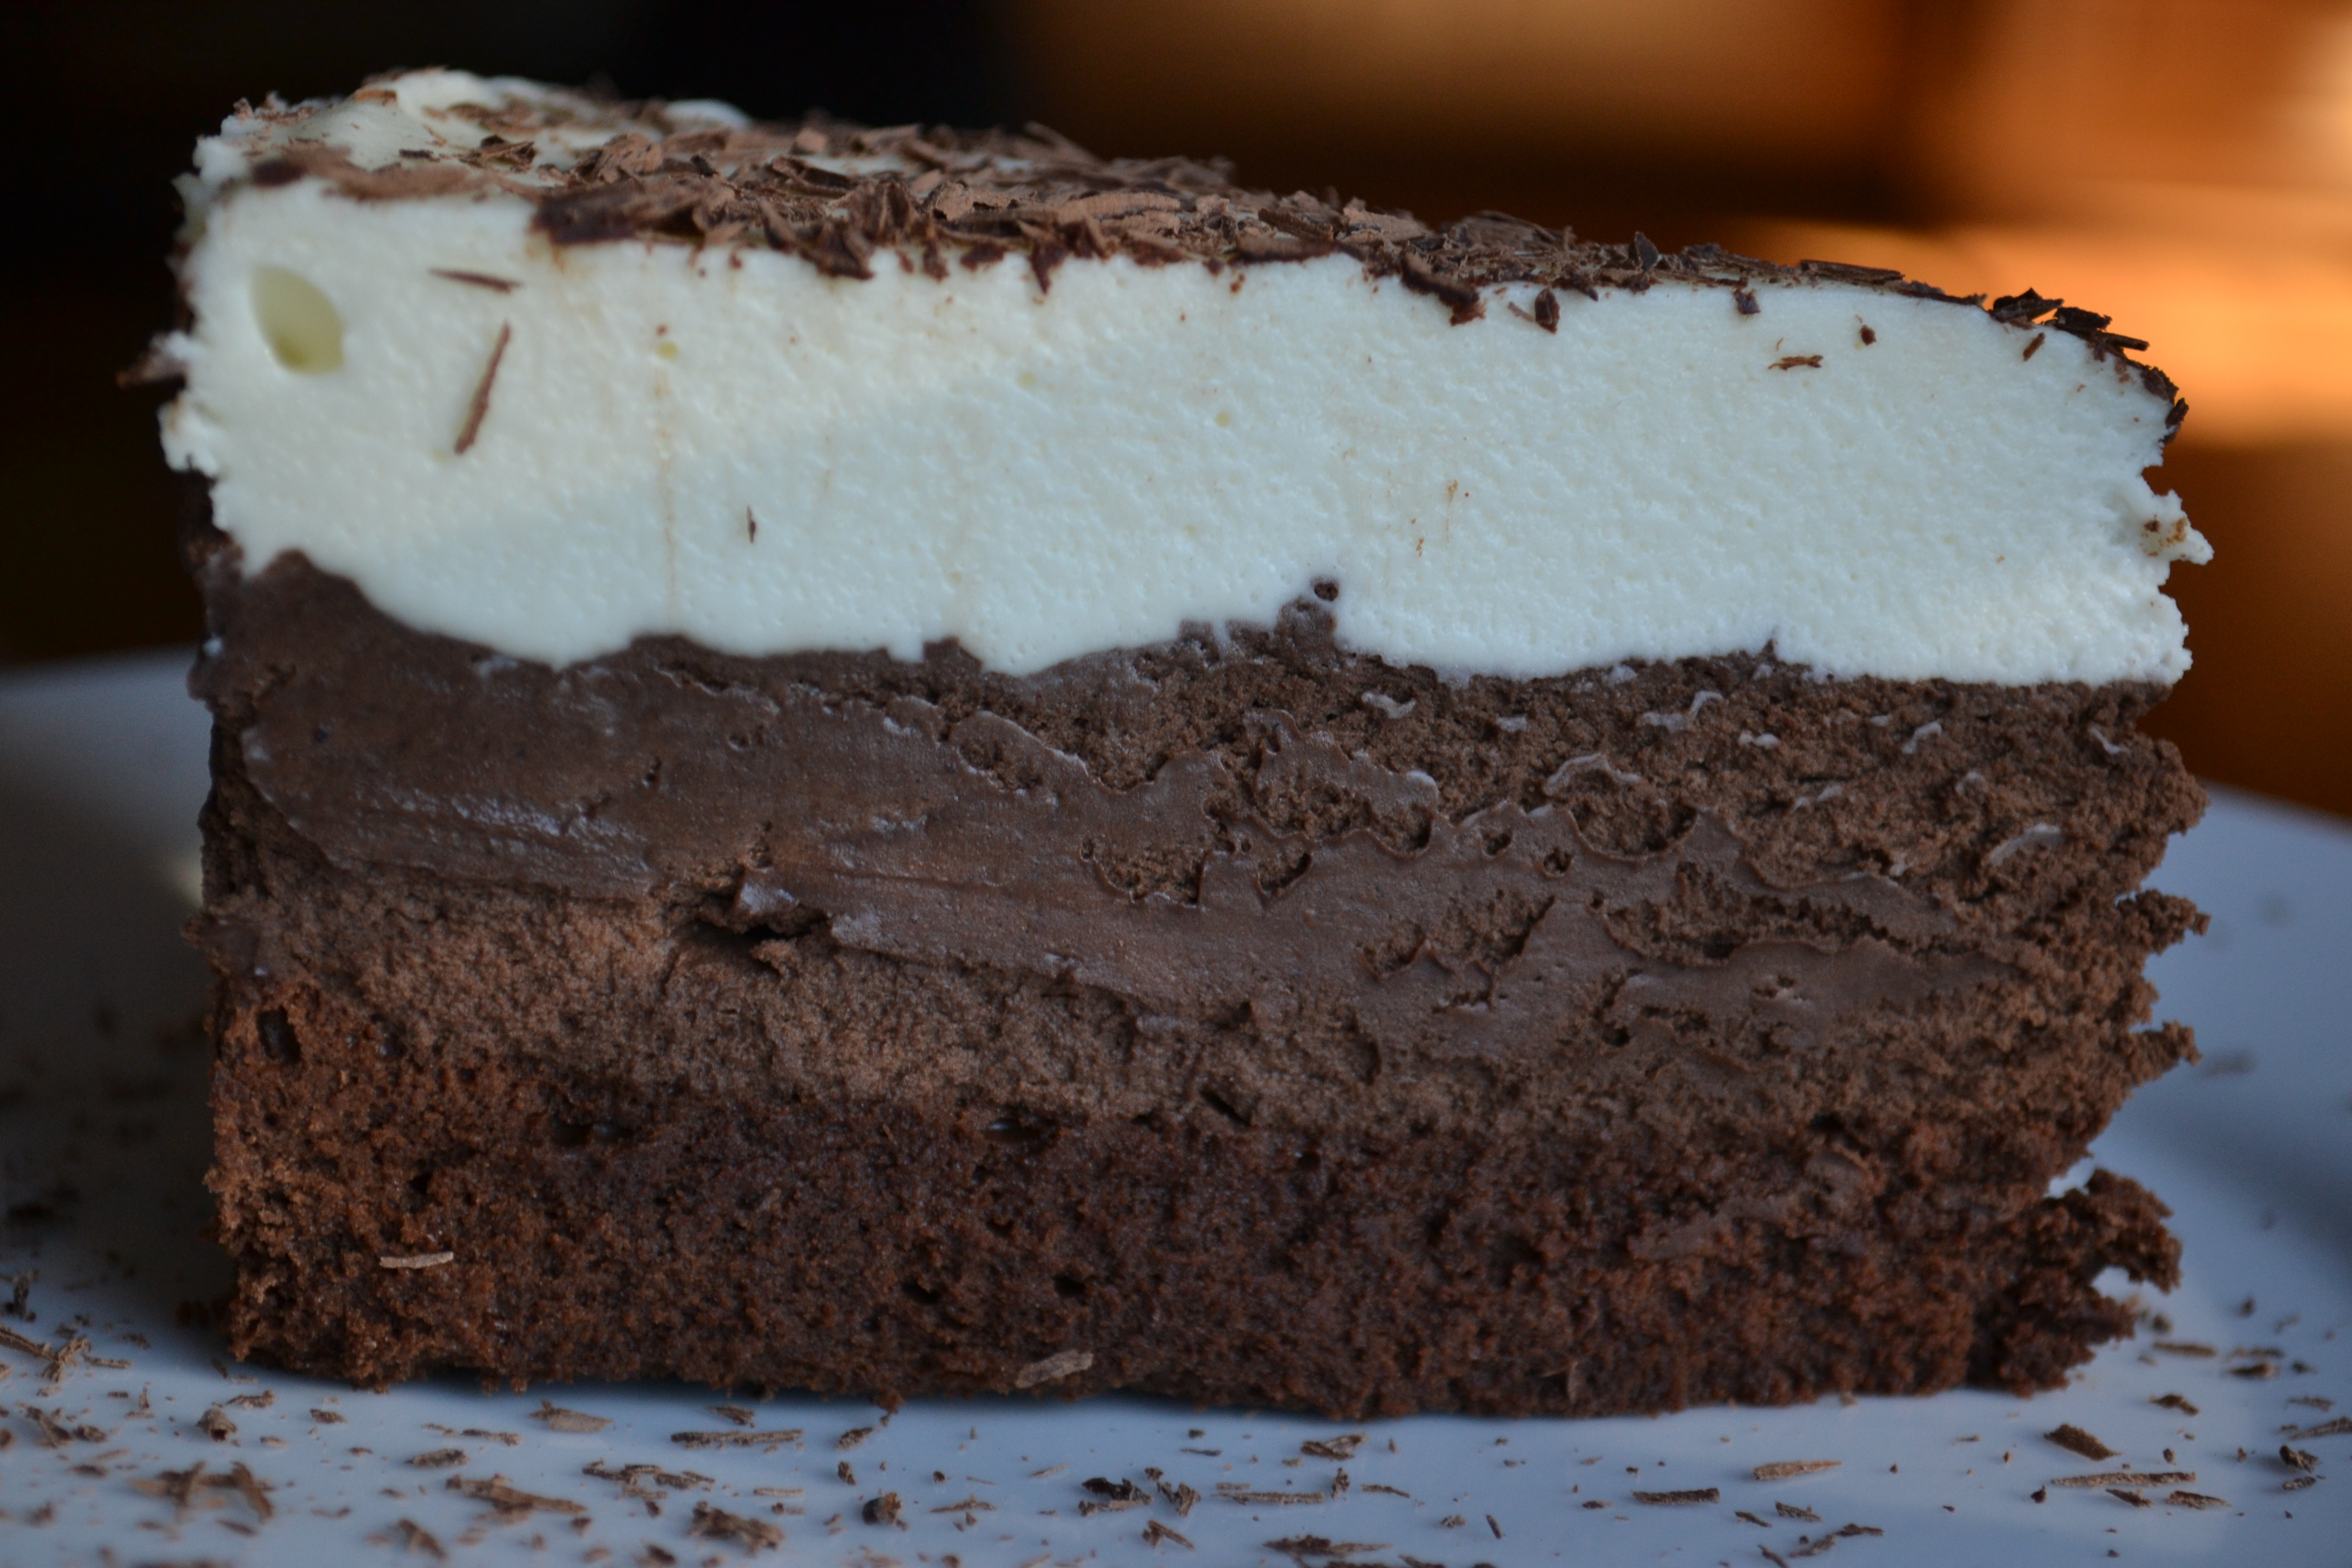
I tried the Chocolate Truffle Bomb (pictured below; middle of the top row) on a previous visit, and let me say it’s a necessity on one of your trips to Faneuil Hall (because there should be many!). A word of advice, it is best enjoyed when you have plenty of room after your meal.

7

8

The Berry Twist’s caramel apples, which are pictured in the header, provide yet another option for your second (or third or fourth) course. While the fall creations looked the tastiest, the Berry Twist had more than enough choices: chocolate covered strawberries, several ice cream and frozen yogurt flavors, and unique sundaes and smoothies.

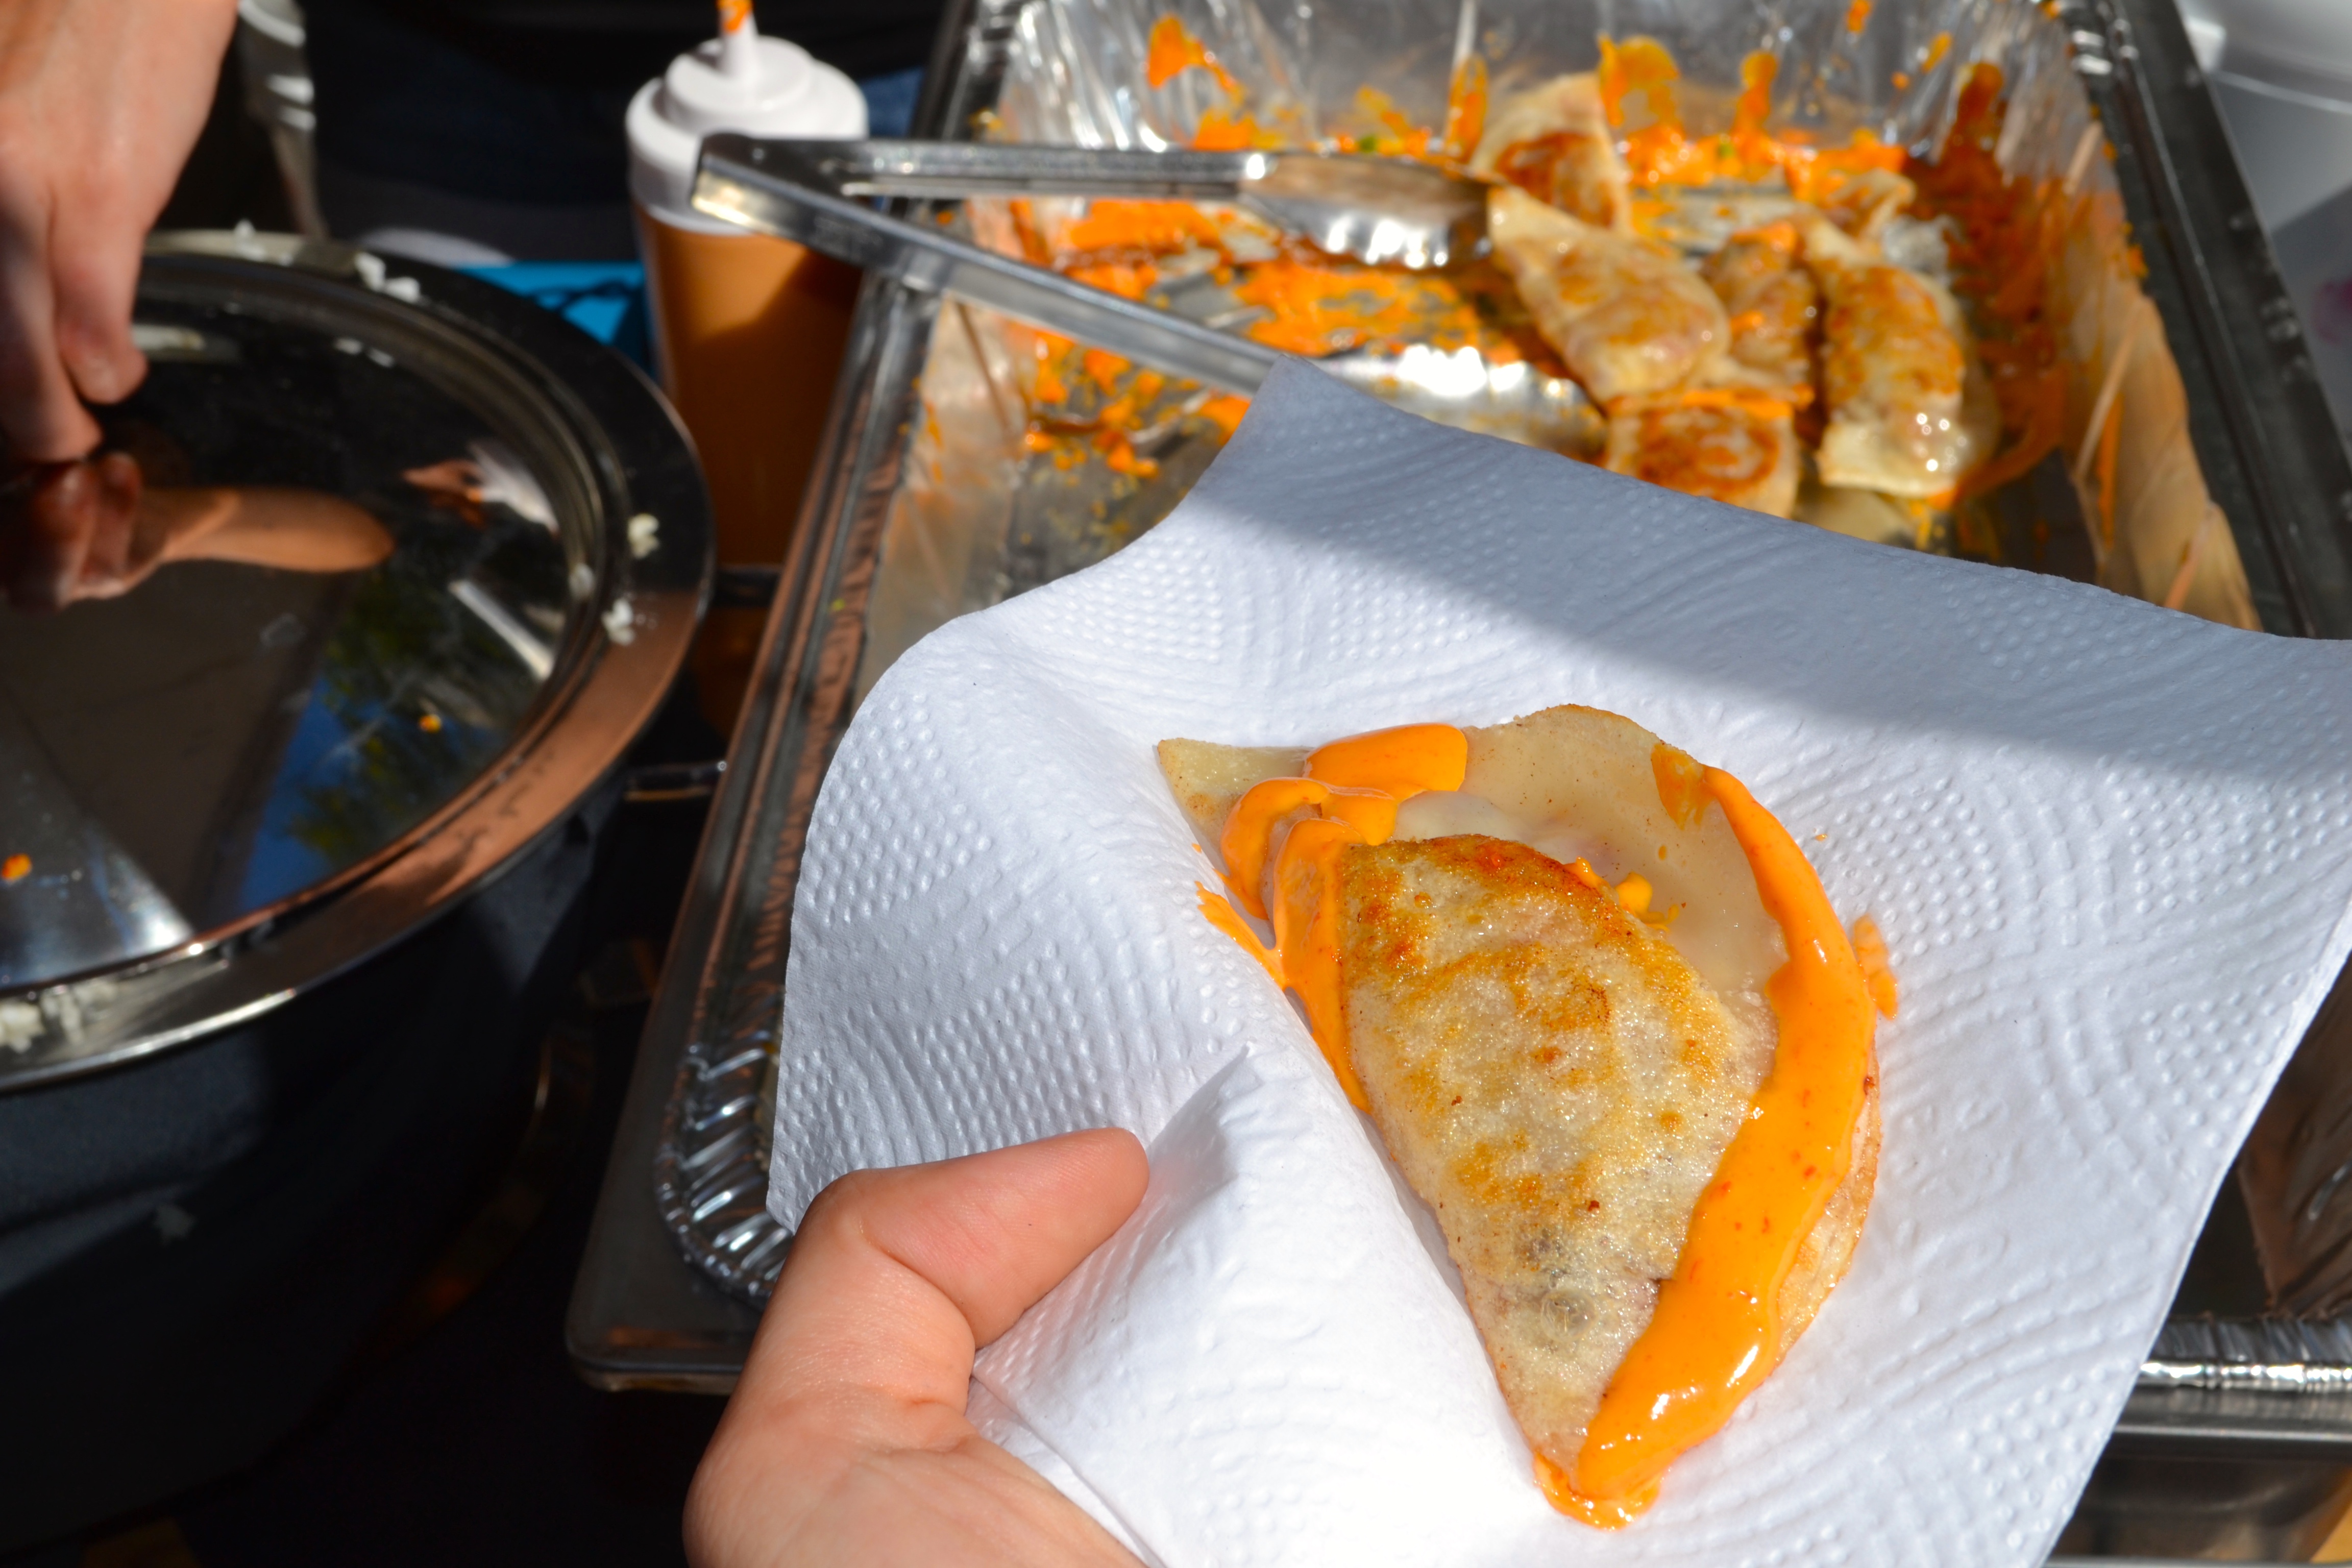
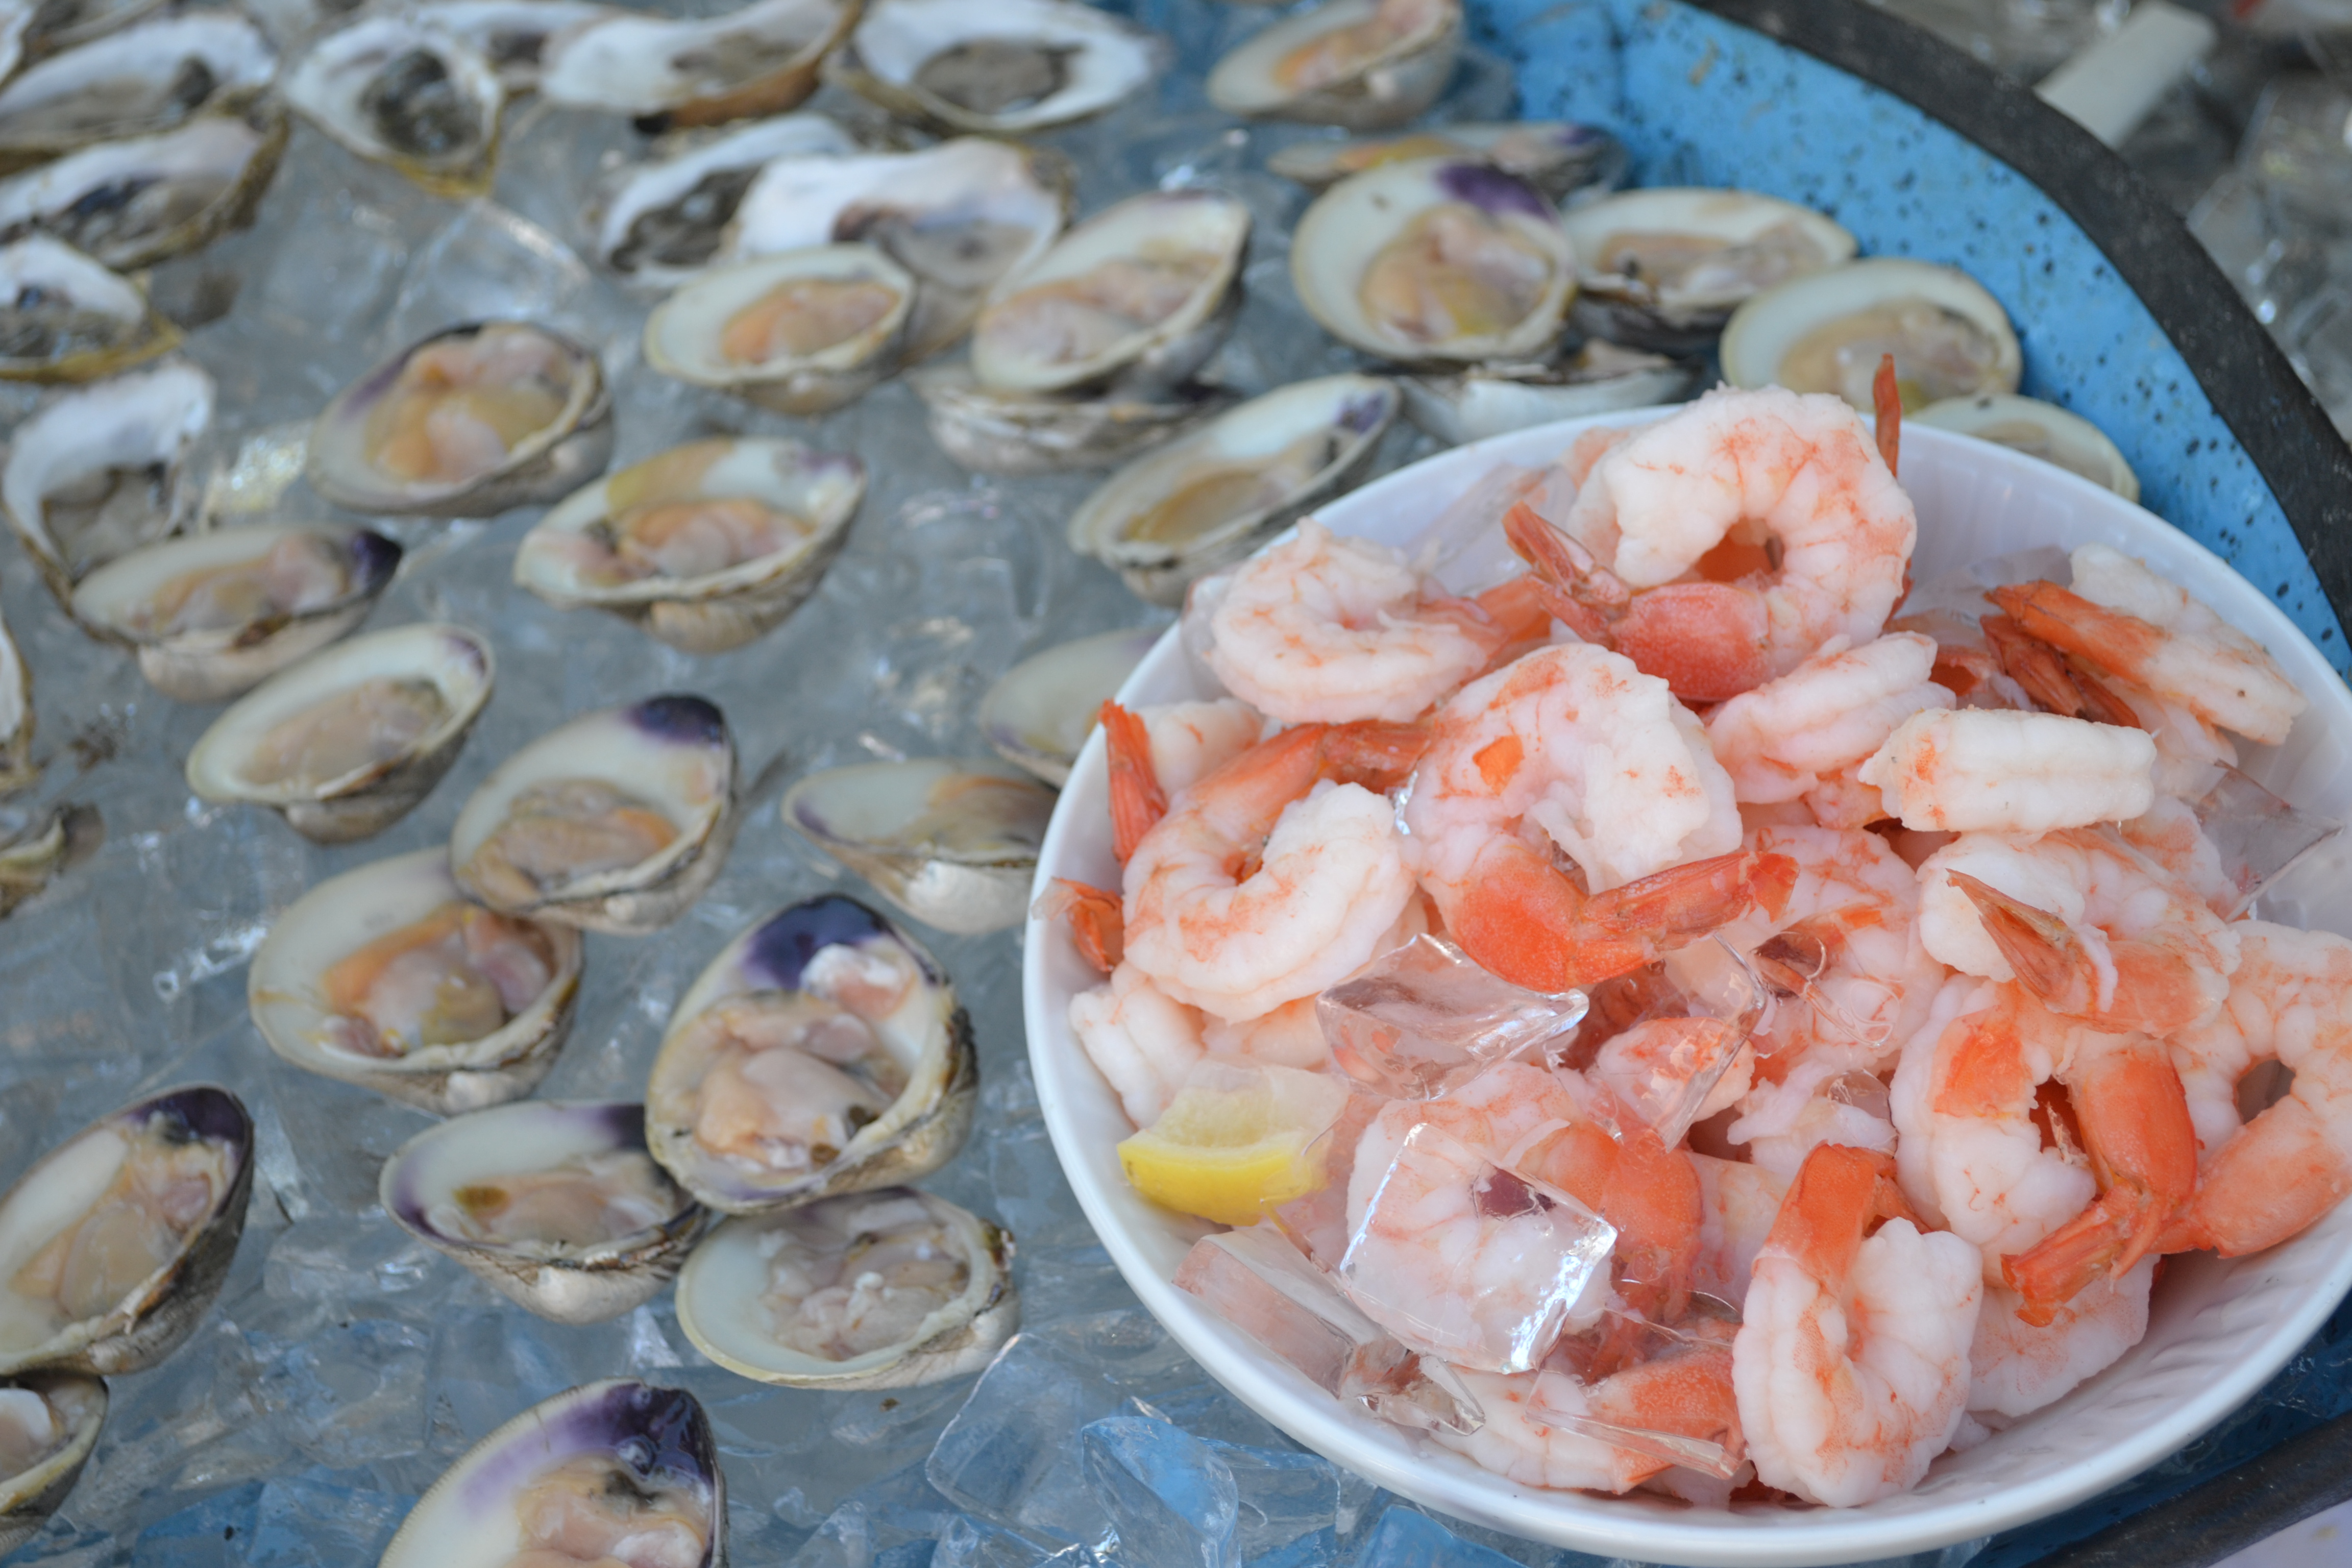
As we passed the booth Boston Chowda, I knew my aunt wouldn’t be able to resist! From Maine Lobster Pie to Lobster Mac’ and Cheese to Atlantic Haddock Pie, the booth puts a spin on chicken pot pie that pleases both the New England and comfort food palate.

9

Sure enough, she went for Lobster Mac’ and Cheese, and thought it was one of the best things she’d ever tried. With huge pieces of lobster throughout, my aunt felt like she was getting a real bang for her buck, enjoying the traditional New England products smothered in cheese and perfectly cooked and crispy.

10

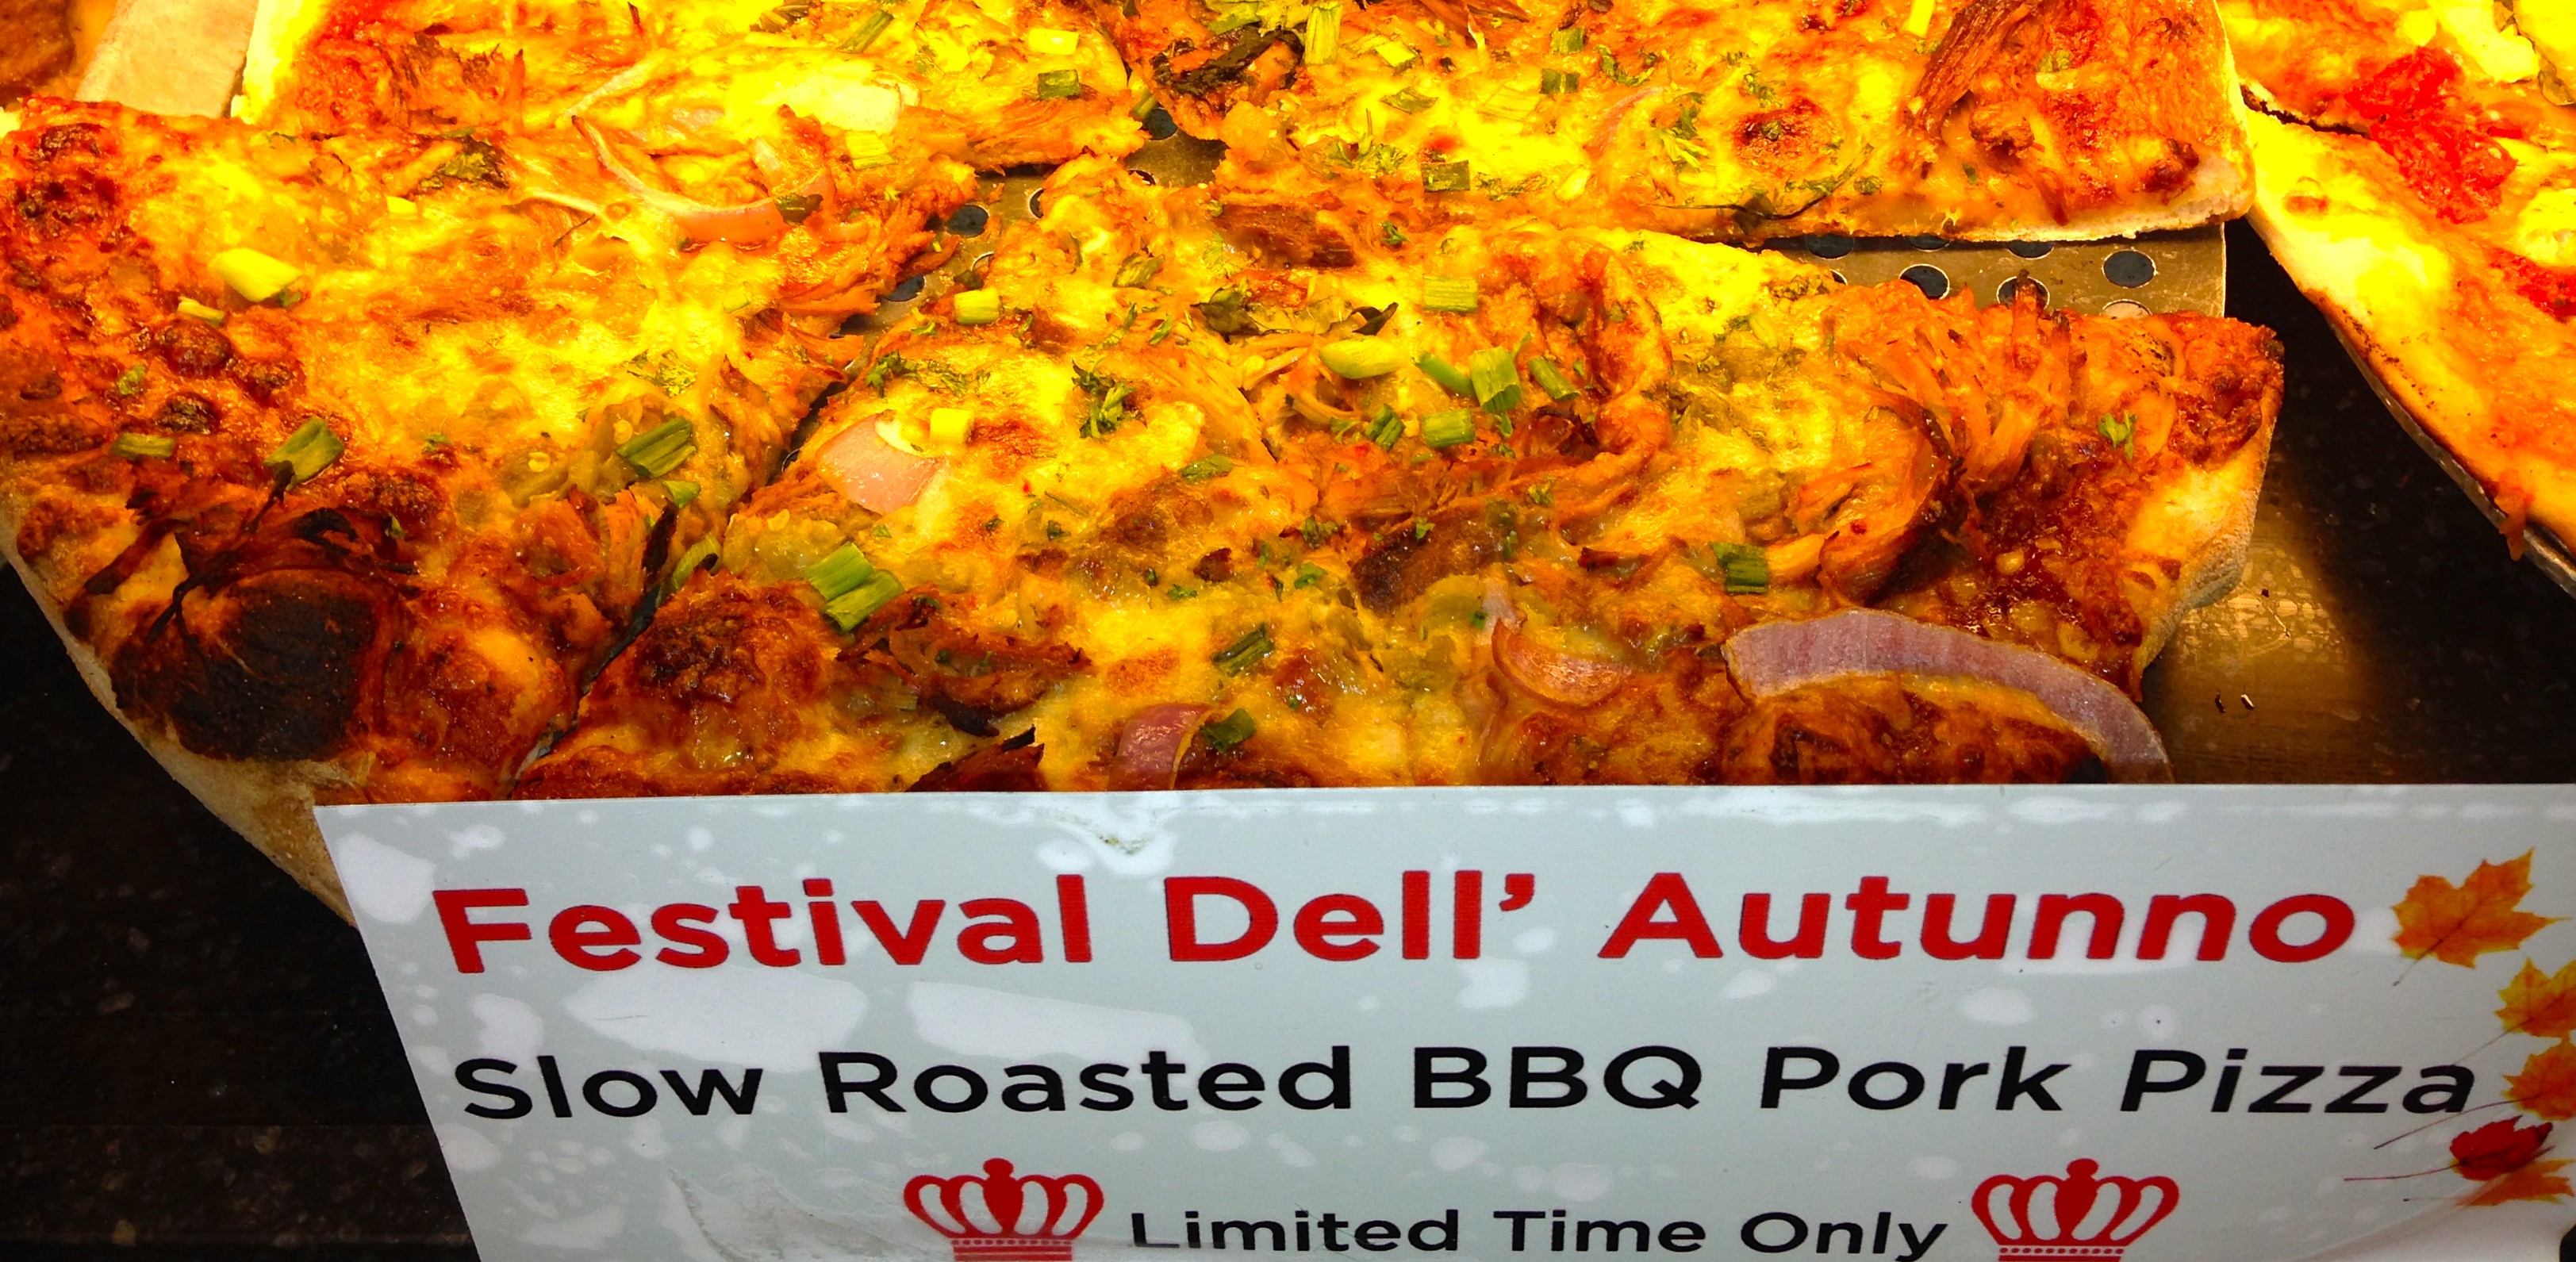
Pizzeria Regina is always a favorite in my family, and during our visit they cooked up a fall pie (below) along with the simple margherita pizza guaranteed to please little kids or any picky eaters out there.

12

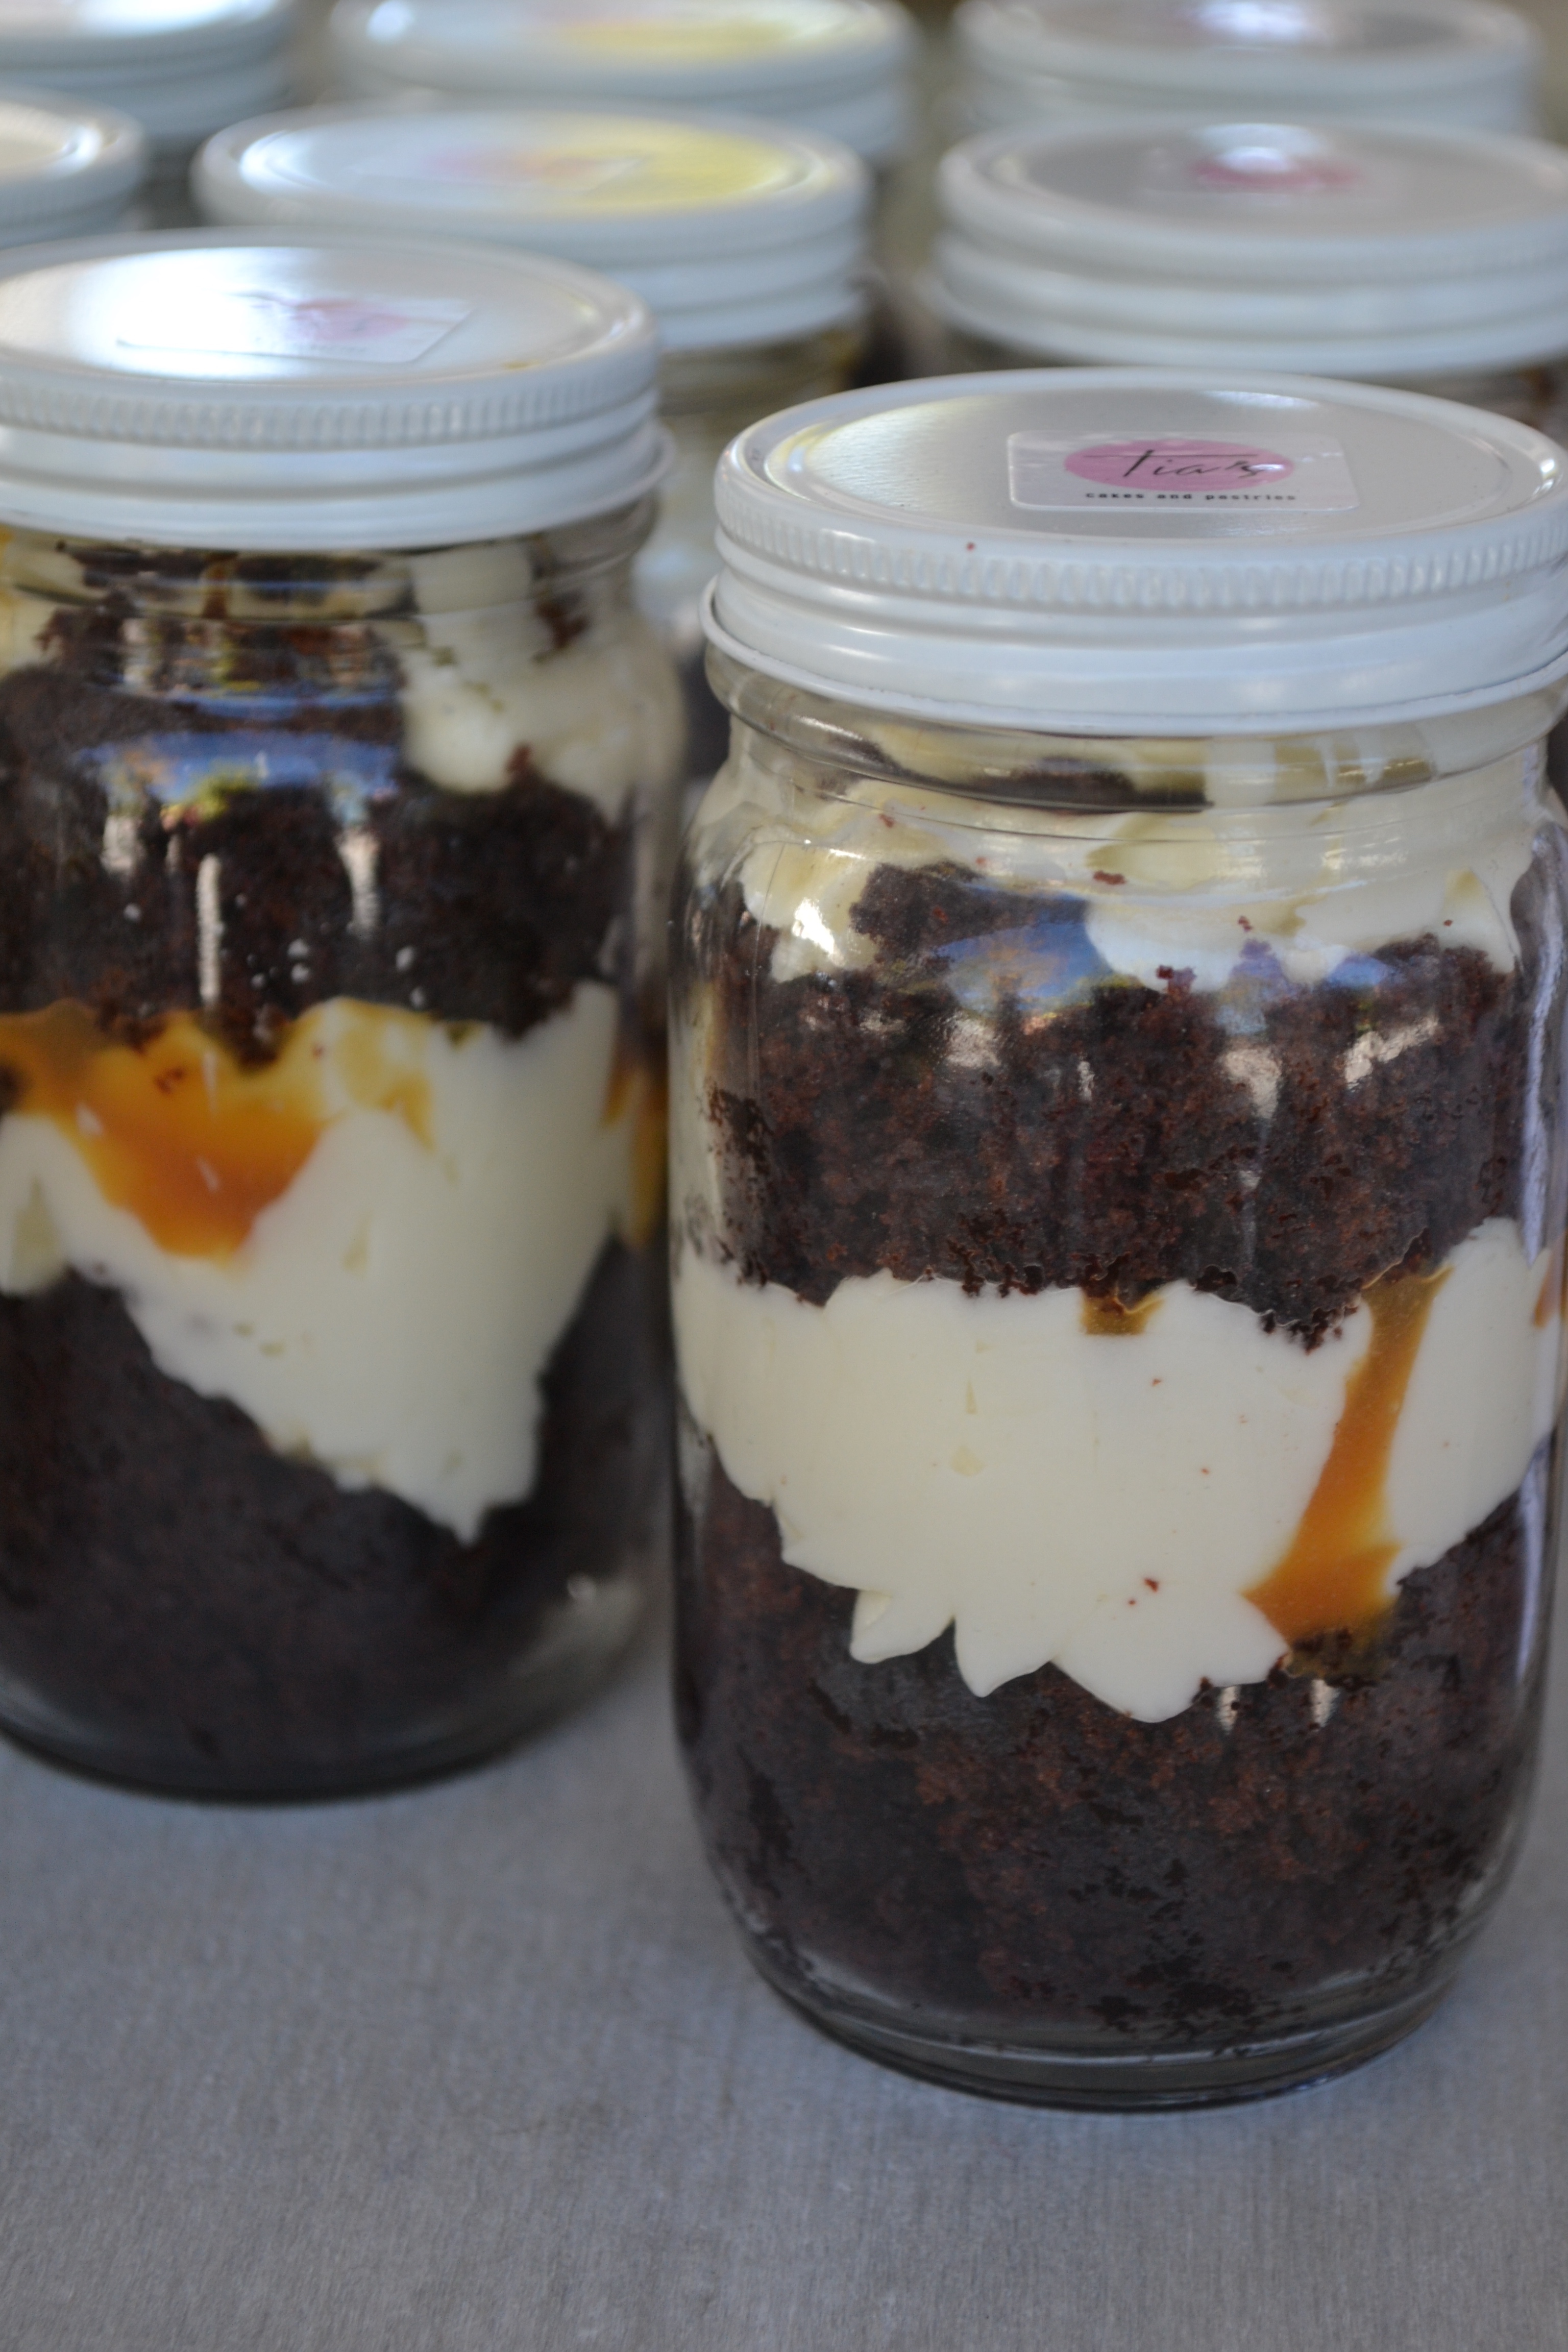
Our trip couldn’t be complete without taking something for the road. Right outside the food booth halls stands Wicked Good Cupcakes (featured on Shark Tank) which lucky for us, provides just that. These are just any cupcakes — they are cupcakes created for mason jars. My aunt packed the simple Chocolate Cupcake to take home, but flavors below include(left to right) Coconut Calico, Black Cat, Dalmatian, Mocha Maine Coon Cat, and Marble Mutt.

13

So, if you haven’t ever been to Faneuil, it’s time to go! And if you’ve already been, there’s never been a more delicious time to go again.

S’mores Chocolate Chip Cookie Cake

By Caroline Gentile ’17

When I think of s’mores, I think of summer, of sitting around a campfire with friends and family, stuffing my face with toasted marshmallows and Hershey’s chocolate sandwiched between two graham crackers. Even though summer is drawing to a close, and there probably won’t be many bonfires once school rolls around, that doesn’t mean that the delicious combination of marshmallows, chocolate, and graham crackers cannot still be enjoyed (read: stuffed into one’s face).   This s’mores cookie cake recipe allows us have our s’mores— and eat a chocolate chip cookie, too!


You’ll need…

– A hand mixer (or a stand mixer fitted with a paddle attachment)

– A 9-inch pie or cake pan


Makes 1 9-inch cake


Ingredients:

  • ½ cup unsalted butter, room temperature
  • ¾ cup light brown sugar
  • 1 tsp. vanilla extract
  • 1 large egg, room temperature
  • 1 cup all-purpose flour
  • 1 cup graham cracker crumbs (9 graham crackers)
  • ½ tsp. baking powder
  • ¼ tsp. salt
  • 1 heaping cup marshmallow crème (Fluff)
  • ¾ cup chocolate chips (either semi-sweet or milk chocolate, or both!)
  • ¾ cup mini marshmallows, or 6 large marshmallows ripped into small pieces

Directions:

Preheat oven to 350F degrees. Spray a 9-inch pie or cake pan with nonstick spray. Set aside.

In a large bowl using handheld or stand mixer, cream the butter and brown sugar together on medium speed. Beat for about 2 minutes until smooth and combined. Add the vanilla extract and egg, beating until combined. Scrape the sides of the bowl down as needed. Set aside.

Toss the flour, graham cracker crumbs, baking powder, and salt together until combined.

IMG_7392

With the mixer running on low, slowly add the dry ingredients to the wet ingredients. Mix until combined.

Press 2/3 of the graham cookie dough into prepared pan.

IMG_7396

Spread the marshmallow creme on top. This will be tricky since the marshmallow creme is so sticky, but do the best you can to get an even layer. Sometimes I spray the bottom of a spatula with nonstick spray to spread it around. Sprinkle the marshmallow creme with chocolate chips and marshmallows.

IMG_7399

Mold the remaining cookie dough into flat pieces and layer on top of the chocolate chips. You won’t have enough dough to make one single layer, so some chocolate chips and marshmallow creme will be exposed. That is ok! You want to see the marshmallow on top. Sprinkle the top of the cookie cake with a few more chocolate chips on top, if you prefer.

IMG_7405

Bake the cookie cake for 25 minutes, or until the top is very lightly golden brown. Allow to cool for at least 30 minutes before digging in. The cookie cake looks and tastes best on the same day, as the marshmallow becomes too hard overtime.


(Recipe from sallysbakingaddiction.com)