I’ve always loved peanut butter – so much so, in fact, that for my 11th birthday I asked for peanut butter as a present. I also really like cookies. Put the two together, and you achieve perfection: peanut butter cookies are heavenly. Unfortunately, they’re also nowhere to be found in the dining halls. To date, I only remember HUDS serving peanut butter cookies twice, and they were a far cry from the melt-in-your-mouth masterpieces found at places like Insomnia Cookies. It’s culinary discrimination. Chocolate chip and oatmeal raisin get their fair representation, but when that peanut-butter-cookie craving strikes, where can a desperate student turn?
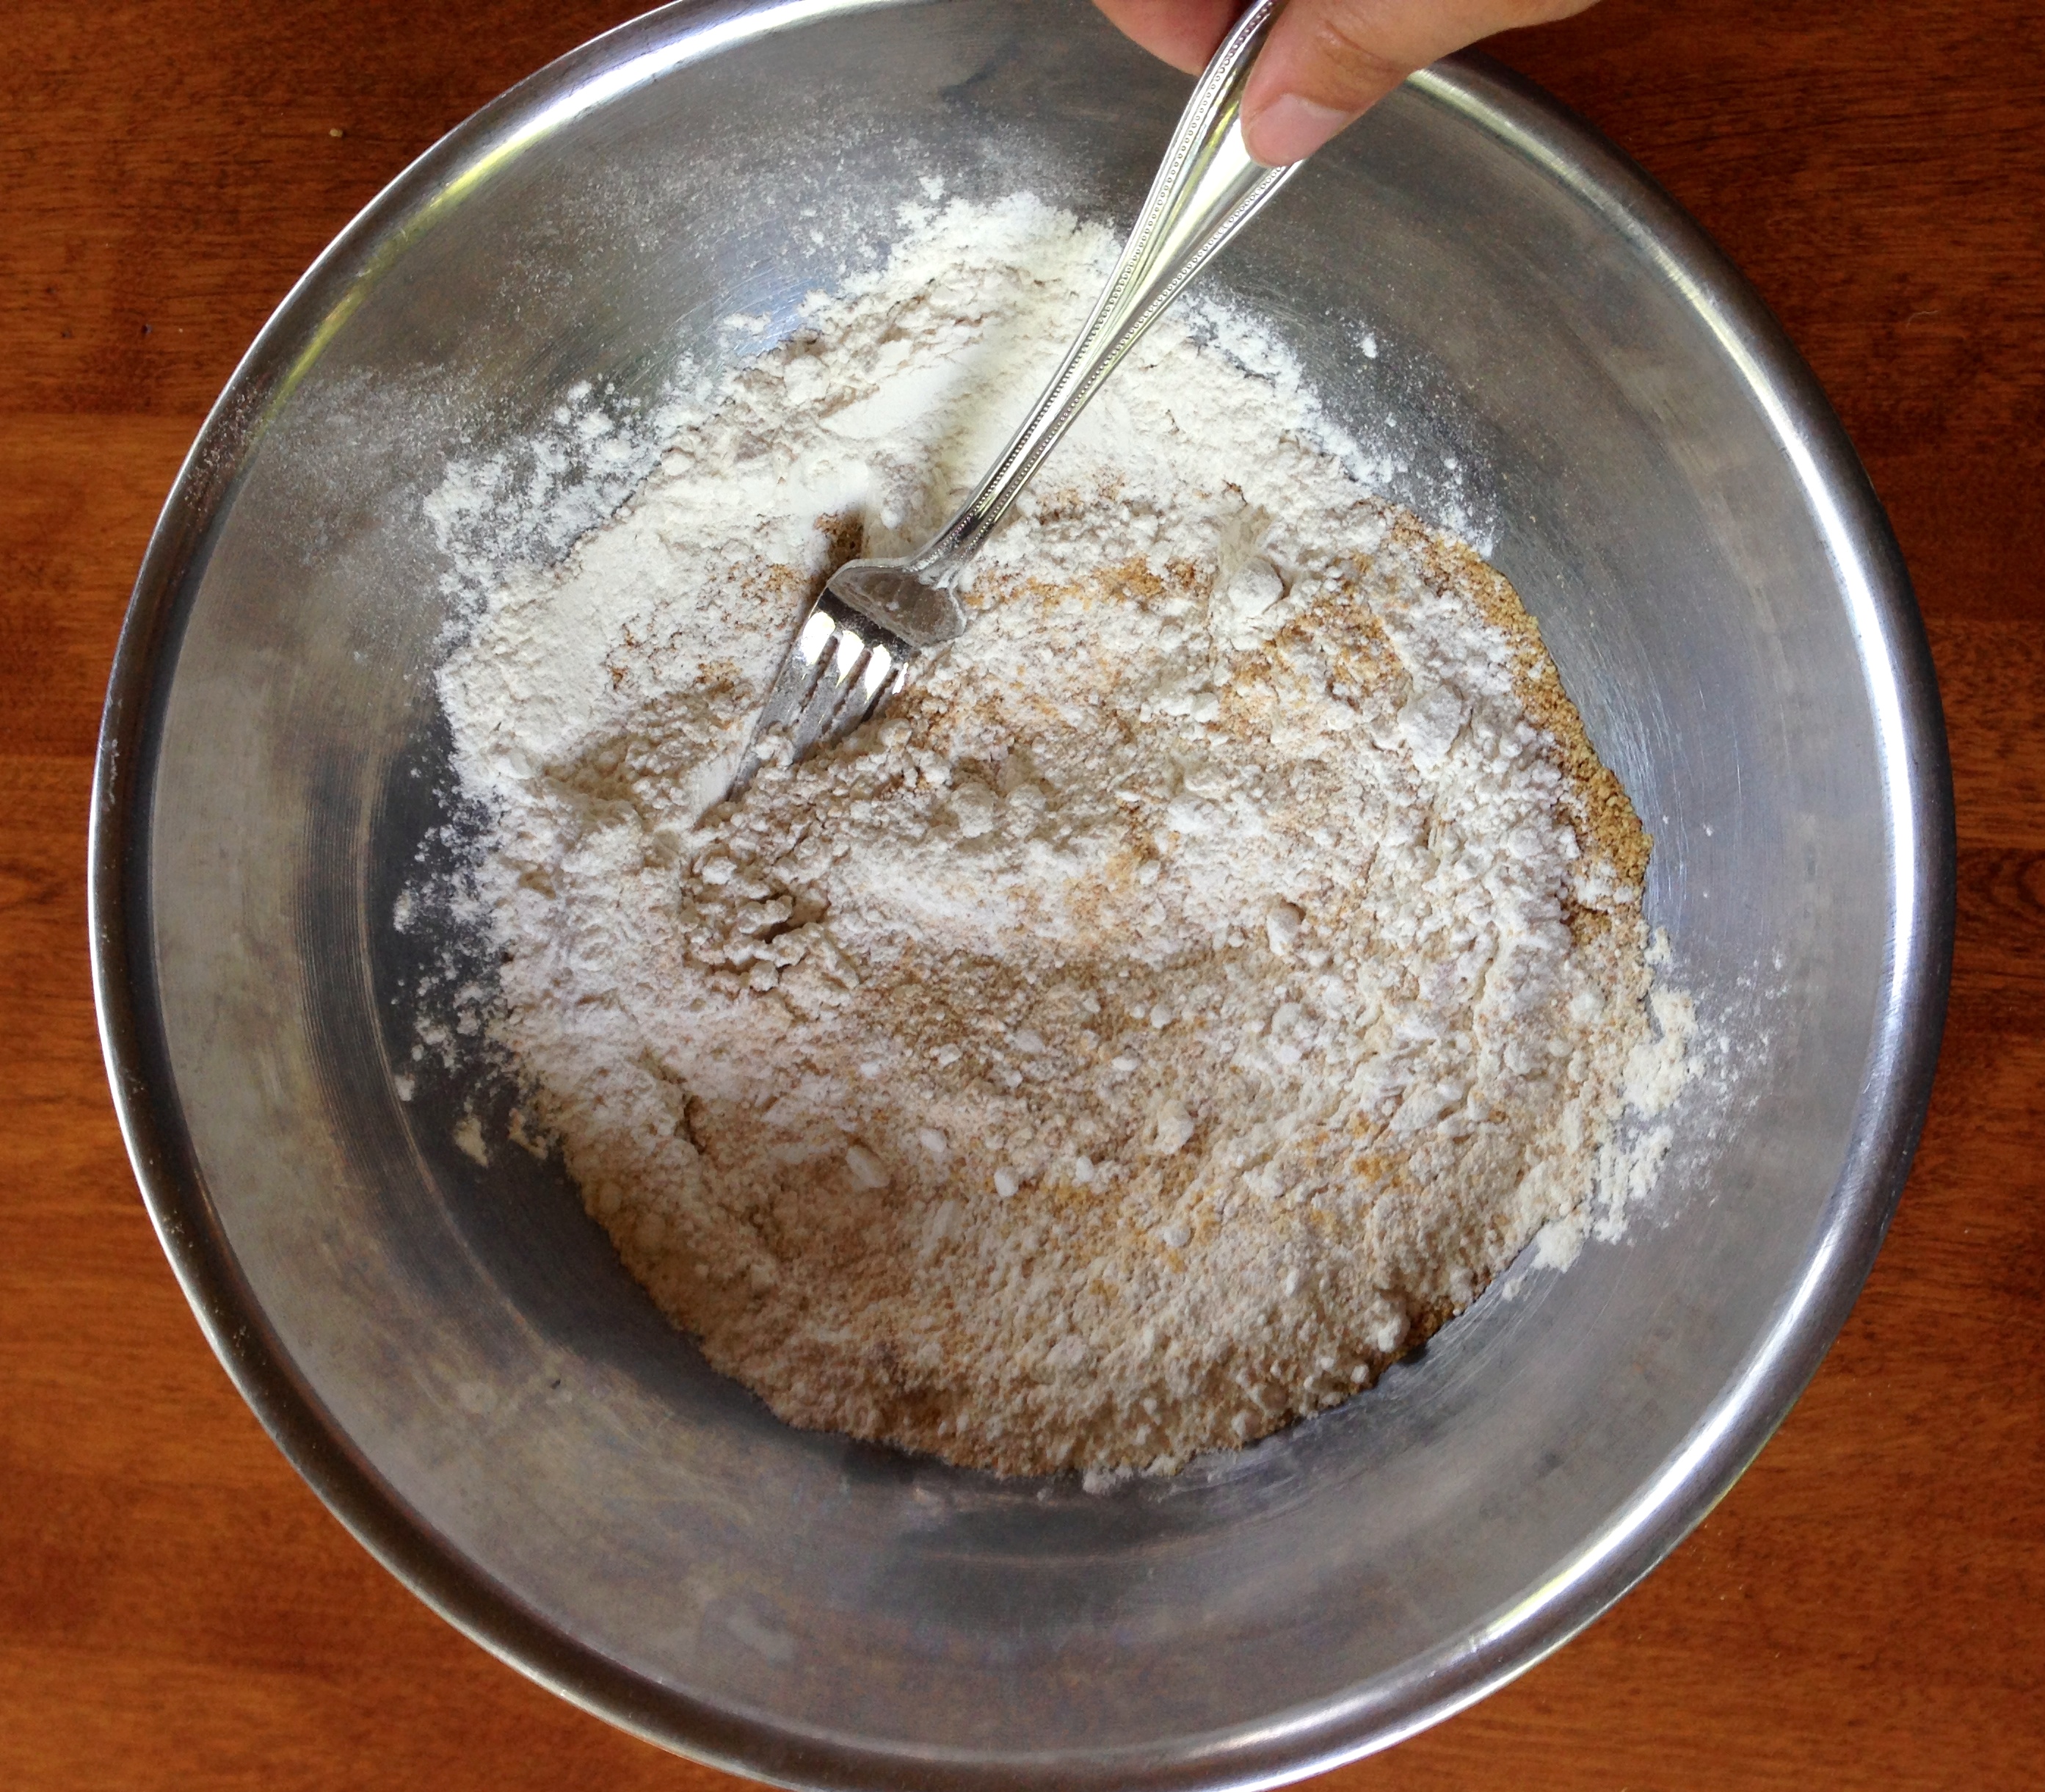
They say that desperation is the mother of invention, and this article is about to prove that saying true.
Plain, boring ranger cookies
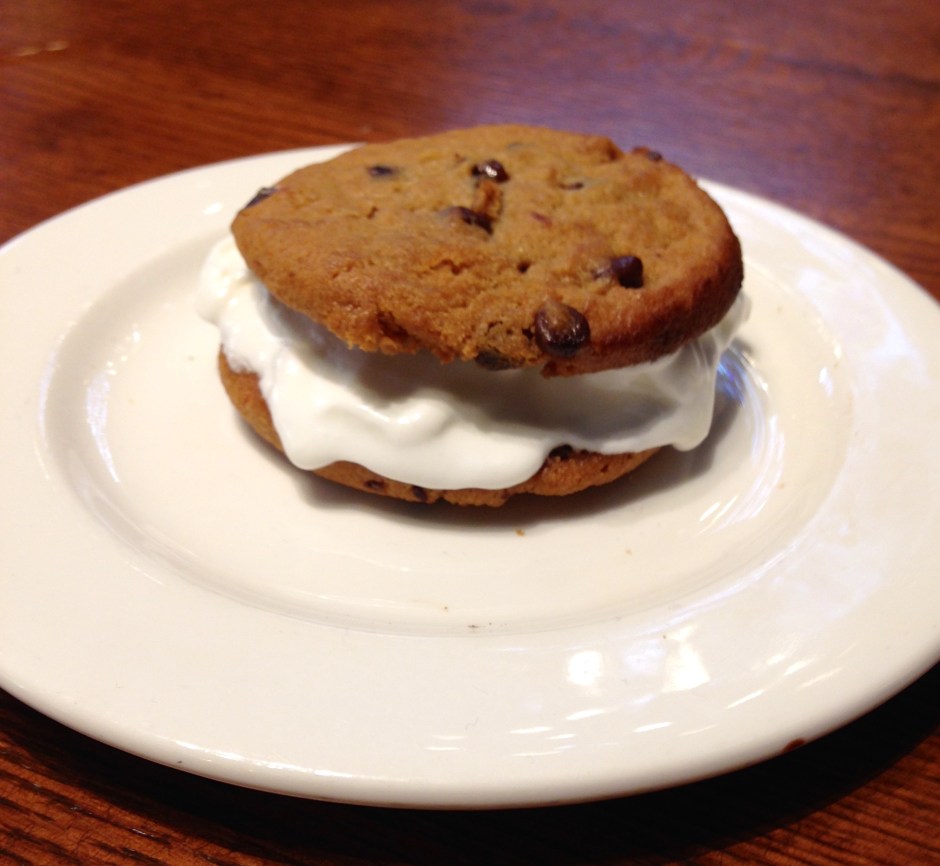
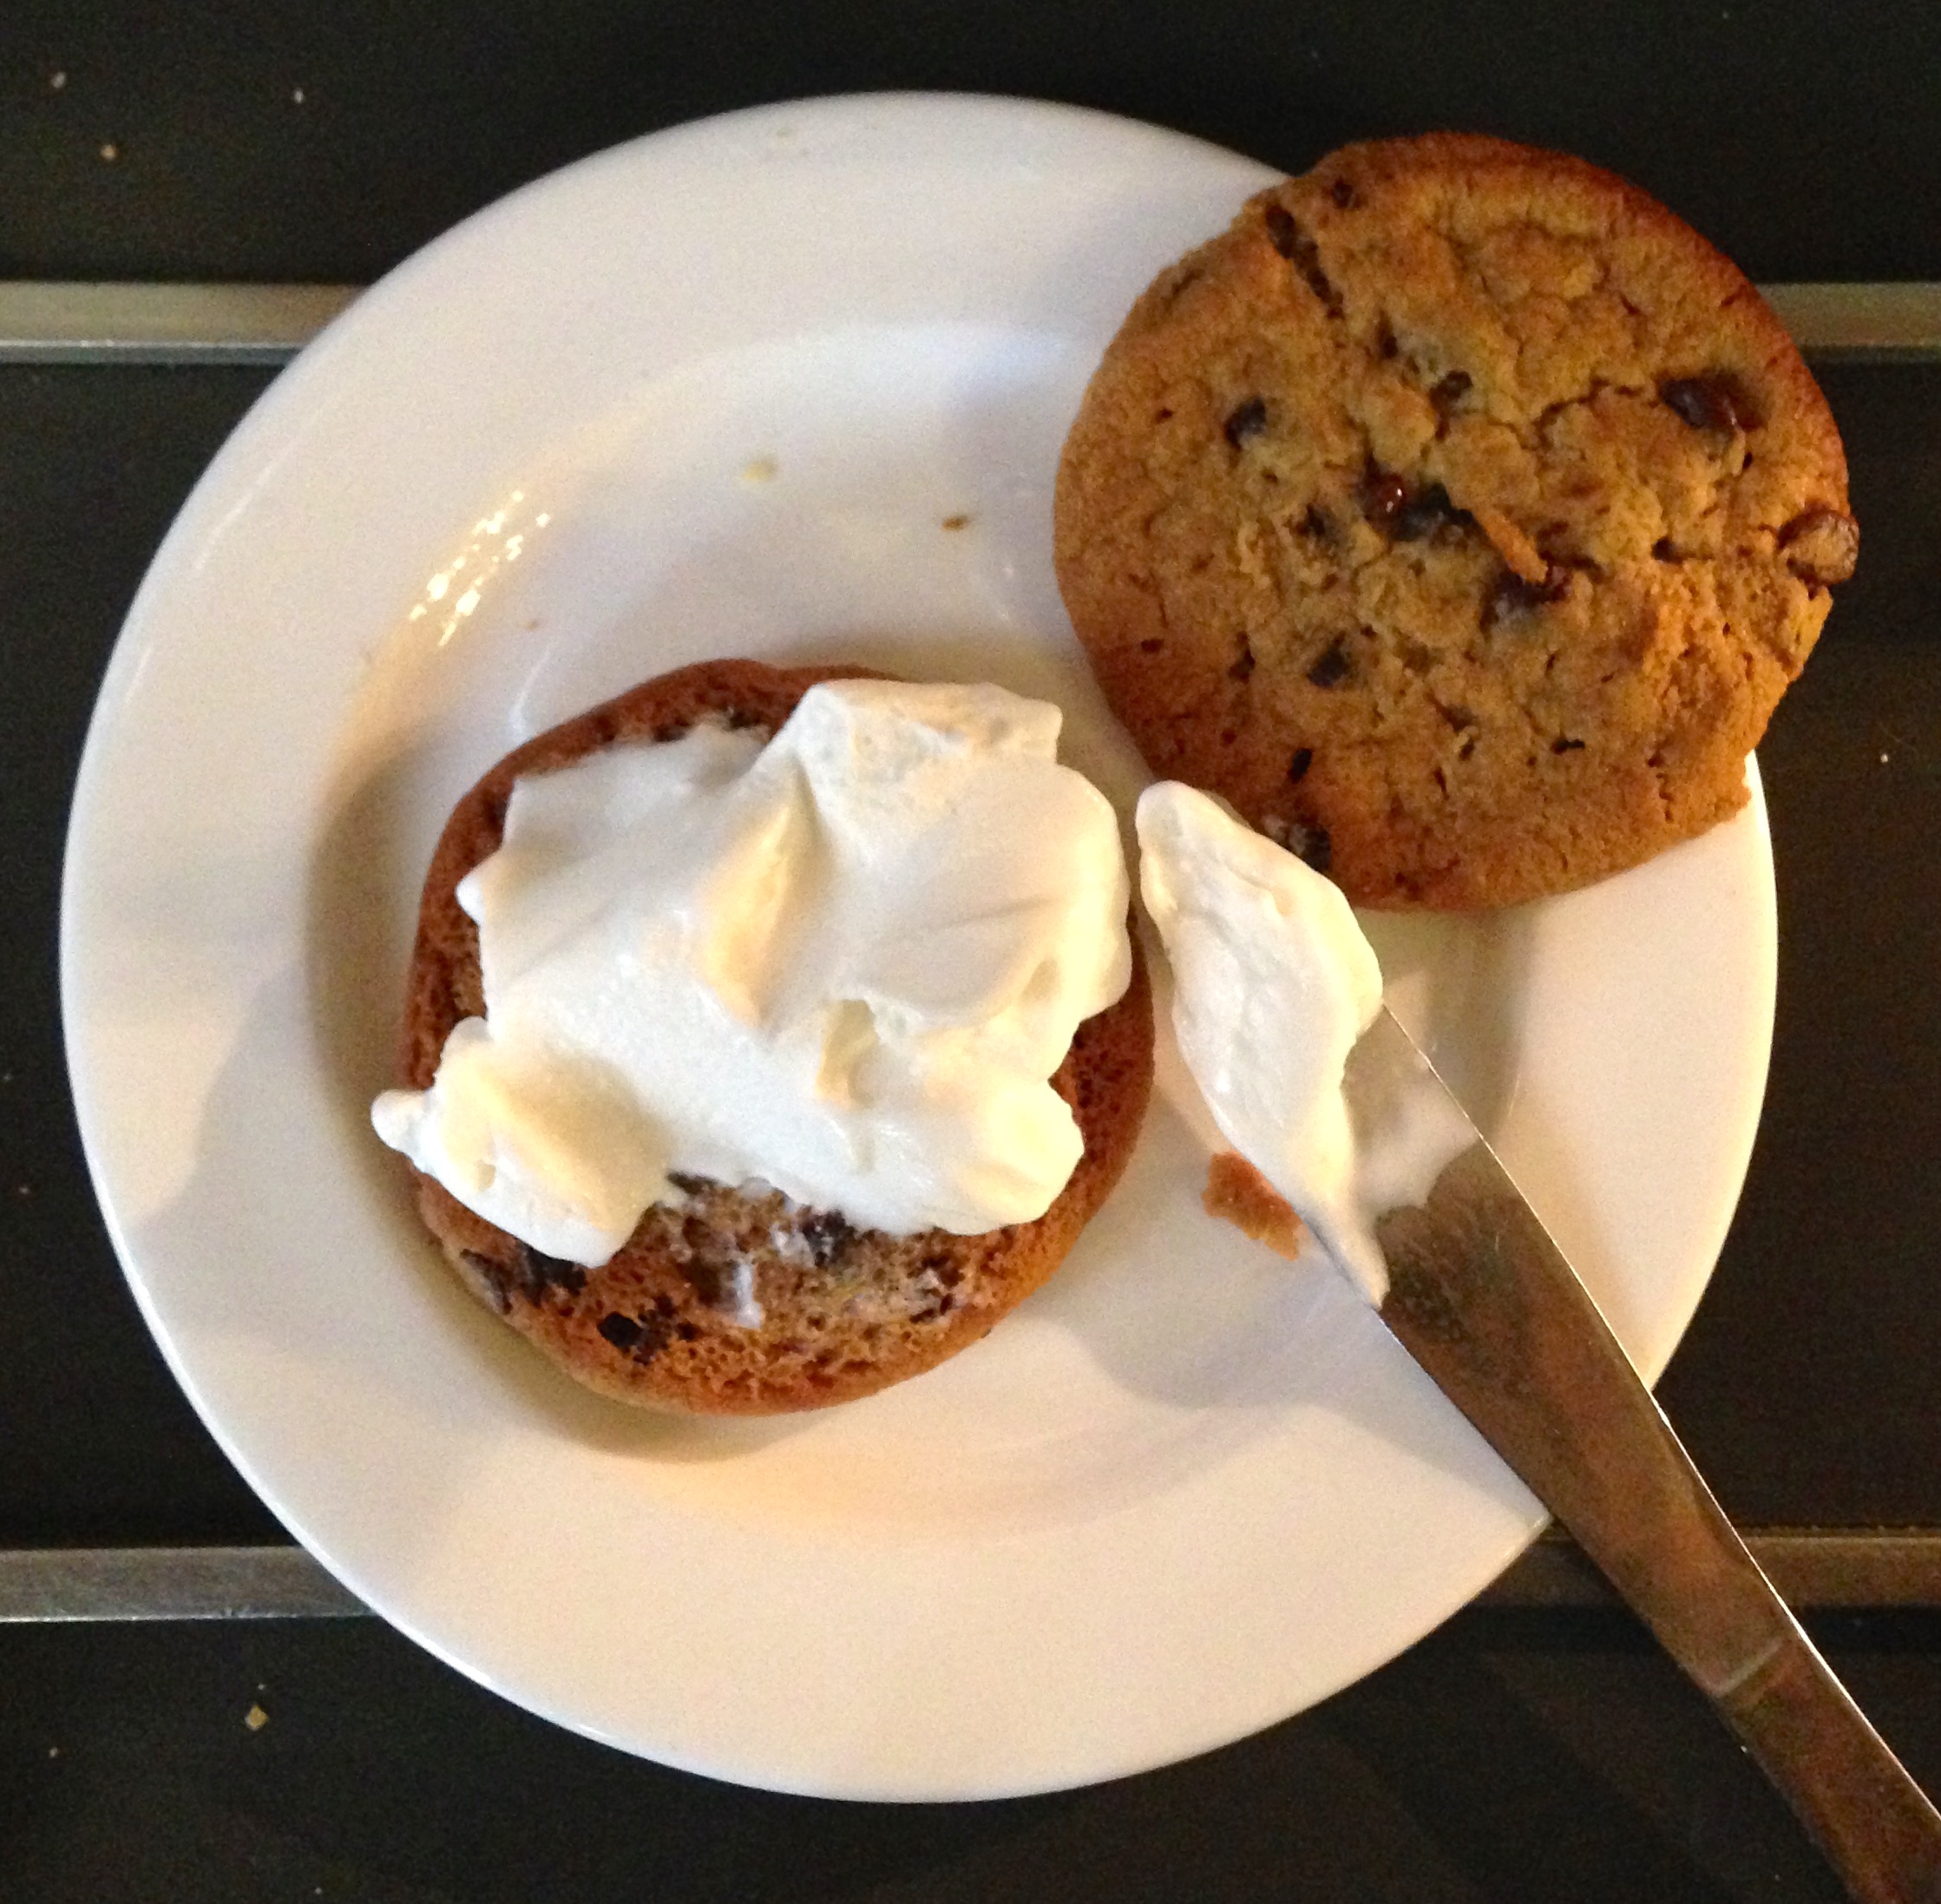
I think inspiration struck one night in Dunster dining hall. Brain break featured a tray of Ranger cookies, a sugary offering to the bleary-eyed students running on three hours of sleep. While Ranger cookies do have strong points, such as their satisfying crunch and slight hint of coconut, they obviously lack peanut butter. I picked up a cookie. My gaze landed on the ever-present container of peanut butter at brain breaks. I smeared a plump dollop of peanut butter onto the cookie, hesitantly took a bite, and…
Sweet, sweet success.
The creamy peanut butter provides perfect contrast to the crunch of the Ranger cookie. It also makes overbaked and dry cookies seem softer, more soothing on the tongue. Both organic peanut butter and normal peanut butter work; since the cookie contains more sugar than is probably necessary, the organic peanut butter will also taste sweet.
When it comes to baked goods, there are two kinds of people in this world: cookie people and cake people. I’ve always been infuriated when people ask me what camp I fall into because I don’t discriminate against any baked goods. And they’re so completely different that I don’t think it’s a fair question anyway. Cakes are for celebrations; cookies are for everyday consumption. But when asked if I’m a cookie or cookie bar person, I can confidently state that I fall into the latter camp.
For your sake, I really hope that you’ve consumed a chocolate chip cookie bar at least once in your lifetime. If you haven’t, you need to put down the computer, print out this recipe, and go whip up a batch right now because they are (1) so easy and (2) absolutely delicious. They pack the chewy interior and slightly crunchy exterior of a regular cookie, along with the buttery, vanilla-y, slightly salty goodness that we all love about a Toll House cookie, but then they do it better. They’re thicker, kind of like blondies, but chock full of chocolate and the consistency is more like a cookie.
This recipe is an old standby in my house, and for many reasons. It’s versatile: you can throw in M&Ms, coconut, toasted hazelnuts, or swirl in some peanut butter, Nutella, or salted caramel. They’re also the perfect base for a scoop of ice cream and a drizzle of hot fudge. It’s too easy: rather than spending as much time rolling out balls of cookie dough as you spent mixing up the dough itself, this dough you just spread in a pan and throw in the oven. I’m all about immediate gratification. And there’s just something about biting into a thick bar that’s intensely satisfying.
Chocolate chip cookies have done a good job of keeping their younger, more attractive sister hidden, but I think it’s time that she finally make her debut!
Everyone knows that dining hall meal: the one where the only dessert available is a chocolate chip cookie. Well, hope is not lost! In fact, you’ve just been presented with an opportunity to create a warm chocolate chip cookie ice cream sandwich. This sandwich balances the cool, creamy sweetness of vanilla soft-serve with the warm, chewy, gooey goodness of a chocolate chip cookie. And, if you’re feeling extra adventurous, add a pinch of salt to the cookie to make it just a bit more savory!
Ingredients:
2 chocolate chip cookies
Vanilla soft-serve (or ice cream, if it’s Sunday!)
Salt (optional)
Steps:
Put two chocolate chip cookies in one of the dining hall conveyor toasters. Remove when chocolate chips are somewhat melted.
Take a generous dollop of the vanilla soft-serve and, using a knife, smear it on one of the warm chocolate chip cookies.
Complete the sandwich by placing the other chocolate chip cookie on top of the cookie that is already covered with ice cream. If you’d like, sprinkle some salt on top of the whole sandwich. Enjoy!
I’m the first to acknowledge Valentine’s Day for what it really is, or what it should be: the chocolate holiday. If you’re in a relationship, chances are you’ll get a box of truffles with maybe a dozen red roses. If you’re single, rich and indulgent chocolate is undoubtedly better than any significant other anyway. And while chocolate raspberry torte, chocolate covered strawberries, chocolate lava cakes, or just about any form of chocolate all say romance, this Valentine’s Day why not spice things up? Because with enough snow outside to justify two consecutive snow days and even colder temperatures in the forecast, we could all use some warming up.
Aphrodisiacs are foods that spark romance. Oysters, avocadoes, chocolate, and strawberries are all examples. Cinnamon, as a spice, falls into this category as well. And because nothing says I love you like a freshly baked batch of cookies, Snickerdoodles would make the perfect addition to your Valentine’s Day celebration. The cinnamon brings the warmth; the butter brings the comfort, and the sugar brings the sweet. Best of all, these cookies are remarkably simple, and they stay moist and chewy for days.
The original recipe describes them as Mrs. Field’s copycats, which, while I’ve never had a Mrs. Field’s Snickerdoodle, seems to be the gold standard. Airy but substantial, not too crumbly and ridiculously chewy, the right amount of sweet and the perfect amount of cinnamon, these cookies beat out even some of my favorite chocolate-based alternatives. So this Valentine’s Day, whip up a batch and say I love you in the sweetest, warmest way possible.
In the bowl of an electric mixer, beat together the butter and sugars on medium speed until creamed and combined.
Once well combined, add the egg and vanilla, and beat on high speed until light and fluffy, scraping down the sides of the bowl.
Add the cinnamon, flour, baking soda, cream of tartar, and salt, beating on low and then medium speed, until just combined.
Important: The dough must be allowed to chill in the fridge for at least an hour. If you do not give it this time to set up, the cookies will come out flat and will not reach their full potential. During this time, make your special someone a beautiful handmade Valentine.
Once the cookies have chilled for at least an hour, remove from fridge. Preheat the oven to 350°F, and grease two baking sheets with cooking spray. In a small bowl, combine the extra sugar and cinnamon for rolling.
Using two spoons, scoop dough and roll into balls about 1-inch in diameter. Roll the balls in the cinnamon-sugar until fully coated, then place them on the baking sheet, at least one inch apart from each other.
Bake in the preheated for no more than 9 minutes. The cookies may appear under-baked and very soft in the middle: these are done! The cookies will firm up as they cool on the baking sheets, and over-baking them will leave them less chewy and soft.
Enjoy with your loved one/best friend/platonic Valentine!
These vegan cookies are incredibly flavorful and take only about 15 minutes of prep work with no baking required. The cookie base consists of oats and cashews with a creamy undertone. To complement the nuttiness of the cookie, the berry jam is fresh and delivers the right amount of fruitiness. These cookies are actually quite healthy, and so delicious that you just may eat the whole batch and not feel an ounce of guilt! This recipe makes 12 cookies, plus extra jam to fill two small mason jars.
Ingredients:
Cookies-
¾ cups cashews
¾ cups rolled oats
2 tbl coconut oil
2 dates
¼ tsp vanilla extract
Berry Jam-
2/3 cup fresh berries (raspberries, blueberries, etc.)
½ cup water
3 tbl chia seeds
½ cup dates
For the cookies-
Grind the cashews, coconut oil, and vanilla extract in a processor or blender until it forms a thick butter. Add the oats and the dates and pulse until it begins to stick together. Form into thumbprint cookies on wax paper and place in the fridge for at least an hour.
For the berry jam-
Add 2 tbl chia seeds to the water. Wait 10-15 minutes or until a thick, gelatinous consistency is achieved. Separately in a food processor or blender, blend the berries and the dates together until thoroughly combined. Add the remaining 1tbl of chia seeds and blend. Mix the water + chia gelatinous mixture with the blended berries and fill the cookies in with the jam.
Can keep in the refrigerator for up to three days.
When I think of s’mores, I think of summer, of sitting around a campfire with friends and family, stuffing my face with toasted marshmallows and Hershey’s chocolate sandwiched between two graham crackers. Even though summer is drawing to a close, and there probably won’t be many bonfires once school rolls around, that doesn’t mean that the delicious combination of marshmallows, chocolate, and graham crackers cannot still be enjoyed (read: stuffed into one’s face). This s’mores cookie cake recipe allows us have our s’mores— and eat a chocolate chip cookie, too!
You’ll need…
– A hand mixer (or a stand mixer fitted with a paddle attachment)
– A 9-inch pie or cake pan
Makes 1 9-inch cake
Ingredients:
½ cup unsalted butter, room temperature
¾ cup light brown sugar
1 tsp. vanilla extract
1 large egg, room temperature
1 cup all-purpose flour
1 cup graham cracker crumbs (9 graham crackers)
½ tsp. baking powder
¼ tsp. salt
1 heaping cup marshmallow crème (Fluff)
¾ cup chocolate chips (either semi-sweet or milk chocolate, or both!)
¾ cup mini marshmallows, or 6 large marshmallows ripped into small pieces
Directions:
Preheat oven to 350F degrees. Spray a 9-inch pie or cake pan with nonstick spray. Set aside.
In a large bowl using handheld or stand mixer, cream the butter and brown sugar together on medium speed. Beat for about 2 minutes until smooth and combined. Add the vanilla extract and egg, beating until combined. Scrape the sides of the bowl down as needed. Set aside.
Toss the flour, graham cracker crumbs, baking powder, and salt together until combined.
With the mixer running on low, slowly add the dry ingredients to the wet ingredients. Mix until combined.
Press 2/3 of the graham cookie dough into prepared pan.
Spread the marshmallow creme on top. This will be tricky since the marshmallow creme is so sticky, but do the best you can to get an even layer. Sometimes I spray the bottom of a spatula with nonstick spray to spread it around. Sprinkle the marshmallow creme with chocolate chips and marshmallows.
Mold the remaining cookie dough into flat pieces and layer on top of the chocolate chips. You won’t have enough dough to make one single layer, so some chocolate chips and marshmallow creme will be exposed. That is ok! You want to see the marshmallow on top. Sprinkle the top of the cookie cake with a few more chocolate chips on top, if you prefer.
Bake the cookie cake for 25 minutes, or until the top is very lightly golden brown. Allow to cool for at least 30 minutes before digging in. The cookie cake looks and tastes best on the same day, as the marshmallow becomes too hard overtime.
Who doesn’t like a cookie and a little controversy? The Neiman-Marcus cookie recipe has been circulating on forwarded emails since the invention of email itself. Long story short, a woman resorted to paying $250 for a recipe she thought was going to cost her $2.50, and as her sweet revenge, she decided to send the recipe to everyone she knew. Whether you bake them to “stick it to the man” or because two types of chocolate in one cookie seems revolutionary, these cookies will without a doubt disappear if left unattended.
Yield: 112 Cookies
Note: Yes, 112 cookies. If for some reason you don’t want that many cookies at once, the cookie dough keeps very well in the freezer. While you could just simply halve the recipe, it may be worth your while to bake just a few batches and store the rest in a sealed container in the freezer for a rainy day. Trust me, it’s great to make cookies and only have to wash half as many dishes. With that being said, make sure you take the dough out of the freezer before you want to start baking; I suggest 1-2 hours depending on the size of the container.
Equipment:
A food processor (or blender)
Cookie sheets
Hand mixer optional
Ingredients:
2 cups butter (softened)
2 cups granulated sugar
2 cups brown sugar
4 eggs
2 tsp. vanilla
2 tsp. soda
2 tsp. baking powder
1 tsp. salt
4 cups flour
5 cups oats (blended to a fine powder in a food processor or blender)
24 oz. chocolate chips
1 8 oz. Hershey Bar (grated or blended in food processor)
Optional: 3 cups chopped nuts (we suggest walnut)
Directions:
First, use food processor to blend the oats into a fine powder; set aside in a bowl. Next, grate the Hershey bar using either a standard hand-grater, or by breaking the Hershey bar into quarters and blend with food processor until broken into small bits about the consistency of brown sugar; set aside. Be careful not to blend the bar too long, or pieces will begin to melt and crumble together.
Heat oven to 375 degrees Fahrenheit. In a large mixing bowl, combine the softened butter and both sugars. Once well-combined, add the eggs and vanilla. Next, mix in the flour, oatmeal, salt, baking powder, baking soda and salt. Finally, add the chocolate chips, Hershey bar bits, and nuts if you are using them.
Using a cookie scoop, spoon, or your hands, form the cookies into about 1-inch balls. Leave about 1 ½ inches to 2 inches between cookies when placing them on the cookies sheet; they will spread out! I personally am a fan of the 3-2-3-2 cookie formation, but any arrangement will do the trick.
Bake each sheet pan for about 10 minutes at 375 degrees Fahrenheit.
Since this is a butter cookie, make sure to keep them in a sealed container (if they even last that long before being eaten!).
[Where can you find a blender on campus? Try the Women’s Center kitchen in Canaday B Entryway or the Freshmen Dean’s Office.]