Ramen Redone — with Kale Chips, Carrots, and Soft-Boiled Egg

By Joseph Winters ’20

Shortly before high school graduation, I got a ton of gifts from family and friends. There were Starbucks gift cards galore, outdoor gear, straight-up cash, and even a set of ultra-portable camping dishes. Probably the most interesting gift I received, however, was a microwave ramen cooker—make ramen in your dorm room, the packaging claimed. I grinned at the note included with the gift, implying that I would be eating a lot of ramen in the coming months.
The ramen stereotype is a funny phenomenon. It seems to me that a majority of campuses offer some sort of dining plan; despite the economic benefit of instant ramen packs, your average college student isn’t actuallyrelying on nightly ramen meals.
But, despite its bad reputation, ramen can be delicious. I’m not talking about Instant Lunch or Cup-o-Noodles, which are pretty bland and probably not the most nutritious options, but fancier, more hipster-esque ramen. If you’ve ever been to Wagamama, you’ll know what I mean. The other day, I was craving something Wagamama-like: the comfort of ramen, but in a healthier, more flavorful form.
Off to the grocery store I went, gathering some ingredients for my own version of the ramen stereotype. What I ended up making was delicious—a hearty, umami bowl of warm ramen with a little crunch and a little spice. It involves kale chips, which, if you haven’t tried them, are addictive. They’re basically a really convenient and “healthy” vehicle to ingest a bunch of butter/olive oil and salt. This recipe also includes soft-boiled eggs, which is another favorite of mine. If you’re a fan of eggs over easy, you’ll love soft-boiled eggs. The yolk doesn’t get all chalky and crumbly like it does in a hard-boiled egg—instead, it’s all melty and gooey. Of course, it can be substituted by a hard-boiled egg, but skeptics should definitely give the soft-boiled version a try first.

img_0054

Ramen Redone — with Kale Chips, Carrots, and Soft-Boiled Egg
Servings: 1
Time: 30 minutes
Ingredients:
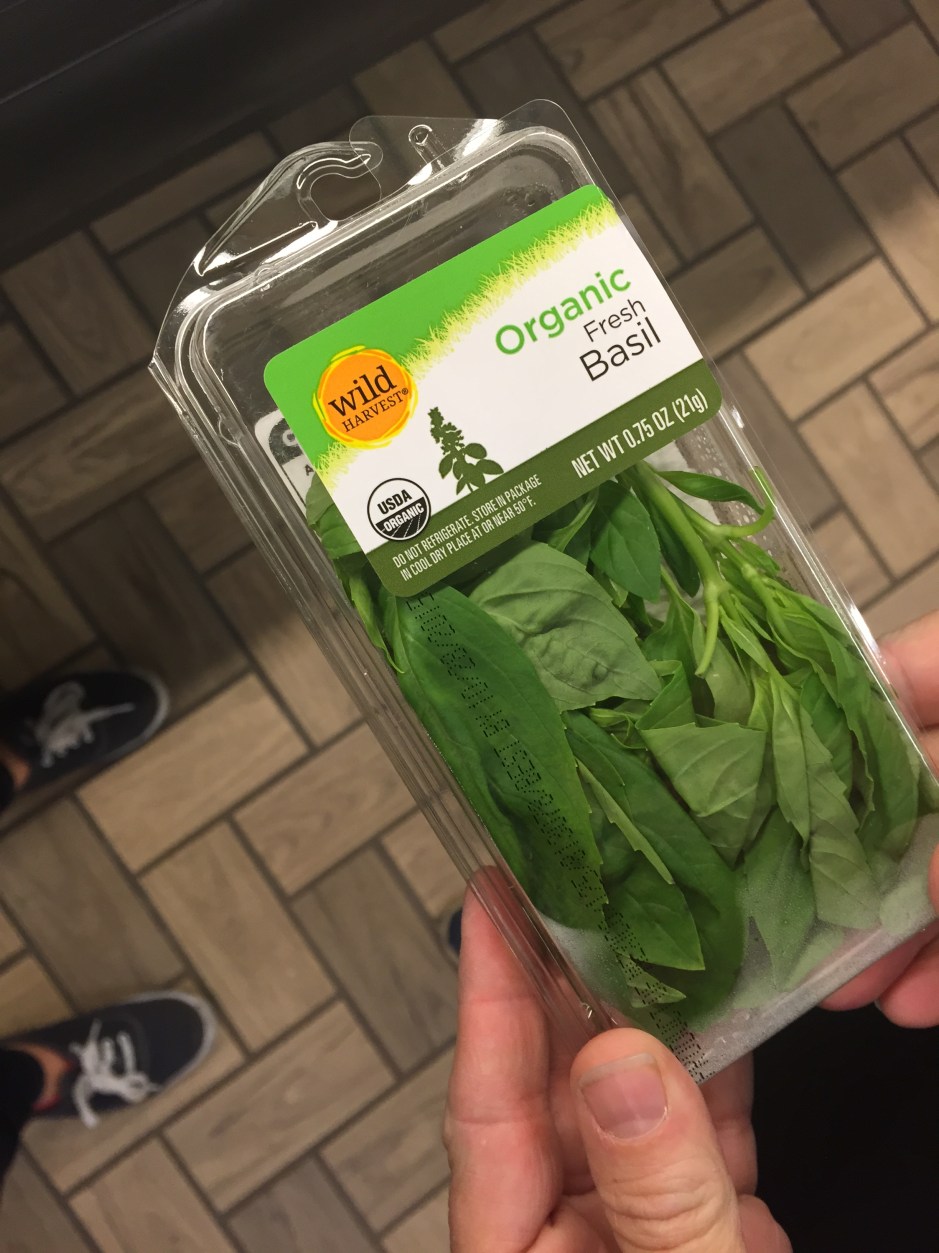
1 package ramen and spice mix (I used a millet and brown rice version from Lotus Foods, which I liked because it was whole grain and had only recognizable ingredients)
1 carrot
3-5 leaves of kale (vary depending on how much you like kale chips)
1 egg
butter or olive oil
salt
pepper
Directions:
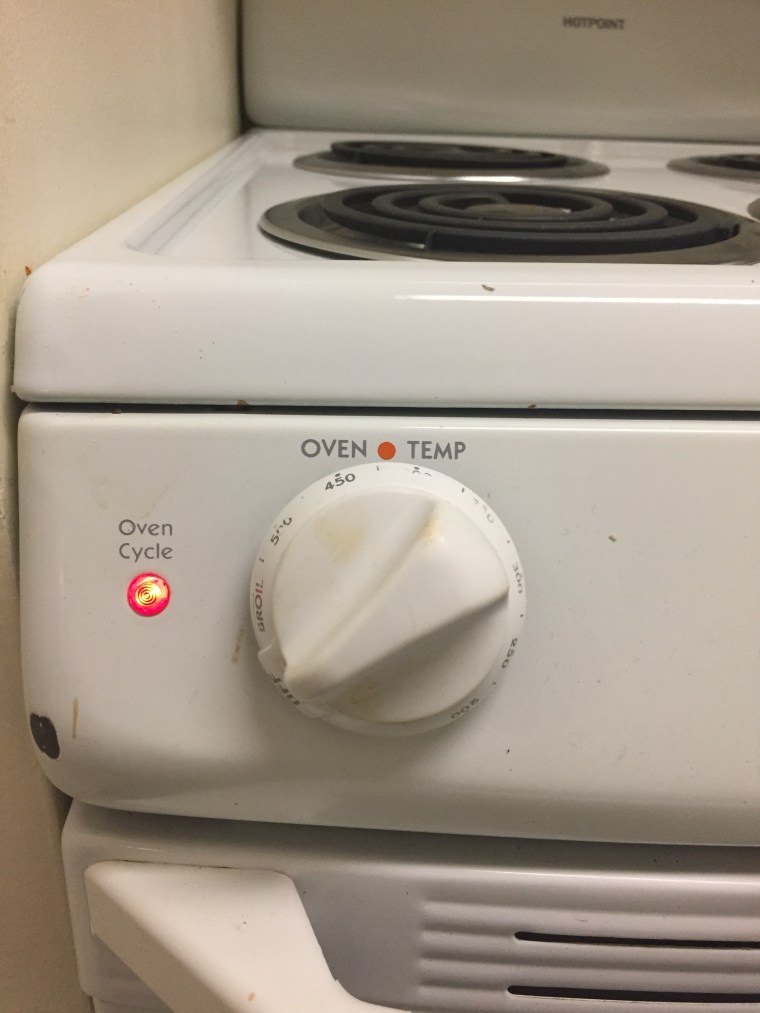
  1. Preheat oven to 375.
  2. Bring two small pots of water to a boil.
  3. While waiting for water to boil, tear kale into chip-sized pieces. Julienne (slice very thinly) carrot.
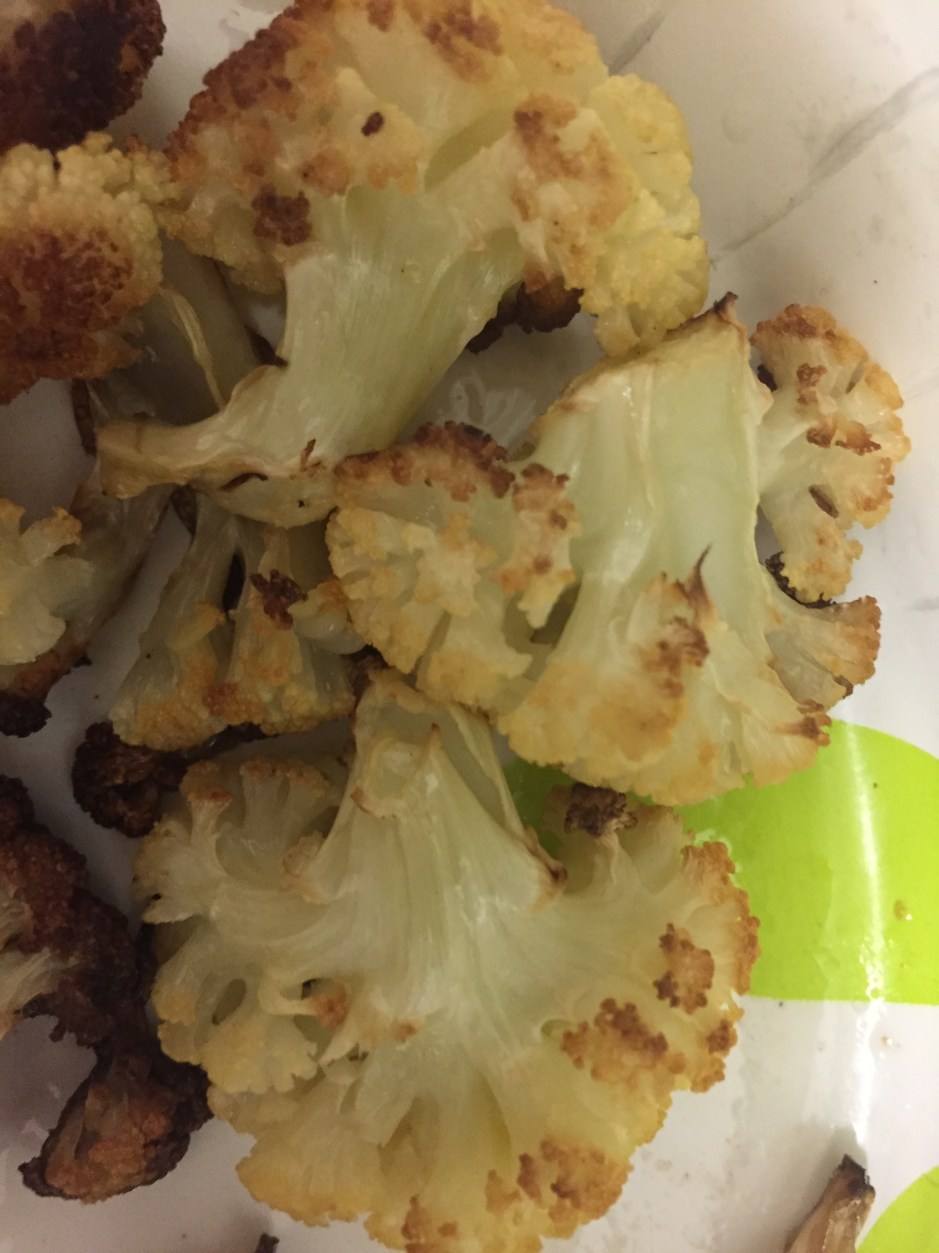
  4. Toss kale in a little bit of melted butter or olive oil, salt, pepper, and whatever other spices. Spread coated kale onto a cookie sheet lined with parchment paper, and place in the oven for ten to fifteen minutes, or until crisp but not burned.
  5. While kale is cooking, prepare the soft-boiled egg: place the raw egg in the pot of boiling water and set a timer for six minutes. When the timer goes off, remove the egg and shock it in ice water to stop the cooking.
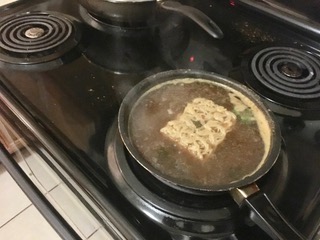
  6. Prepare the ramen according to package instructions.
    img_0057
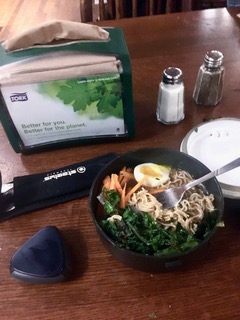
  7. Assemble the ramen bowl: pour the cooked ramen and broth into a bowl. Arrange the kale chips and julienned carrot around the edge of the bowl. Peel the soft-boiled egg and gently slice it down the middle (length-wise). Place the egg halves in the center of the bowl, yolk-side up (the yolk will be liquid-y and delicious, so be careful not to spill!).
  8. Season with more salt and/or pepper (and anything else—soy sauce or sriracha would probably be great) and enjoy!

img_0066


Crispy Cauliflower

By Audrey Thorne ’19

Cauliflower is secretly one of the most delicious vegetables. It is good fresh, boiled, fried, baked, or broiled. Cauliflower is actually self-caramelizing, which means that the only seasoning it needs is a little bit of oil and some heat. In my family, when we make baked cauliflower with dinner, it is always the first dish to go. If you could just smell this healthy, surprisingly tasty treat you would be amazed.

What You Will Need:

Fresh cauliflower

Olive Oil

A pan

An oven

img_2657

Steps

  1. Preheat the oven to 425 degrees

  2. Slice the cauliflower into small chunks

  3. Put the cauliflower into a pan

  4. Drizzle a generous amount of olive oil over the cauliflower

  5. Bake for 25 minutes or until brown

  6. Enjoy

Easy Dorm Tacos

By Audrey Thorne ’19


Ingredients:

1 pound of ground beef

1 taco seasoning mix

Soft or hard shells

Optional:

Corn

Sour cream

Mexican cheese


Cooking Supplies:

1 pan

1 spatula or fork


Step 1: Place the ground beef in the pan and turn the heat on high. Use the spatula or fork to break the meat into smaller pieces, as small as possible. After about ten minutes, all the meat should be brown.

Optional Step 1.5: If you want low fat tacos, you can remove the excess fat using a paper towel and replenish the moisture with approximately 1 cup of water. Let most of this water absorb into the meat before moving on to step 2.

Step 2: Lower the temperature to medium. Add taco seasoning mix and stir it into the meat.

Step 3: Warm your shell of choice for 30 seconds in the microwave.

Step 4: Take your shell of choice, fill it with your seasoned meat, and add your toppings of choice.

Step 5: Enjoy!

7

Fresh Dorm Pesto as Easy as 1, 2, 3

by Audrey Thorne ’19
image3
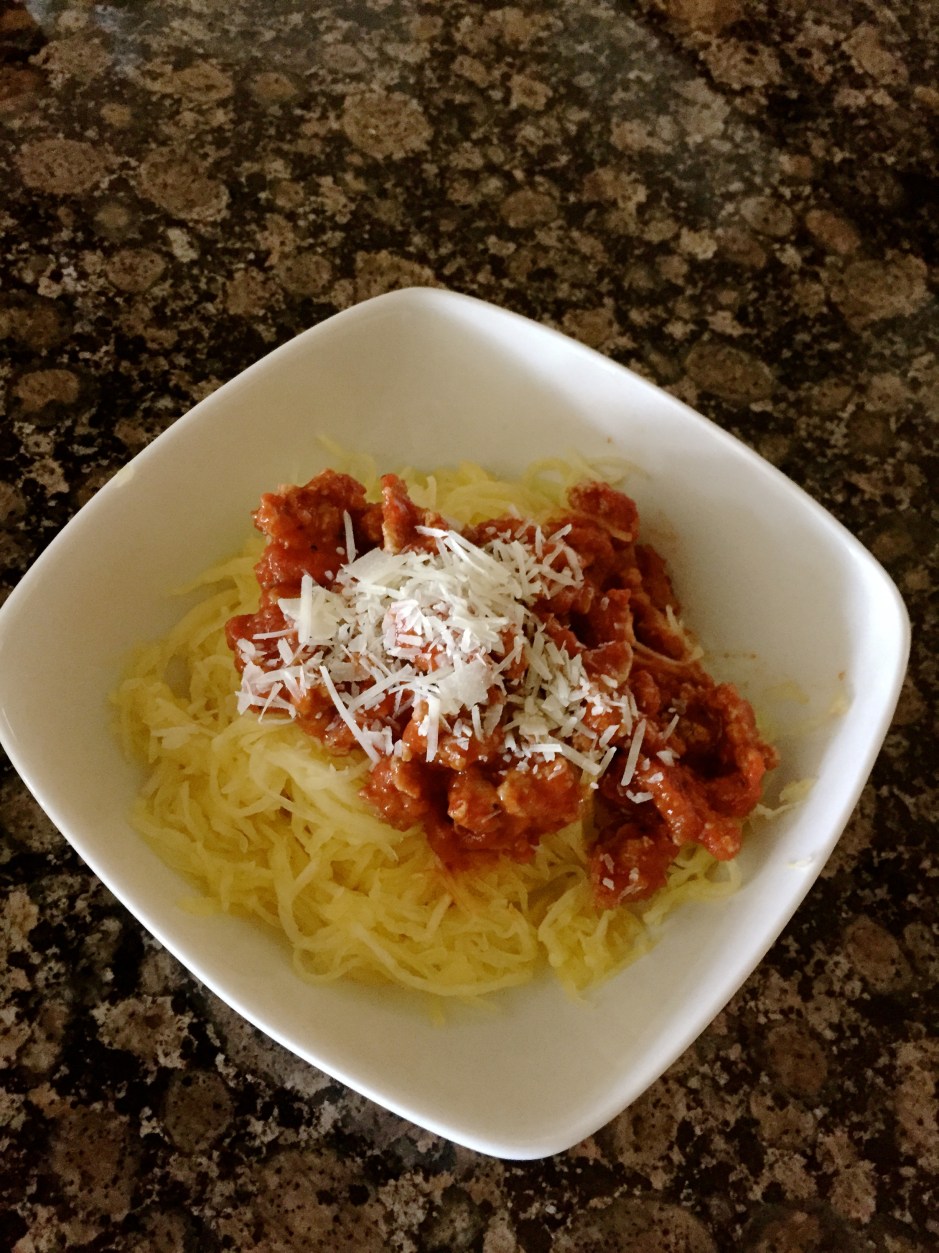
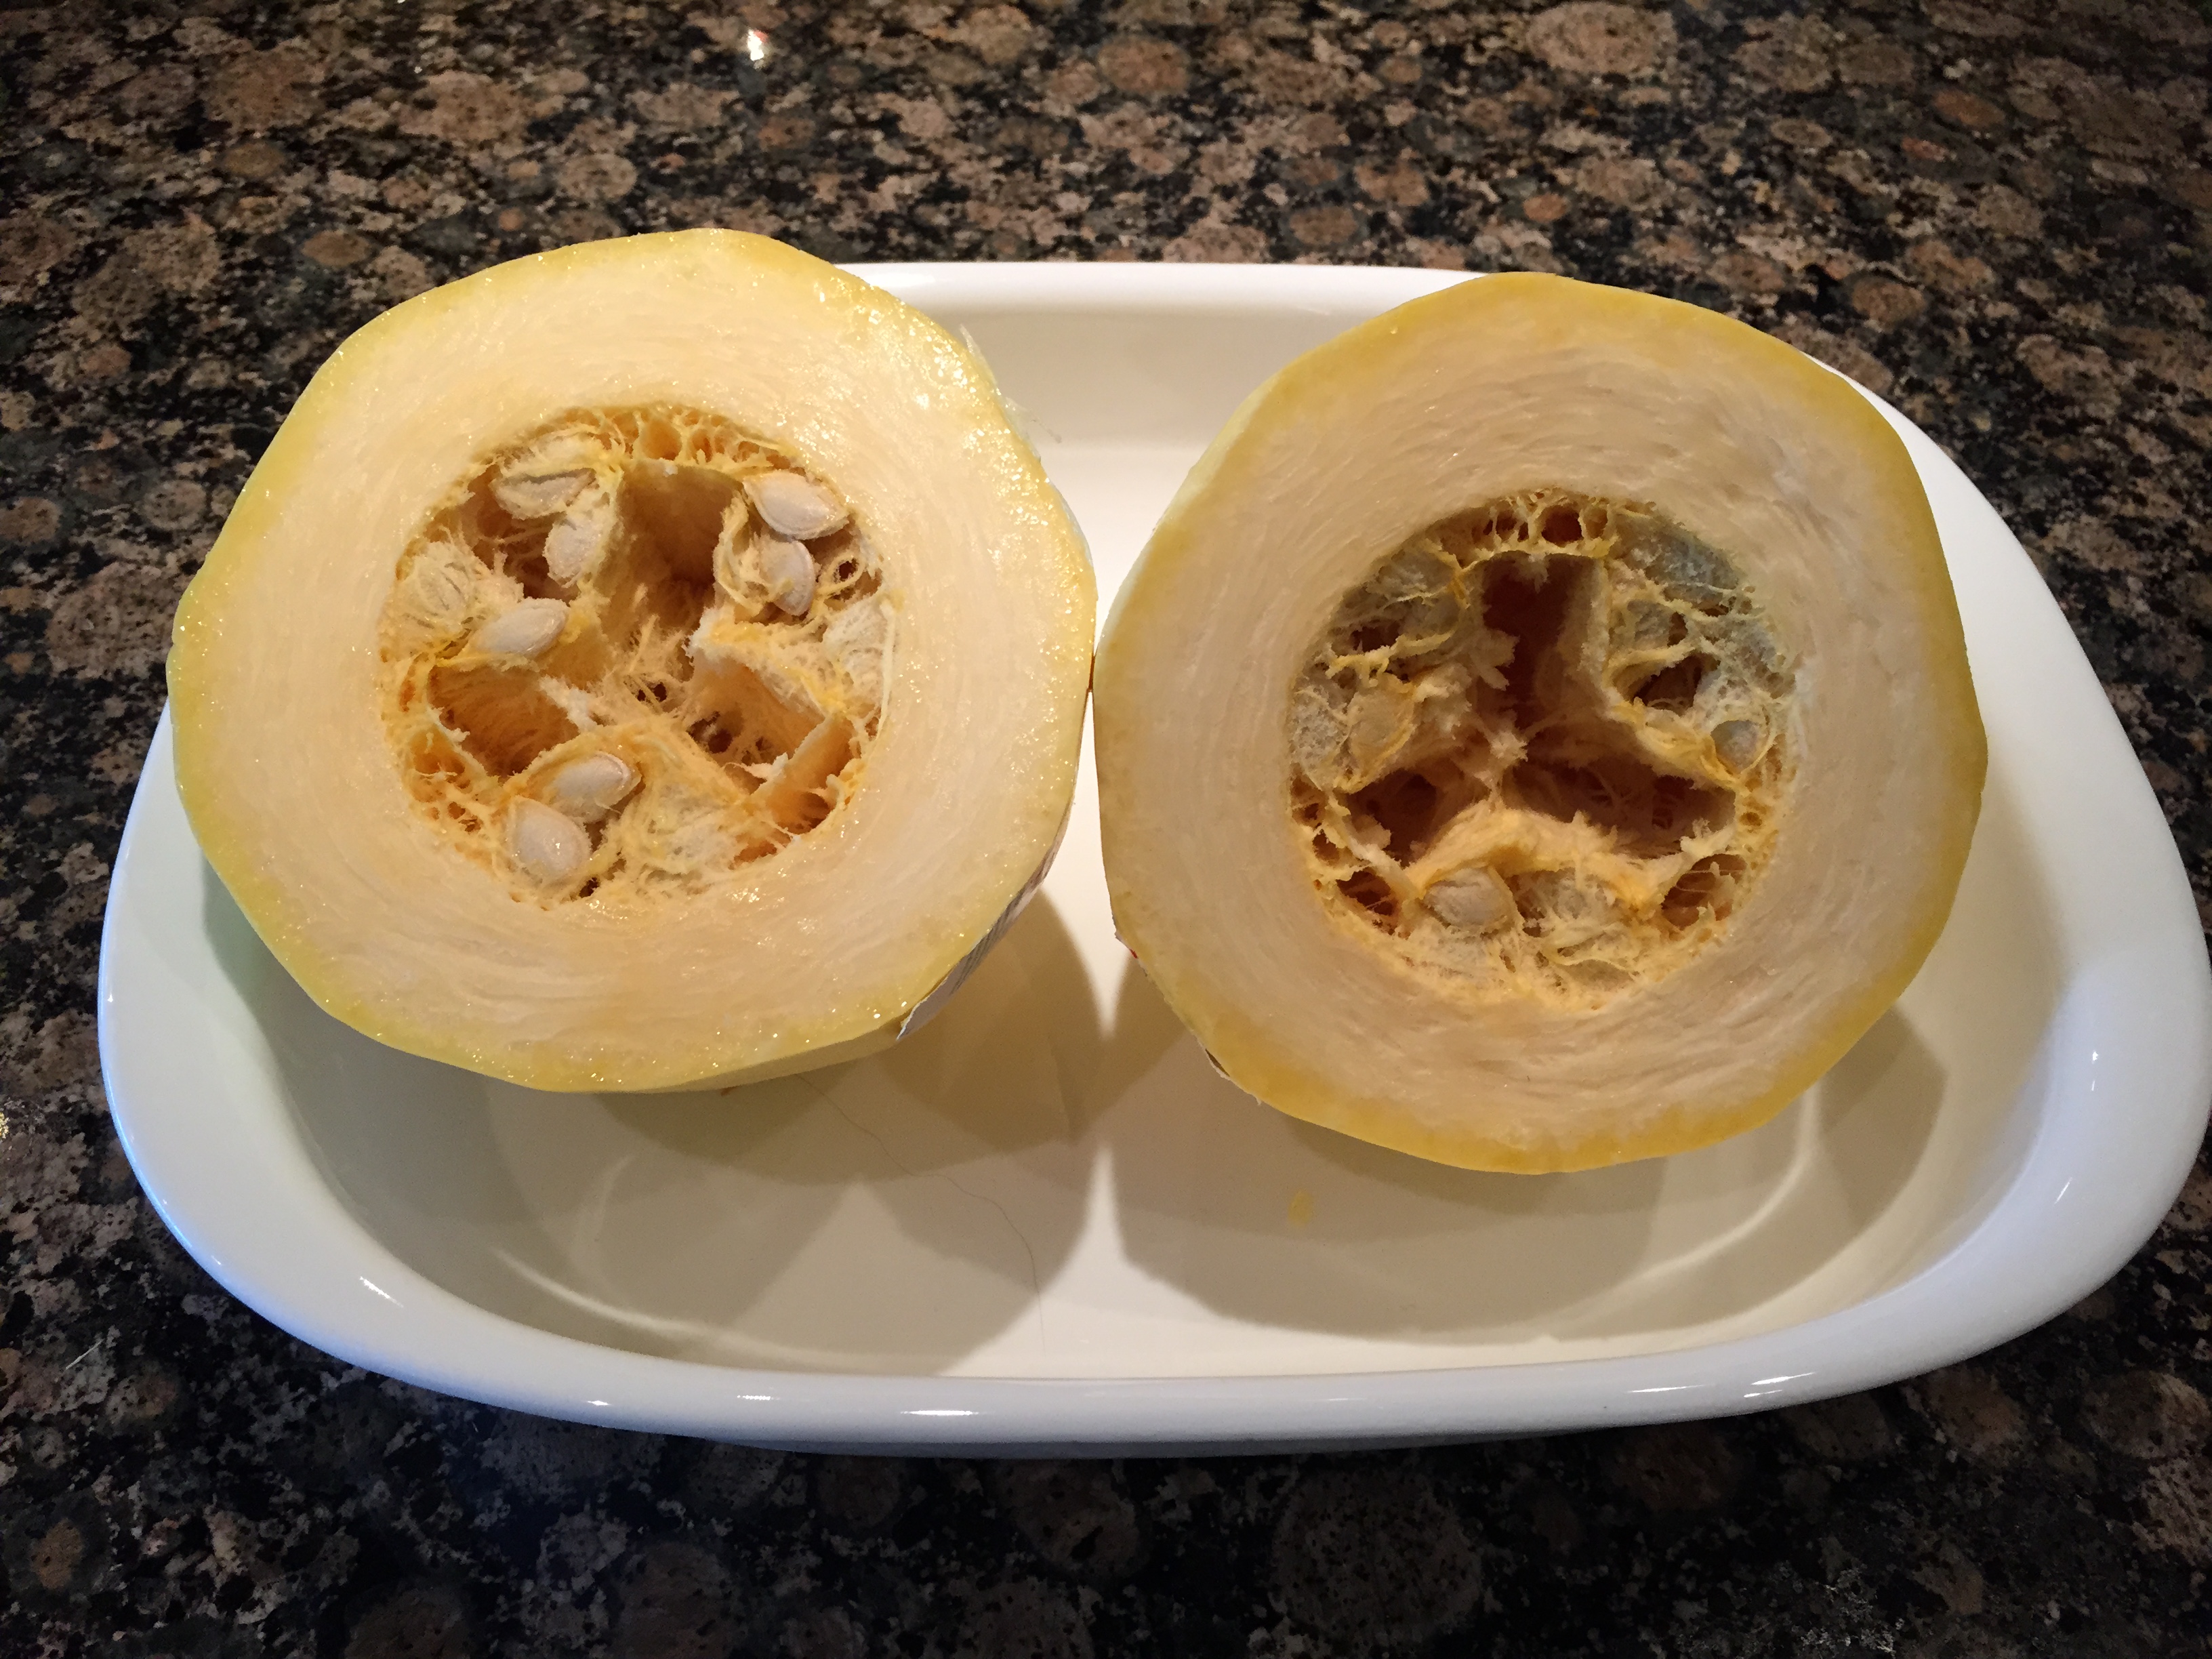
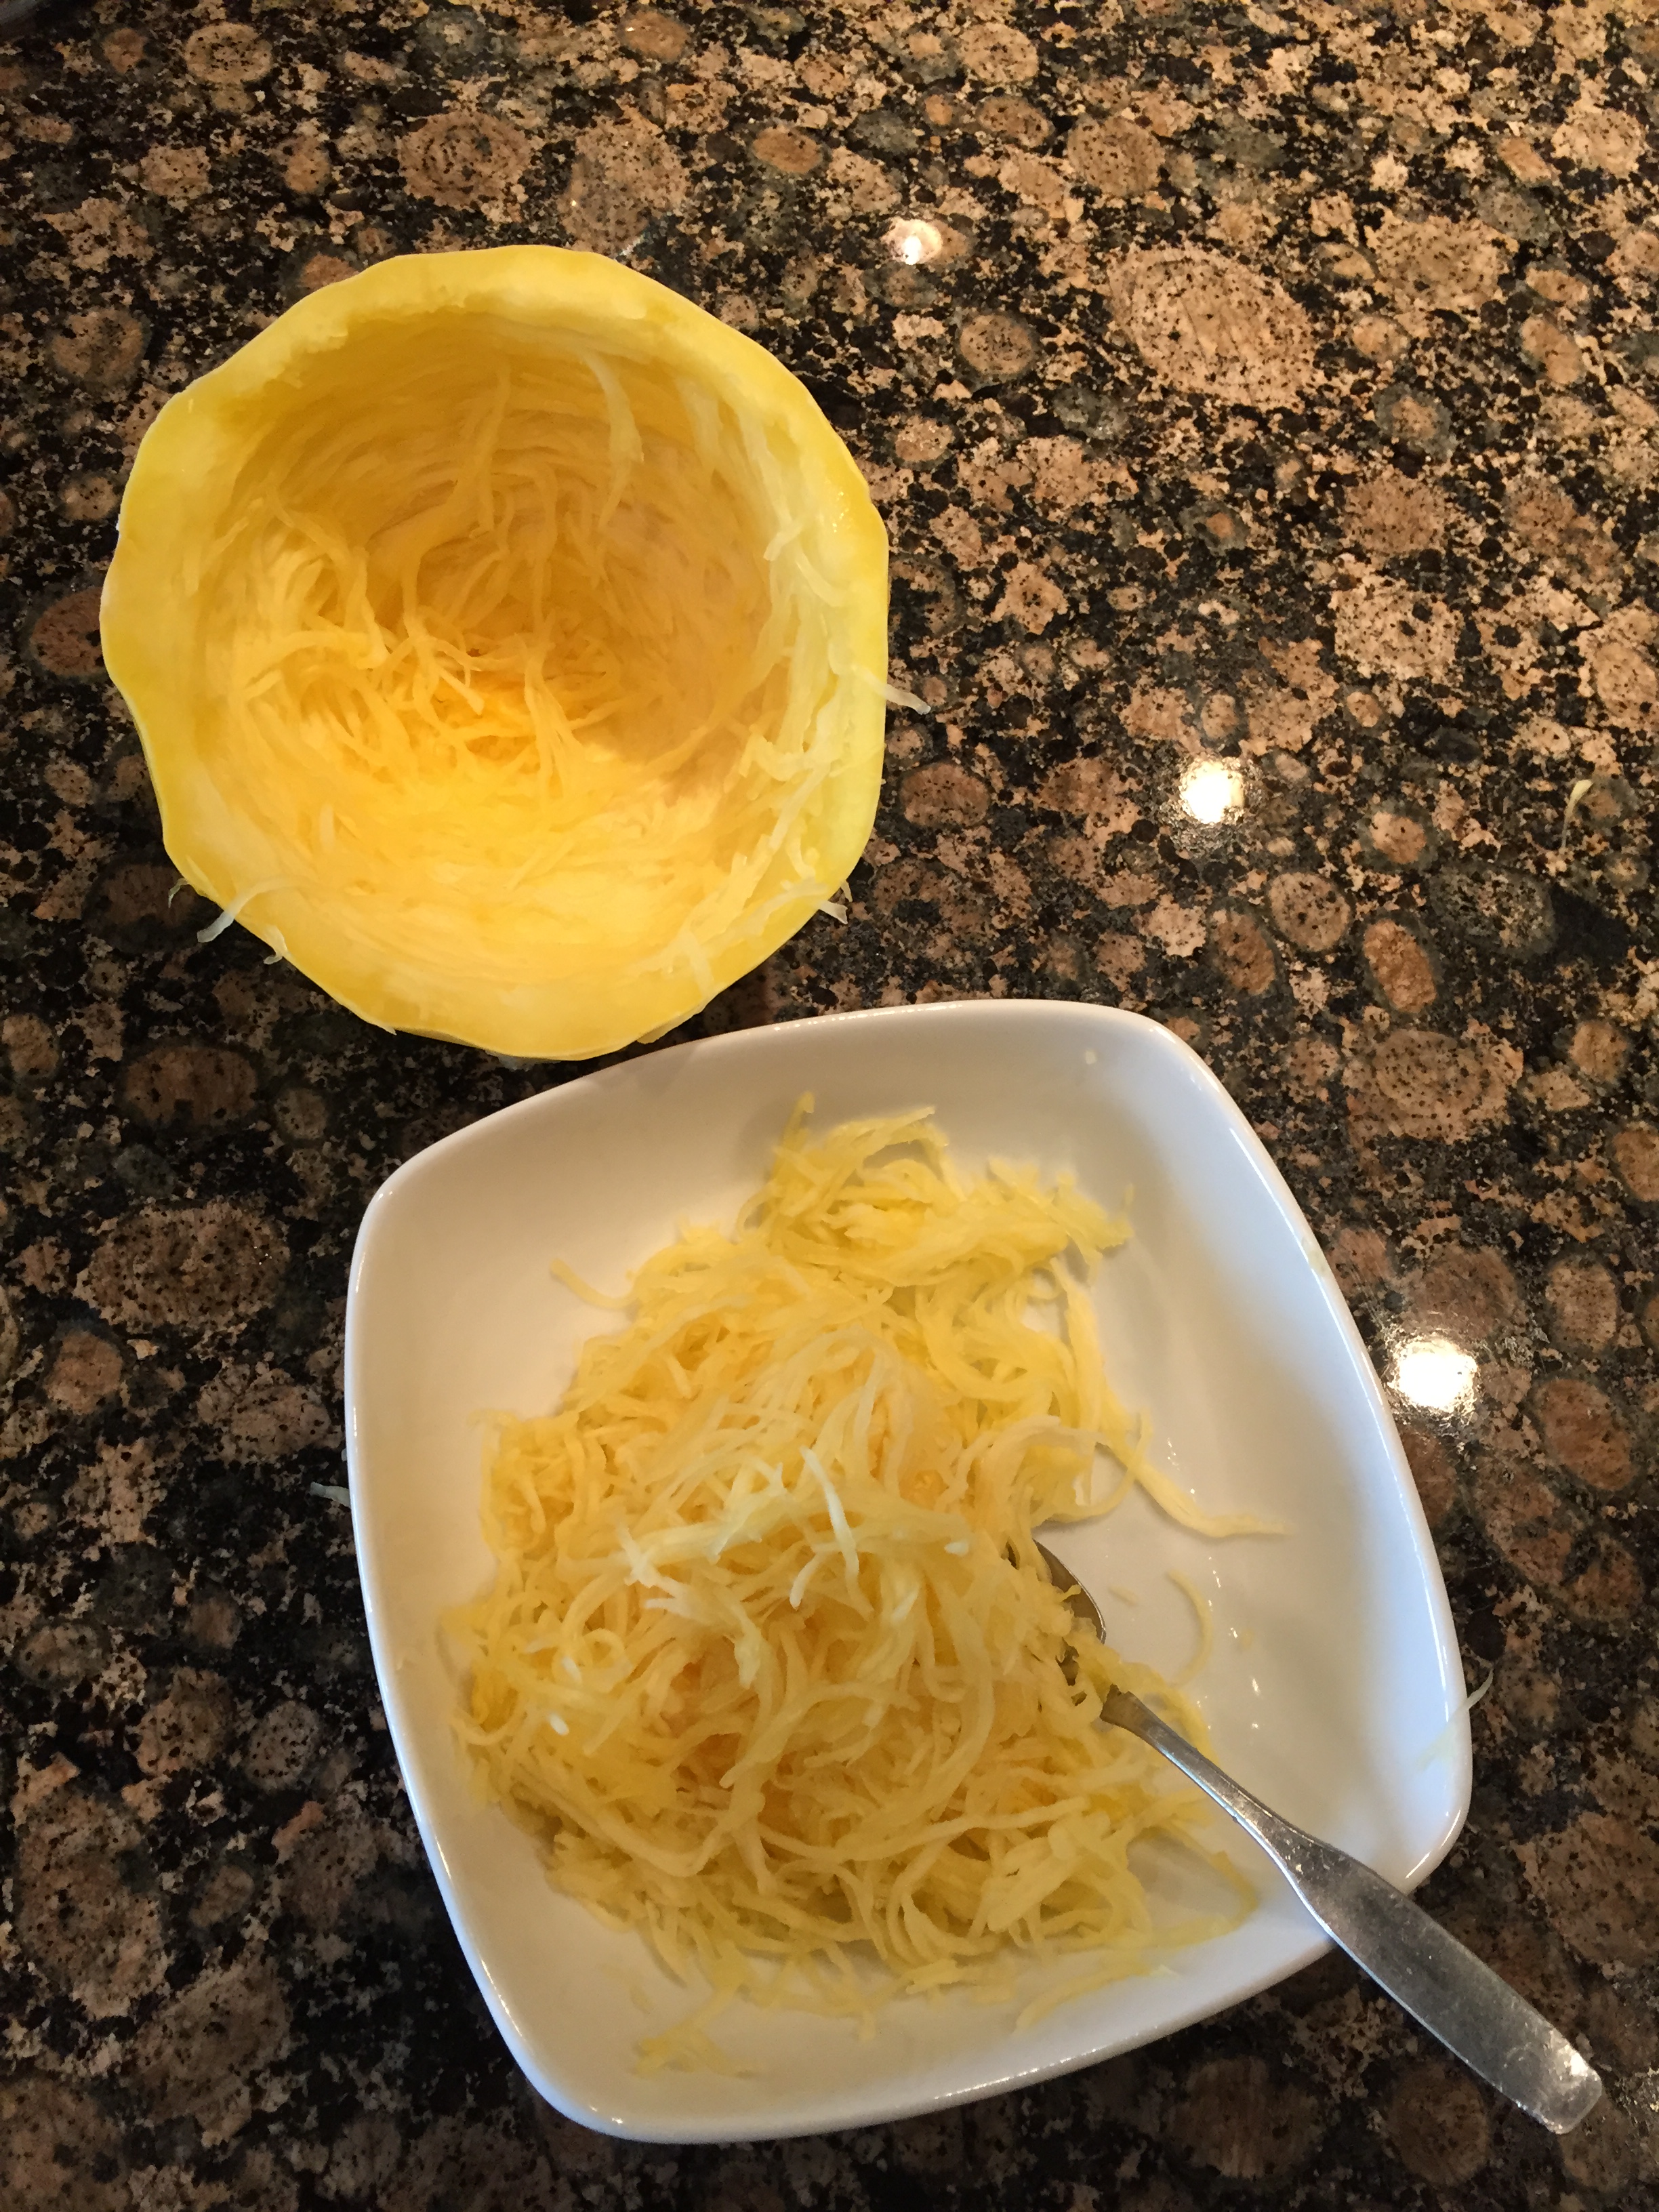
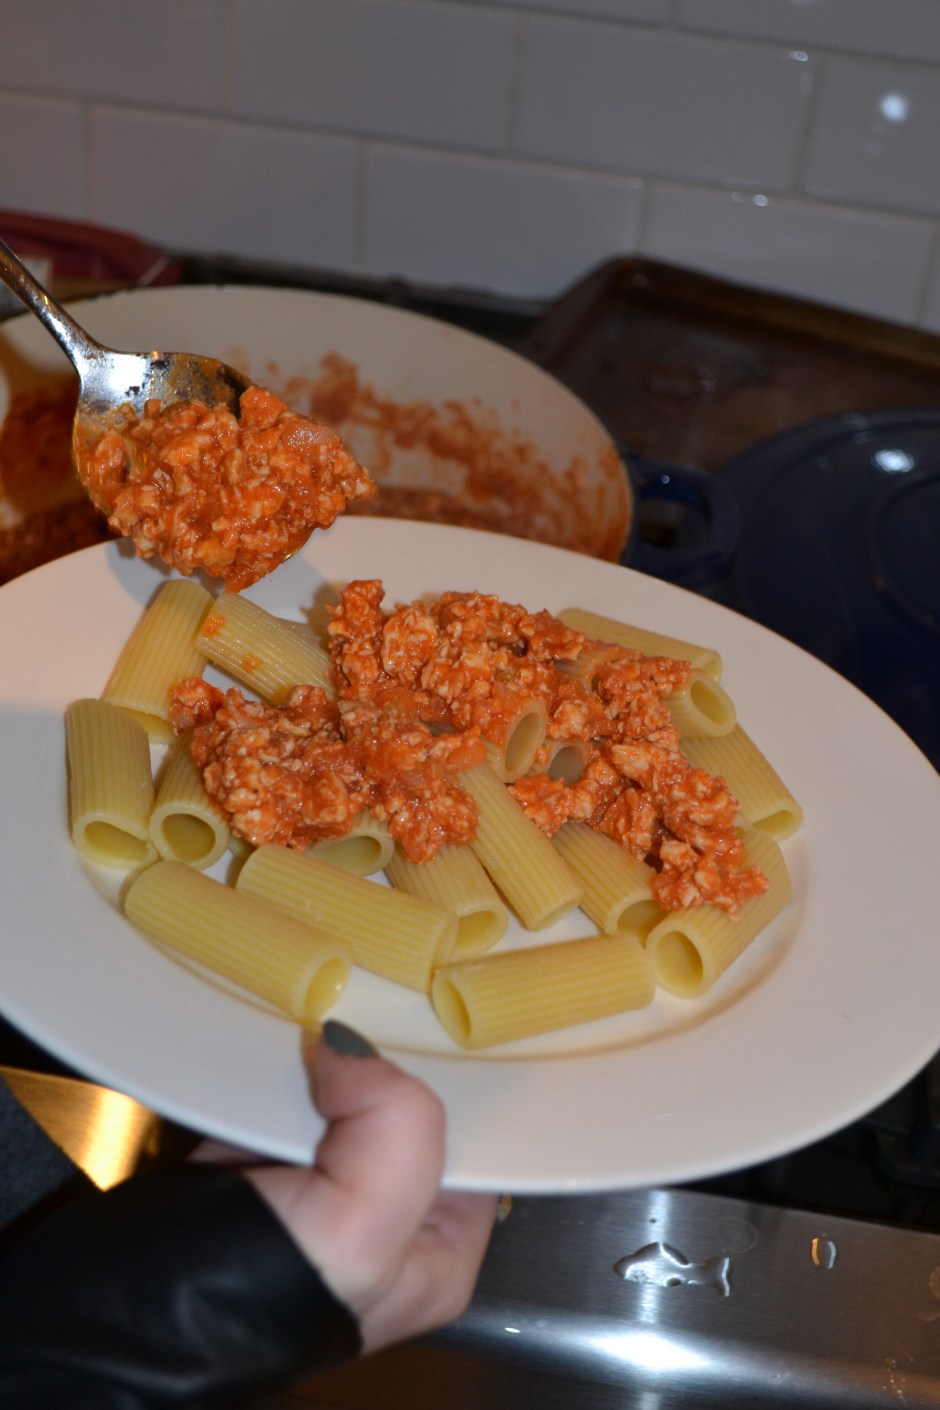
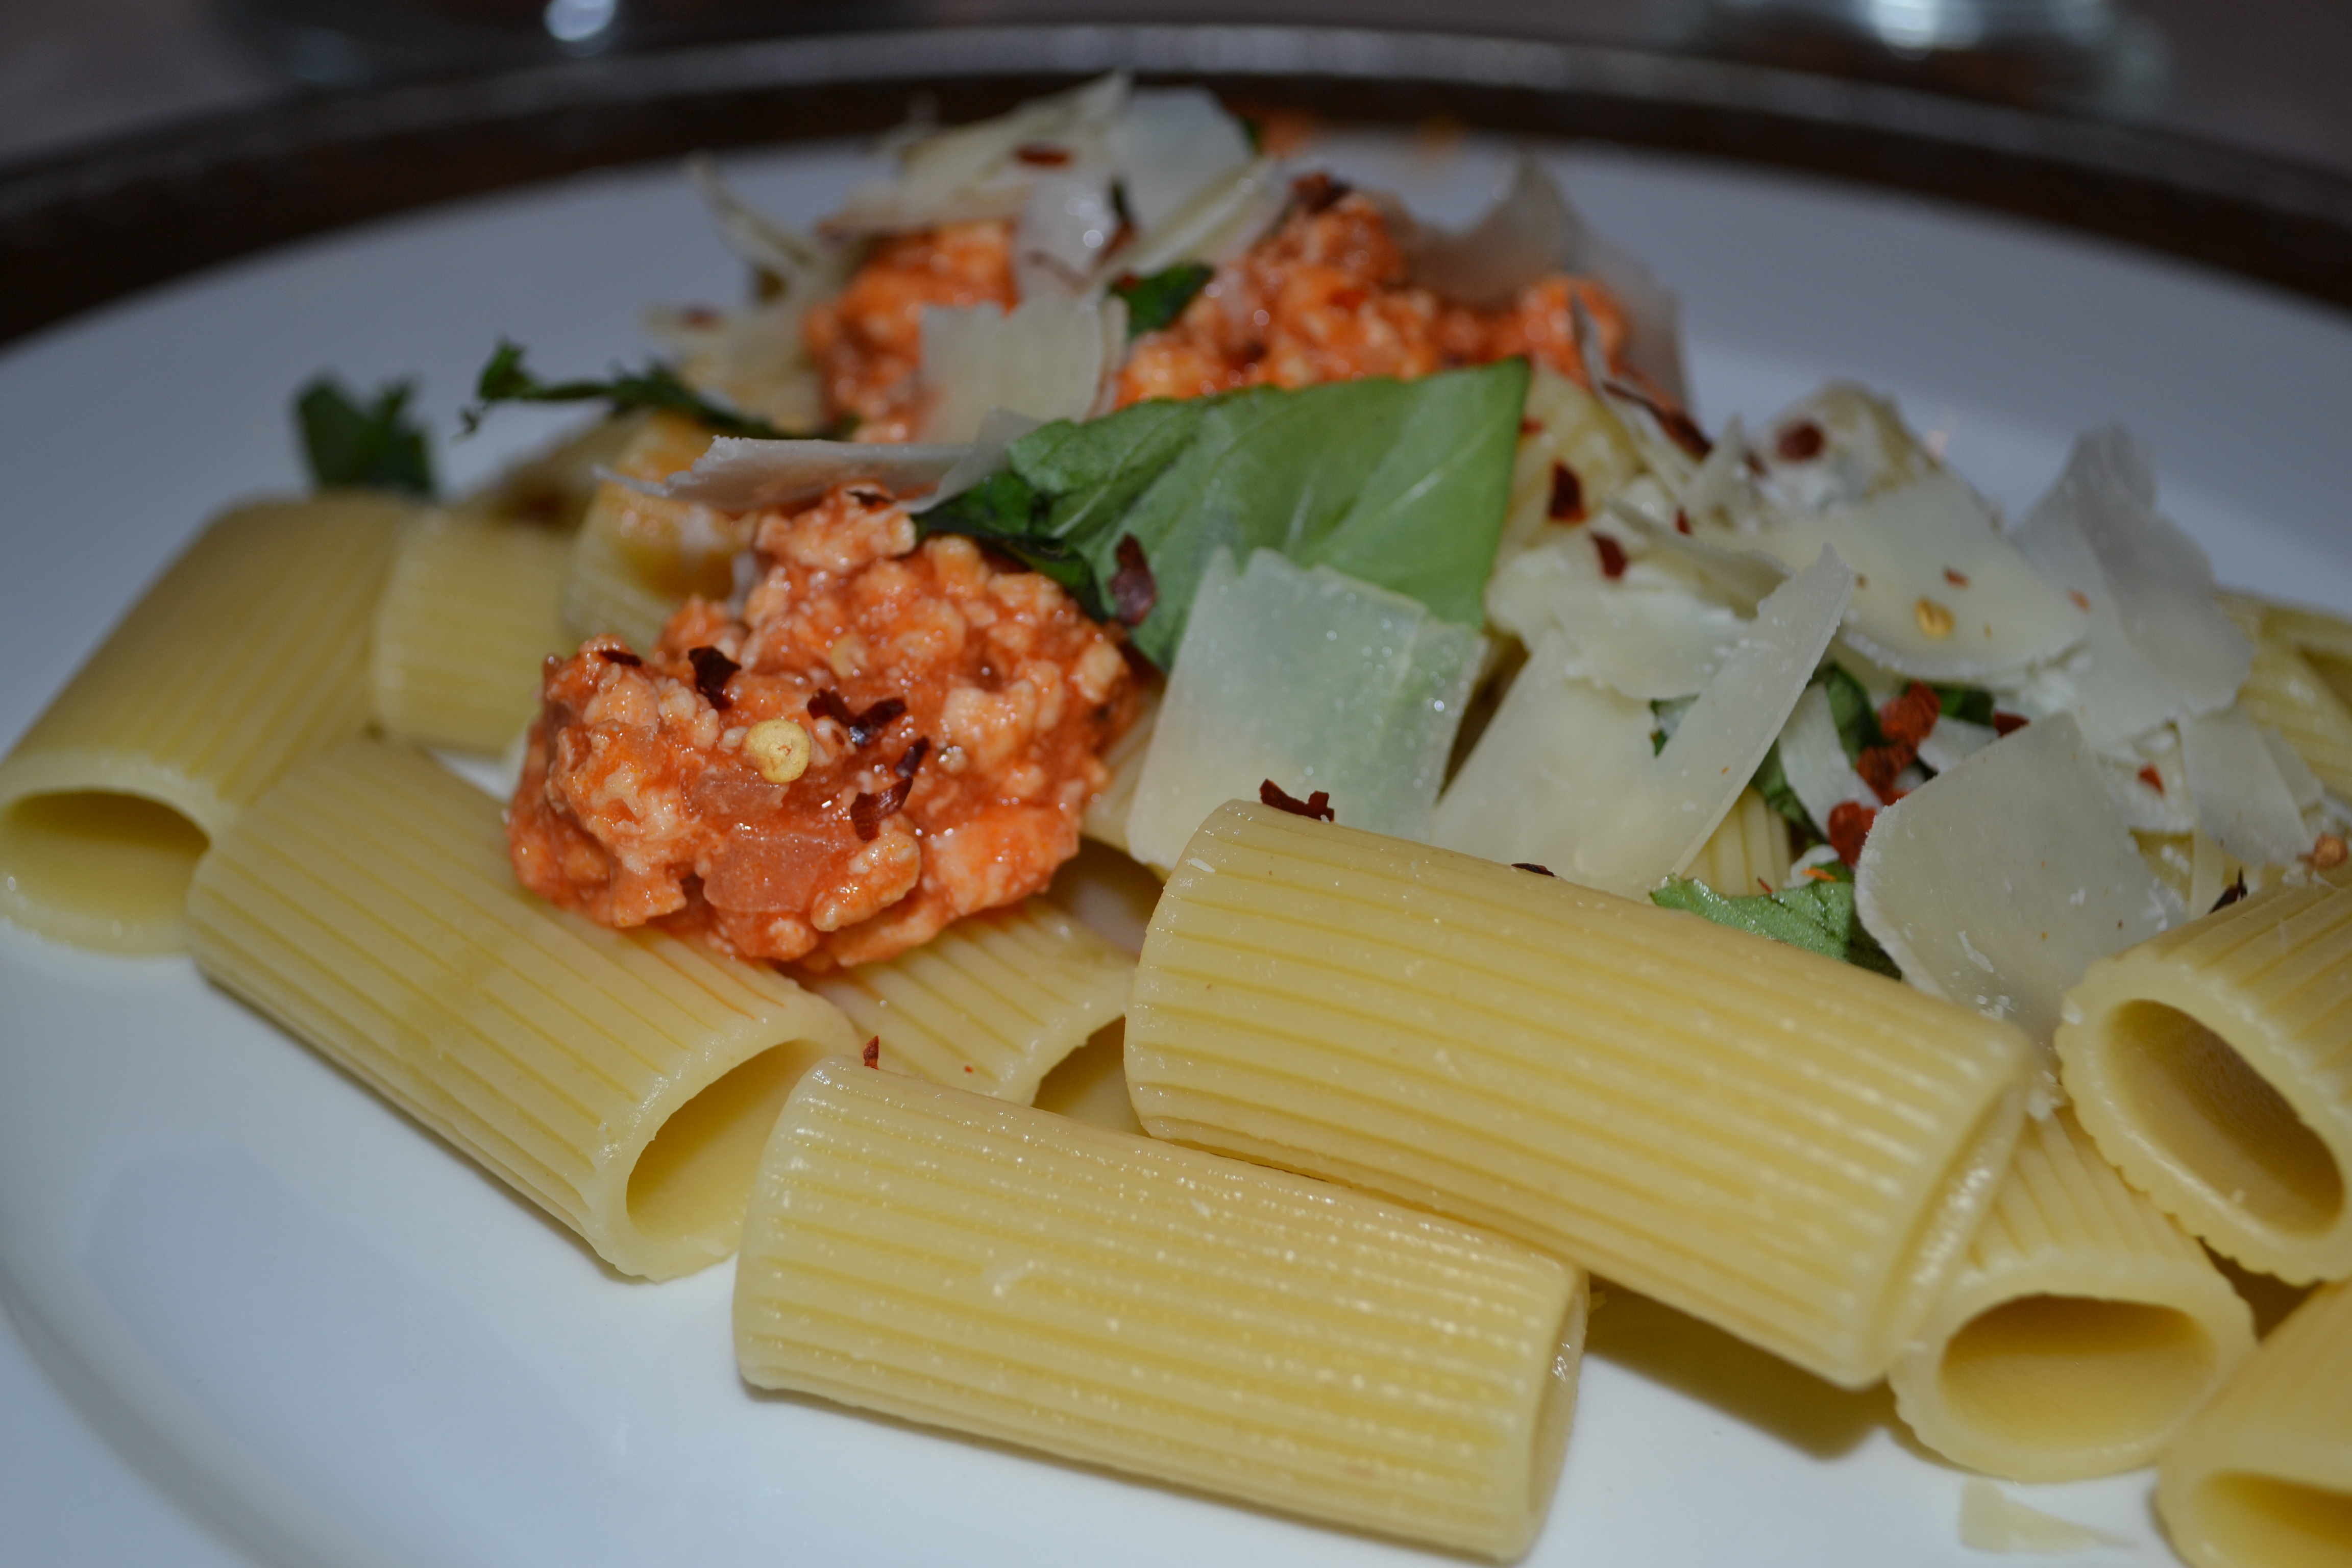
I love Italian food to the point that when I was younger I sometimes wished I was Italian. My family regularly had pasta three times a week, sometimes four, because of our shared love of it. To keep things interesting my mother tried to diverge from the standard spaghetti with red sauce by letting my brother and I pick the pasta shapes (I have my top five pasta shapes and rankings memorized, and a grudge against penne), adding different vegetables, and, when we finally conceded to trying something really new, different sauces. I never liked the store bought pestos so we always made our own at home. It is super easy and perfect not only on pasta, but on sandwiches. The recipe below gives the numbers for a cup of pesto.
image5Ingredients:
2 cups of Basil
1 cup of Olive Oil
1/4 cup of Pine nuts
1/2 cup of Parmesan cheese
image4
Will also need:
A food processor or aggressive blender
image1
Directions:
1. Add ingredients to the blender or food processor
2. Puree until you like the texture
3. Add more olive oil if the pesto is too dense, or add more pureed basil if it is too liquid-y

image2

Dorm Chicken Parm in 15 Minutes or Less

by Audrey Thorne ’19

Back home my family makes pasta pomodoro with chicken nuggets for dinner probably four times a week. It is much too difficult and expensive to get all the materials together to make a full pasta dinner any time I miss home, but chicken parmesan wraps are a much easier cure for my hunger and homesickness.

Ingredients:

  • Frozen chicken nuggets
  • Mozzarella
  • Jar of tomato sauce
  • A tortilla

567 copy

Directions:

  1. Preheat the oven to 425 degrees F
  2. Add a thin layer of sauce on top of each chicken nuggets
  3. Cut small strips/dollops of mozzarella
  4. Add the strips/dollops on top of the chicken
  5. Bake for 10 minutes
  6. Put the chicken nuggets on a tortilla
  7. Add more sauce and mozzarella to the tortilla
  8. Bake for 2 minutes
  9. Wrap up the tortilla
  10. Enjoy

38

A Recap of Passover and Easter Eating

Whether you went home this weekend for the holidays, or stayed on campus, we’re sure you ate some delicious food.  The Crimson Crave has compiled a collection of pictures of meals that several members of the Harvard community enjoyed over the Easter/Passover holiday.  Bring on the food porn!

Orlea Miller ’16

Charoset is one of the foods traditionally eaten during the Passover Seder, and many families have their own special way of making it. The basic recipe includes chopped fruit, nuts, grape juice or wine, and spices. Its burnt red color and nutty texture symbolize the mortar used by the ancient Israelites to assemble bricks when they were enslaved in Egypt.

everything mixed
Charoset

Rachel Talamo ’18

Dessert, dinner and brunch from Passover in Montreal!

unnamed-2
A scrumptious dessert called “il flotant”


unnamed
Stuffed cornish game hen, asparagus, sweet potato, apple, chestnuts, cranberries, and fruit sauce


unnamed-1
Hard-boiled eggs with avocado and greens; smoked salmon with asparagus, butter lettuce, onions, avocado, and cream sauce; greek yogurt with berries and maple syrup

Annelie Hermann ’18

These are “sunflower cupcakes,” garnished with an Oreo, green frosting, and orange/yellow frosting applied with a ziploc bag. Very spring-like, indeed!

Sunflower2
Sunflower Cupcake

Caroline Gentile ’17

Every Easter brunch, my mom makes french toast, and she recently just found a delicious recipe for overnight french toast with raspberries and orange in Ina Garten’s new cookbook, Foolproof.  The sweet tartness of the raspberries and orange perfectly cut the rich egg-y taste of the challah bread and custard.

Raspberry-Orange Overnight French Toast

For dessert, we had coconut cupcakes with coconut buttercream frosting, garnished with egg-shaped M&Ms.  The recipe can be found on browneyedbaker.com!

DSC_0009
Coconut Cupcakes


Squash is the New Spaghetti

by Danielle Leavitt ’17

As someone who eats gluten-free, spaghetti squash is one of my favorite vegetables.  With its noodle-like nature, this yellow member of the squash family is the perfect substitute for pasta for gluten-free foodies! Not only is it delicious, but spaghetti squash can also be prepared in a variety of ways, is extremely healthy, and easy to make in a microwave.  Compared to pasta, which has 200 calories and 40 grams of carbohydrates per cup, spaghetti squash boasts only 42 calories and 10 grams of carbohydrates per cup!

IMG_2253

The easiest way to prepare spaghetti squash is to cook it in the microwave.

  • Cut spaghetti squash in two halves.
  • Place side by side with the seed side down into a microwaveable pan with about 1 inch of water in it.
  • Set microwave for 6-8 minutes depending on size of the squash.
  • Remove from pan and turn squash over seed side up (Be careful! Squash will be very hot!).  Using a fork, loosen the seeds and squash strings attached to the seeds and remove them from the squash and discard.
  • Scrape gently along the inside of the squash, loosening the strands of squash and place into a bowl.

squash 2

And that’s it. You can eat it plain or add your favorite toppings: parmesan cheese, pesto, tomato or meat sauce, butter, olive oil…be creative! Enjoy!

Homemade Chicken Bolognese

By Caroline Gentile ’17

Maybe it’s because I’m part Italian, or maybe it’s just because I love carbs, but pasta bolognese is probably my favorite meal.  To me, nothing is more satisfying than a plate full of perfectly al-dente rigatoni smothered in a hearty, meaty bolognese sauce.  When I first decided to try my hand at cooking in third grade, it was no surprise that I decided to make a bolognese sauce.

f0467904


My mom chose a recipe for chicken bolognese by the Australian chef Bill Granger, known for his clean and simple approach to cooking.  After spending hours learning how to chop things, and overcoming my weird phobia of touching raw meat, I produced a delicious chicken bolognese sauce. Using chicken instead of beef really lightened up the sauce, making it possible to have seconds (or even thirds!)

Since then, this recipe has become my go-to for a quick and easy dinner. If third grade me can make it, anybody can!

f0548992

You’ll need:

2 TB extra virgin olive oil (the best you can get your hands on)

1 onion, finely chopped

1 celery stalk, finely chopped

2 garlic cloves, minced

sea salt

2 slices of pancetta or prosciutto, chopped

1lb 2oz minced ground chicken

1.5 cups crushed tomato

1lb 2oz rigatoni

1/2 cup pinot grigio (optional, but recommended for added flavor)*

freshly grated parmesan cheese and 3 TB flat leaf parsley to serve


Directions:

Put the oil, onion, celery, garlic and a good pinch of salt and pepper in a saucepan over medium heat and cook for several minutes until golden.  Add the prosciutto/panc etta and chicken, and stir constantly with a wooden spoon to break up any lumps.  When the mince is cooked through, add the tomato sauce and simmer for ten minutes.

Meanwhile, cook the pasta according to the directions on the box until al dente. Toss together with sauce, parmesan, and parsley, and enjoy!

f0528000

A Dorm-Friendly Super Bowl Snack: Chex Mix Treats

by Caroline Gentile ’17

I don’t know about you, but for me, the Super Bowl is about much more than just football. If my beloved Packers had made it this year, perhaps I would care more about the football aspect, but still, commercials, puppies, and of course, food, always play a major role in my Super Bowl Sunday experience.

Perhaps one of my favorite snacks while watching the game (or, let’s be honest, the tear-jerkingly adorable Budweiser puppy commercials) is Chex Mix. Deliciously salty and crunchy, there isn’t much more that one could want out of a snack. But wait! What if Chex Mix could be sweet, too? It seems too good to be true, but such a snack exists in the form of Chex Mix treats, an improved version of the classic Rice Krispie treats!

f1116864


f1048832

A harmonious trilogy of flavors—sweet, salty, and crunchy—is what makes these Chex Mix treats so dangerously addicting. Seriously. I made these at home over break, and the whole pan was gone in a day. But you don’t have to have access to a real kitchen like you would at home in order to make Chex Mix treats. All you really need in terms of cooking equipment is a microwave, a large heatproof bowl, and a 9X13 inch pan.

Now, for the recipe, courtesy of the Food Network magazine.

You’ll need:

4 TB unsalted butter

1 bag (usually 10 oz) of mini marshmallows

1 15 oz. bag of Chex Mix

Instructions:

If you are using a stove, melt the butter and marshmallows in a small saucepan, stirring constantly. If using a microwave, melt the butter and marshmallows in a large heatproof bowl at high heat for 1 minute. Stir, then continue microwaving in 30-second increments, stirring between each increment, until everything has melted.

Once the marshmallows and butter are melted together, pour the Chex Mix into the bowl and combine, either with a wooden spoon, spatula, or even your bare (clean!) hands. Make sure that all of the Chex Mix gets coated in melted marshmallows and butter. Once combined, press the mixture into a 9X13 pan. Allow it to set for one hour at room temperature before cutting the treats into squares. Enjoy!


Why Did the Turkey Stop Eating? He Was Stuffed!

By Orlea Miller ‘16

Thanksgiving is easily a foodie’s favorite holiday of the year. While my day-to-day life revolves around the foods I’m eating for breakfast, lunch, and dinner, Thanksgiving is the one time of year when everyone else does the same. We begin looking into airline fares months ahead of time when making our holiday plans, and then spend at least a week or two carefully selecting Thanksgiving recipes and entering the grocery store madness just to eat together as a family.

My family sticks to the traditional foods for this annual event: turkey, stuffing, rolls, cranberry sauce, mashed potatoes, sweet potato casserole, and green beans (and a countless number of pies and other treats). Unfortunately, they don’t like straying from the recipes they’re used to either. However, after years of box-made stuffing, I decided to try out a new recipe for Thanksgiving this time around.

I found the recipe for “Save-the-Day Stuffing” online (a.k.a. homemade stuffing with a few healthy swaps) to lighten everyone’s plates this year. I used the typical veggies but included light bread and liquid egg substitute, and ended up with a pretty tasty addition to our household’s Thanksgiving repertoire.

Ingredients
(MAKES 5 SERVINGS)

6 slices light bread

1 cup chopped onion

1 cup chopped celery

1 cup chopped mushrooms

1 cup fat-free chicken broth, room temperature

1/4 cup fat-free liquid egg substitute

1 tbsp. light buttery spread

2 cloves garlic, finely chopped

salt, pepper, rosemary, thyme, to taste

1 oz dried cranberries (if desired)

Directions:

Leave bread uncovered at room temperature overnight. Otherwise, begin by lightly toasting bread.

Preheat oven to 350 degrees.

Cut bread into 1/2-inch cubes. Spray a medium baking dish with nonstick spray, and place bread cubes evenly along the bottom of the dish.

1

Chop up the celery and onion to prepare it for the stuffing.

2

In a medium pot, combine broth, celery, and onion. Cook for 8 minutes over medium heat.

3

Remove pot from heat, and add mushrooms and garlic. Season mixture to taste with salt, pepper, rosemary and thyme. Let cool for several minutes.

Add egg substitute and butter to veggie/broth mixture and stir. Pour mixture into the baking pan, evenly covering bread cubes. Mix gently with a fork. Bread cubes should be moist, but not saturated (if necessary, add 1 – 2 tbsp. water, and then mix again).

If desired, throw in the dried cranberries to add a sweet kick to your stuffing!

Cover with foil, and cook dish in the oven for 20 minutes.

Remove foil, and fluff and rearrange stuffing. Return dish to oven (uncovered), and cook for an additional 15 minutes.

4

After comparing my homemade stuffing to the boxed one we have had at our Thanksgiving table in years past, I was impressed. This version had more flavor and texture, though I admittedly added in more chicken broth than the recipe called for after noticing it looked dry before putting it in the oven.

I found the stuffing recipe, along with quite a few other holiday dishes at www.hungry-girl.com, one of my go-to websites for healthy sides, entrees, and desserts that are just as tasty as the original version, yet far more nutritious and lower in calories and fat.