
by Joseph Winters ’20
I first got to know Yotam Ottolenghi at Powell’s Books, a massive independent bookstore in Portland, Oregon. His cookbook, Plenty More, lay open on a “Staff Recommended” display. “Vibrant Vegetable Cooking,” read the book’s subtitle; all of its recipes were vegetarian, highlighting the overlooked value of vegetables in gourmet cooking. Ottolenghi is the owner of several delis and restaurants in the UK, the author of four cookbooks, and he is arguably one of today’s most influential culinary figures.
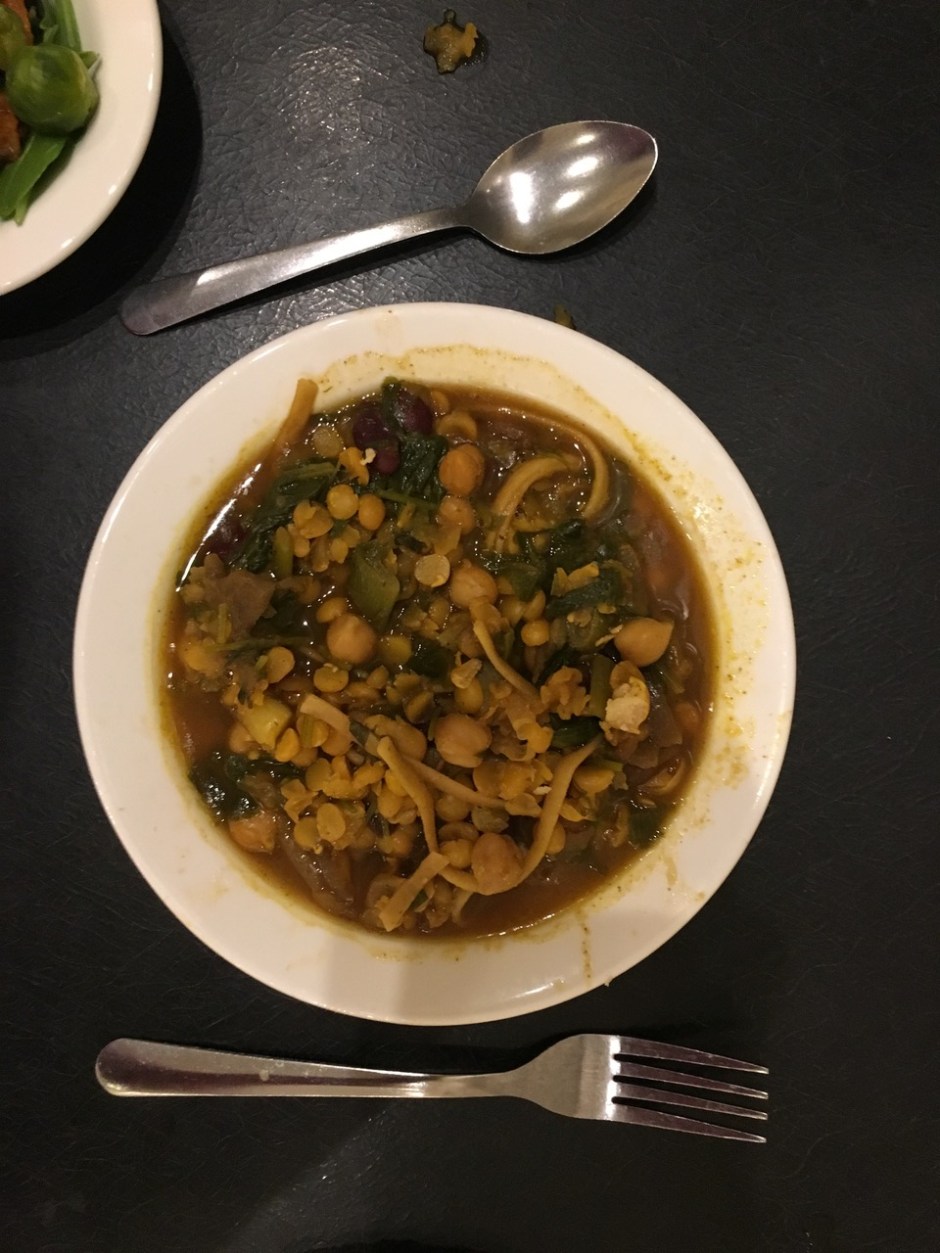
But I didn’t know that as I flipped to the “Simmered” section of Plenty More. What I did know was that his recipe for Legume Noodle Soup sounded delicious, and it came with some pretty mouth-watering food-tography. One impulse buy later, Plenty More was mine and I was already making dinner plans.
Together, my mom and I have made this soup for countless get-togethers and parties, sometimes doubling or even tripling the recipe. Leftovers of this soup are highly valued in the Winters household, so when we make a batch, we don’t mind having ready-to-pack lunches for the next week and a half.
What makes this soup so incredible is the way it combines flavor with healthiness. It’s got legumes: protein. It’s got noodles: carbs. It’s got spinach and fresh herbs: healthiness. Everything is simmered together with onions and garlic and turmeric. Oh yeah, and butter…lots of butter. It’s a flavor powerhouse and a balanced meal all in itself. This weekend, I decided to bring back some fond memories and make myself a heaping pot-full. It ended up lasting me seven meals, which came in handy especially on Tuesday and Thursday, when I have nonstop class from 10:00 to 2:30 (plus section until 4:30 on Tuesdays!). Hopefully my French 40 classmates didn’t mind the wafting aroma of turmeric-y, dill-filled legume noodle soup as we analyzed French cinematography…
*In honor of the Environmental Action Committee’s Veguary Campaign, which tries to get people to commit to a reduction in animal consumption during February, I’ve been vegan since the beginning of the month. I just had to swap the butter in this recipe for olive oil, but I don’t think it affected the flavor that much.
Also, since the original version requires some fancy schmancy cookery that’s just not reasonable for college students cooking in the Grays common room kitchen, I’ve made some alterations with convenience in mind (e.g. in my version, you don’t need to measure 125 grams of dry chickpeas and soak them overnight with baking soda).

Legume Noodle Soup — adapted from Ottolenghi’s Plenty More
Ingredients – the ones in bold can be found in Annenberg
- 1 1/3 cups cooked chickpeas
- 1 1/3 cups any other kind of beans (I used kidney beans)
- 5 1/2 Tbsp butter (or olive oil)
- 2 yellow onions, chopped (about 4 cups total) *I used chopped red onions from the D-hall
- 10 cloves garlic, sliced (or garlic powder from the D-hall)
- 1 1/2 tsp turmeric powder
- 1 cup yellow split peas
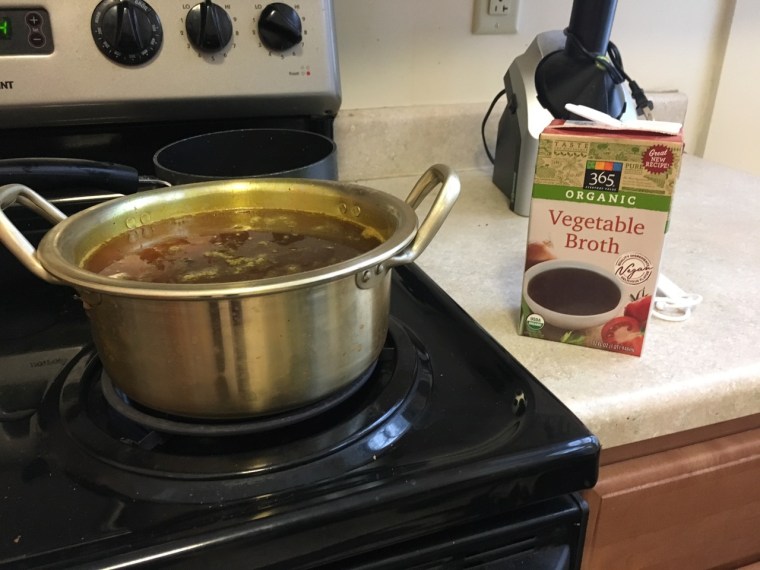
- 8 1/2 cups vegetable broth (about two cartons)
- 1 cup parsley leaves, chopped
- 2 cups cilantro leaves, chopped
- 1 cup dill leaves (that’s fresh dill, unfortunately not the dry stuff you can get in the D-hall)
- 1 cup thinly sliced green onions (green and white parts)
- 5 cups spinach leaves
- 3 1/2 oz dry linguine (or spaghetti, but I like linguine better for this soup)
- optional: 2/3 cup sour cream (or yogurt), 1 1/2 Tbsp white wine vinegar, lime juice (or lemon juice)
- salt and pepper
Directions
- Put the butter (or olive oil) in a big pot over medium heat. Cook for twenty minutes, until the onions are super soft and golden. Add the turmeric, 1/2 tsp salt, and some black pepper.
- Add the chickpeas, beans, split peas, and stock to the pan. Bring to a boil, then simmer for 35 minutes, checking to see when the peas get tender.
- Add the parsley, cilantro, dill leaves, green onions, and spinach. Cook for 15 minutes.
- Add the linguine and cook for 10 minutes, until it’s soft.
- Stir in the optional sour cream, white wine vinegar, and lime juice. Season with salt and pepper and enjoy!


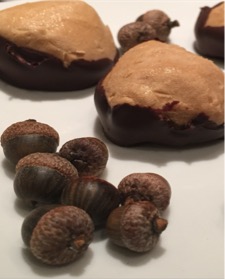

 The final product can be frozen for future outings or eaten right away. The combination of peanut butter and chocolate creates a creamy, nutty, and delectable bite. Fall treats can be easy to make, gluten free, and taste amazing!


 **Optional topping suggestions include whipped cream, any type of candy, and marshmallows.
