Apple Cinnamon Bread

by Michelle Chiang ’19

2

There’s something fundamentally satisfying about baking – the textures under your fingertips, the aromas caressing your nose, the flavors cartwheeling over your tongue. In the hectic, intellectually taxing routines of college life, it’s immensely therapeutic to create something tangible with your hands.

While many recipes require fancy equipment, expensive ingredients, or labor-intensive techniques, there are just as many – if not more – recipes that are cheap, easy, and relatively quick. There’s really no excuse not to bake, especially when you can get ingredients free of charge from the dining halls.

Here’s a simple recipe for a sweet time with friends!

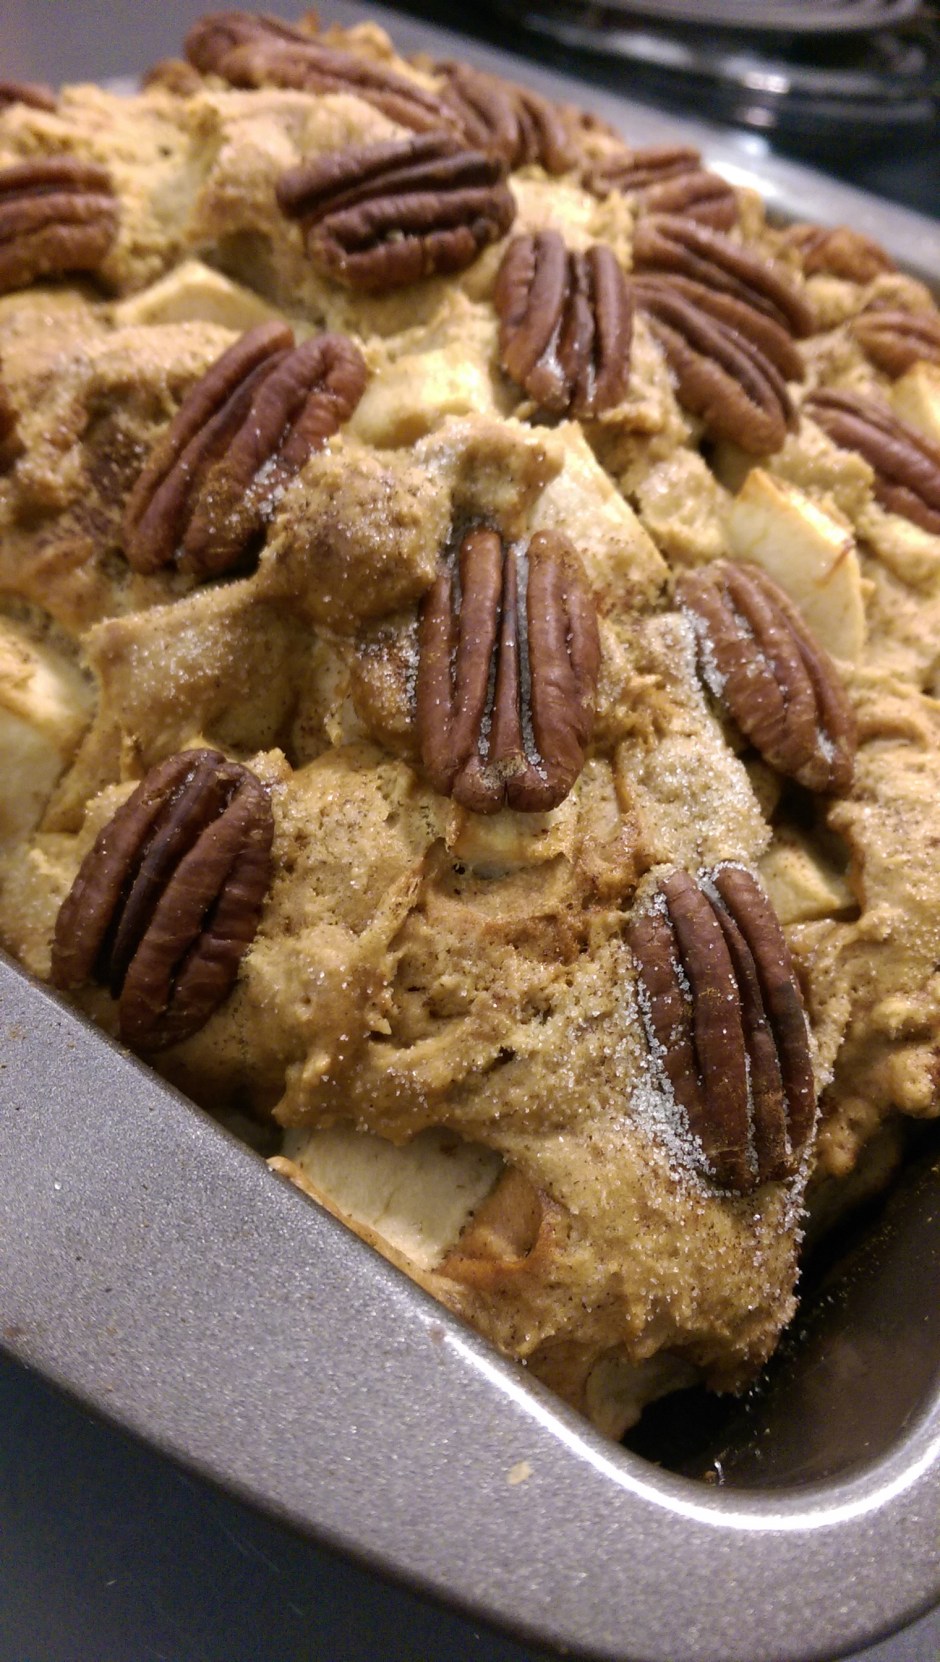
Apple Cinnamon Bread (recipe adapted from Apple Cinnamon Bread from Two Peas and Their Pod)

This recipe will be featured on Well-Being Secrets, read about the health benefits of apples and make this awesome recipe: Link.

Serving Size: one 8×8 pan

Cook Time: 40-55 minutes

7

Ingredients:

1 1/2 cups all purpose flour

1 tsp baking soda

1/2 tsp salt

2 tsp cinnamon

2 large eggs

1/4 cup canola oil

1/4 cup applesauce

1 tsp vanilla

1 cup sugar

3 medium-sized apples, peeled and diced

1/2 cup pecans (optional)

86

Directions:

  1. Preheat the oven to 350 degrees F.
  2. In a medium bowl, whisk together flour, baking soda, salt, and cinnamon. Mix the ingredients very, very well.
  3. In another bowl, whisk together the eggs, oil, applesauce, and vanilla until smooth. Add in the sugar and mix until well combined.
  4. Slowly add in the flour mixture and mix until well combined. Gently fold in the apple chunks. 5
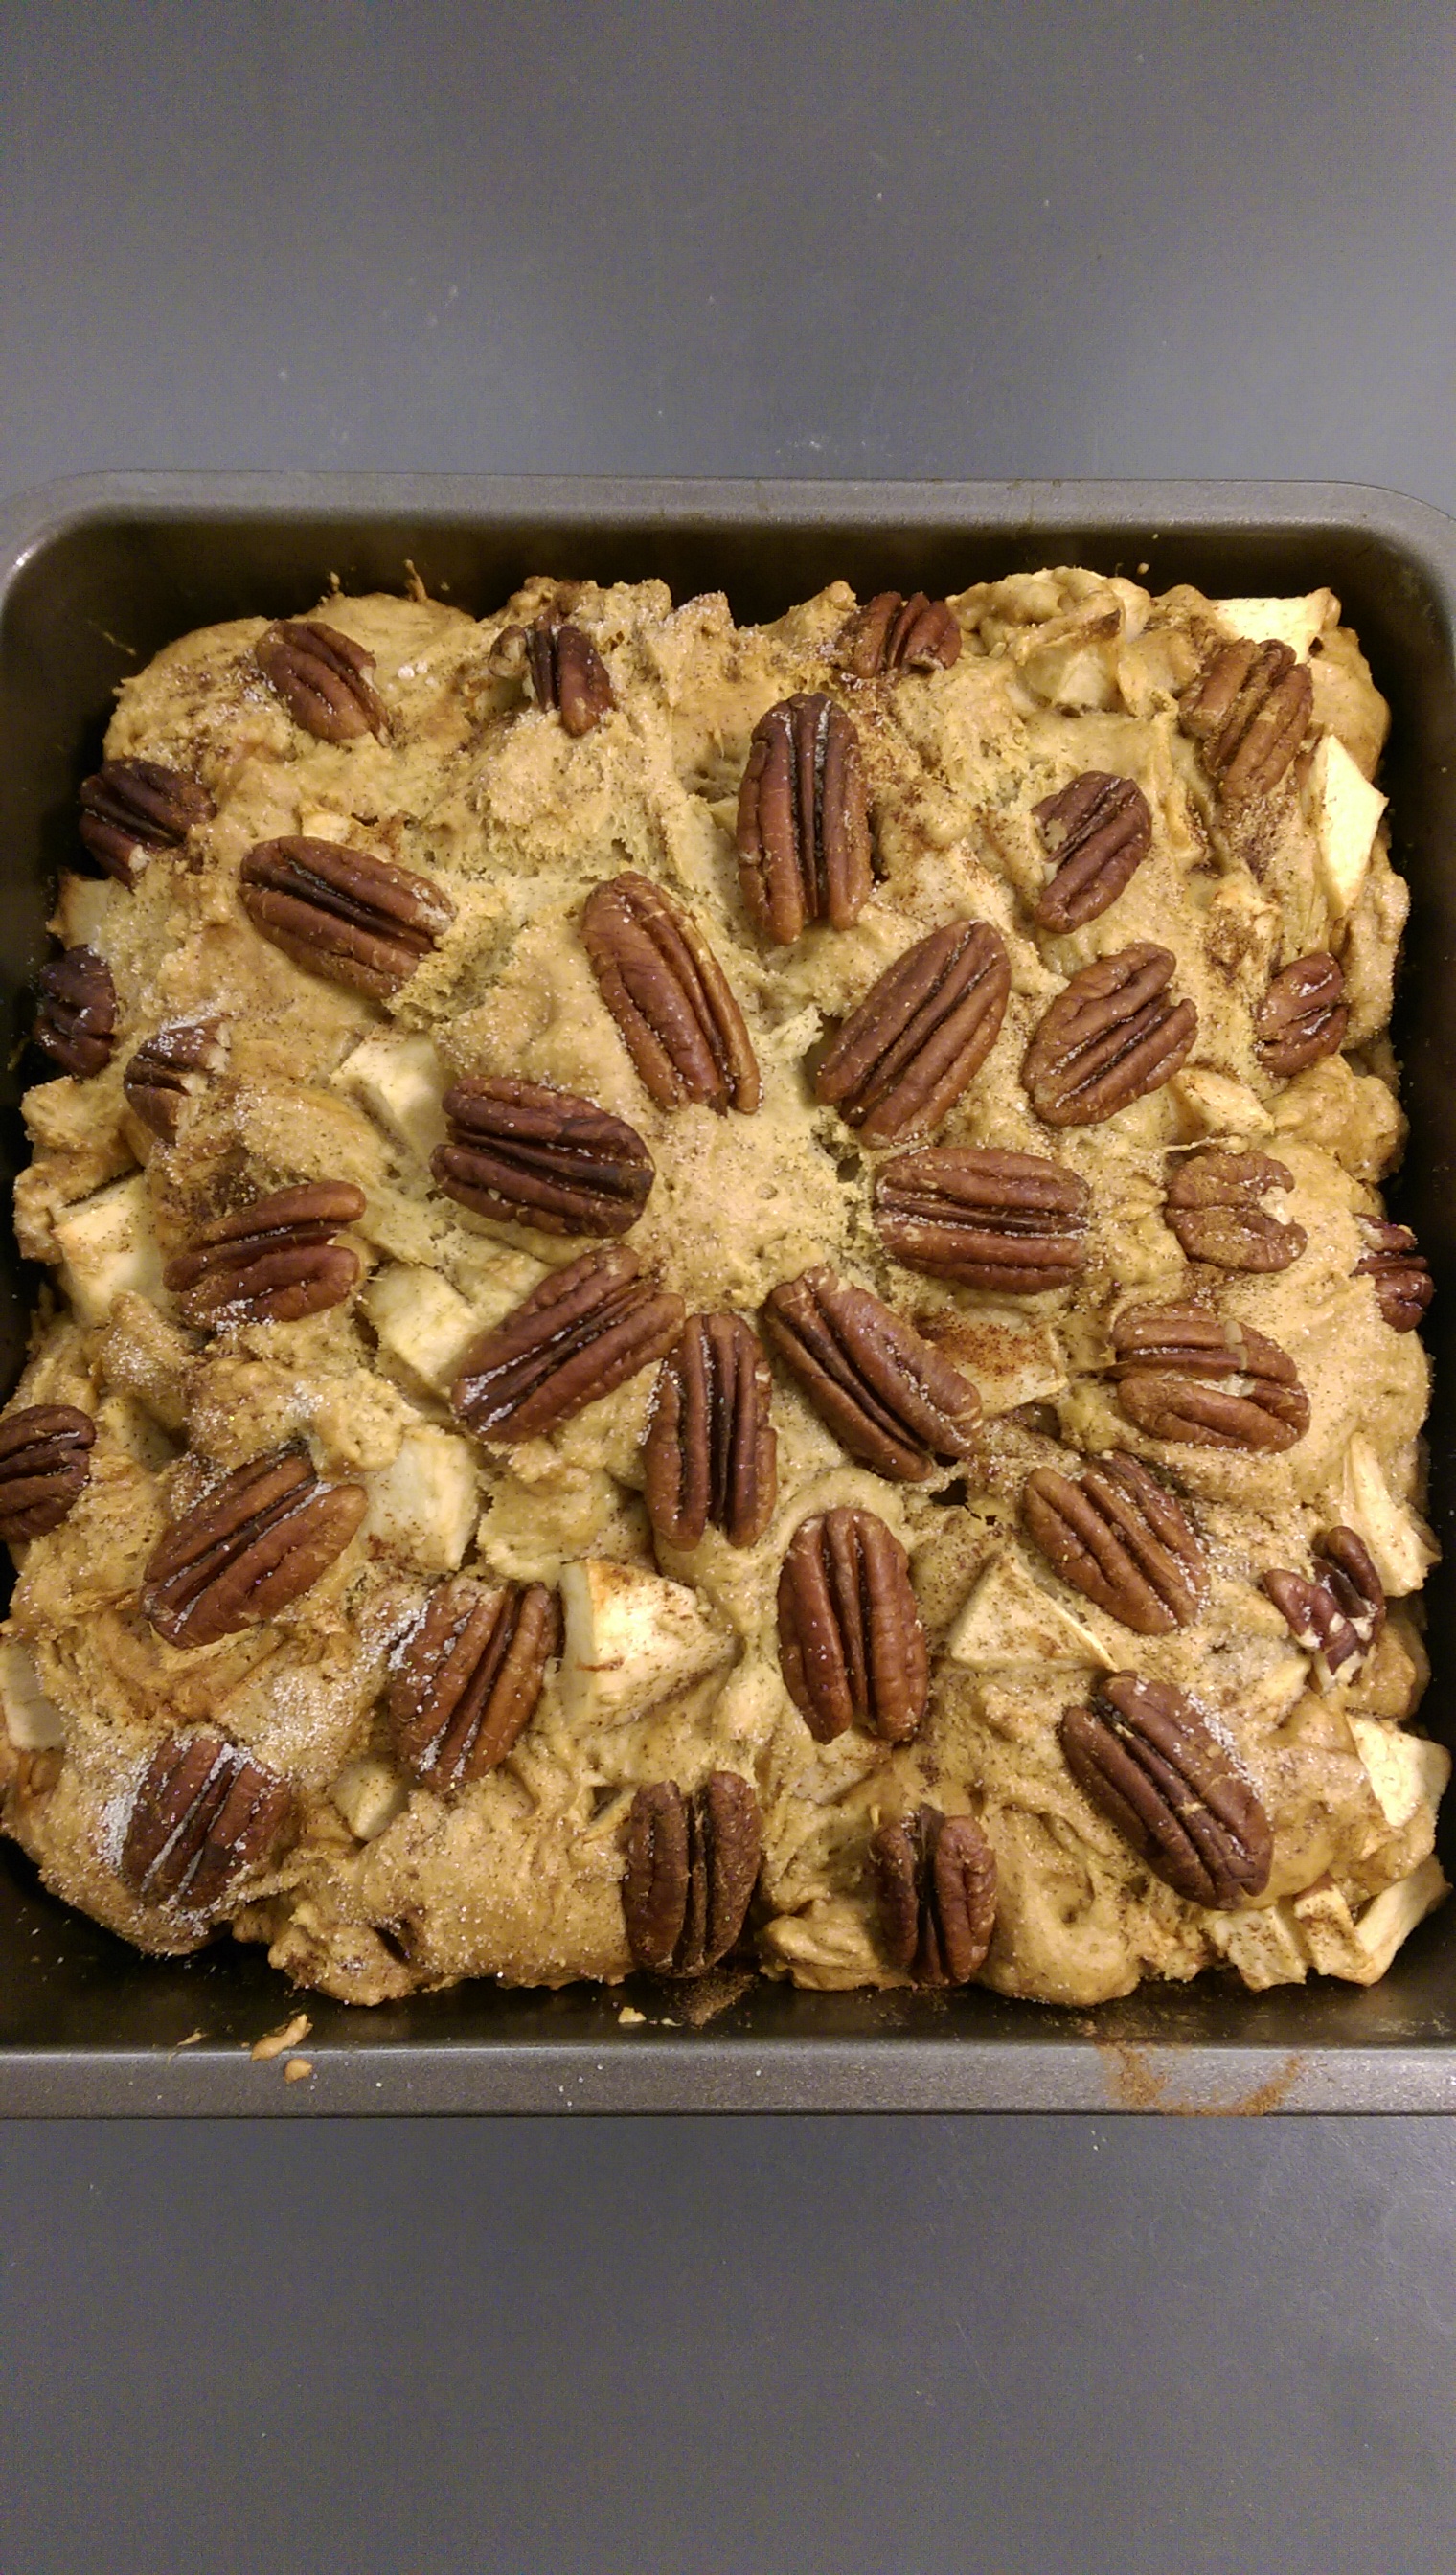
  5. Pour batter into prepared pan. (Optional: Arrange pecans on the batter. Sprinkle cinnamon and sugar over the top.)4
  6. Bake in 8×8 pan for 40-55 minutes, or until golden and a toothpick comes out clean. (Start occasionally checking it after 30 minutes.)
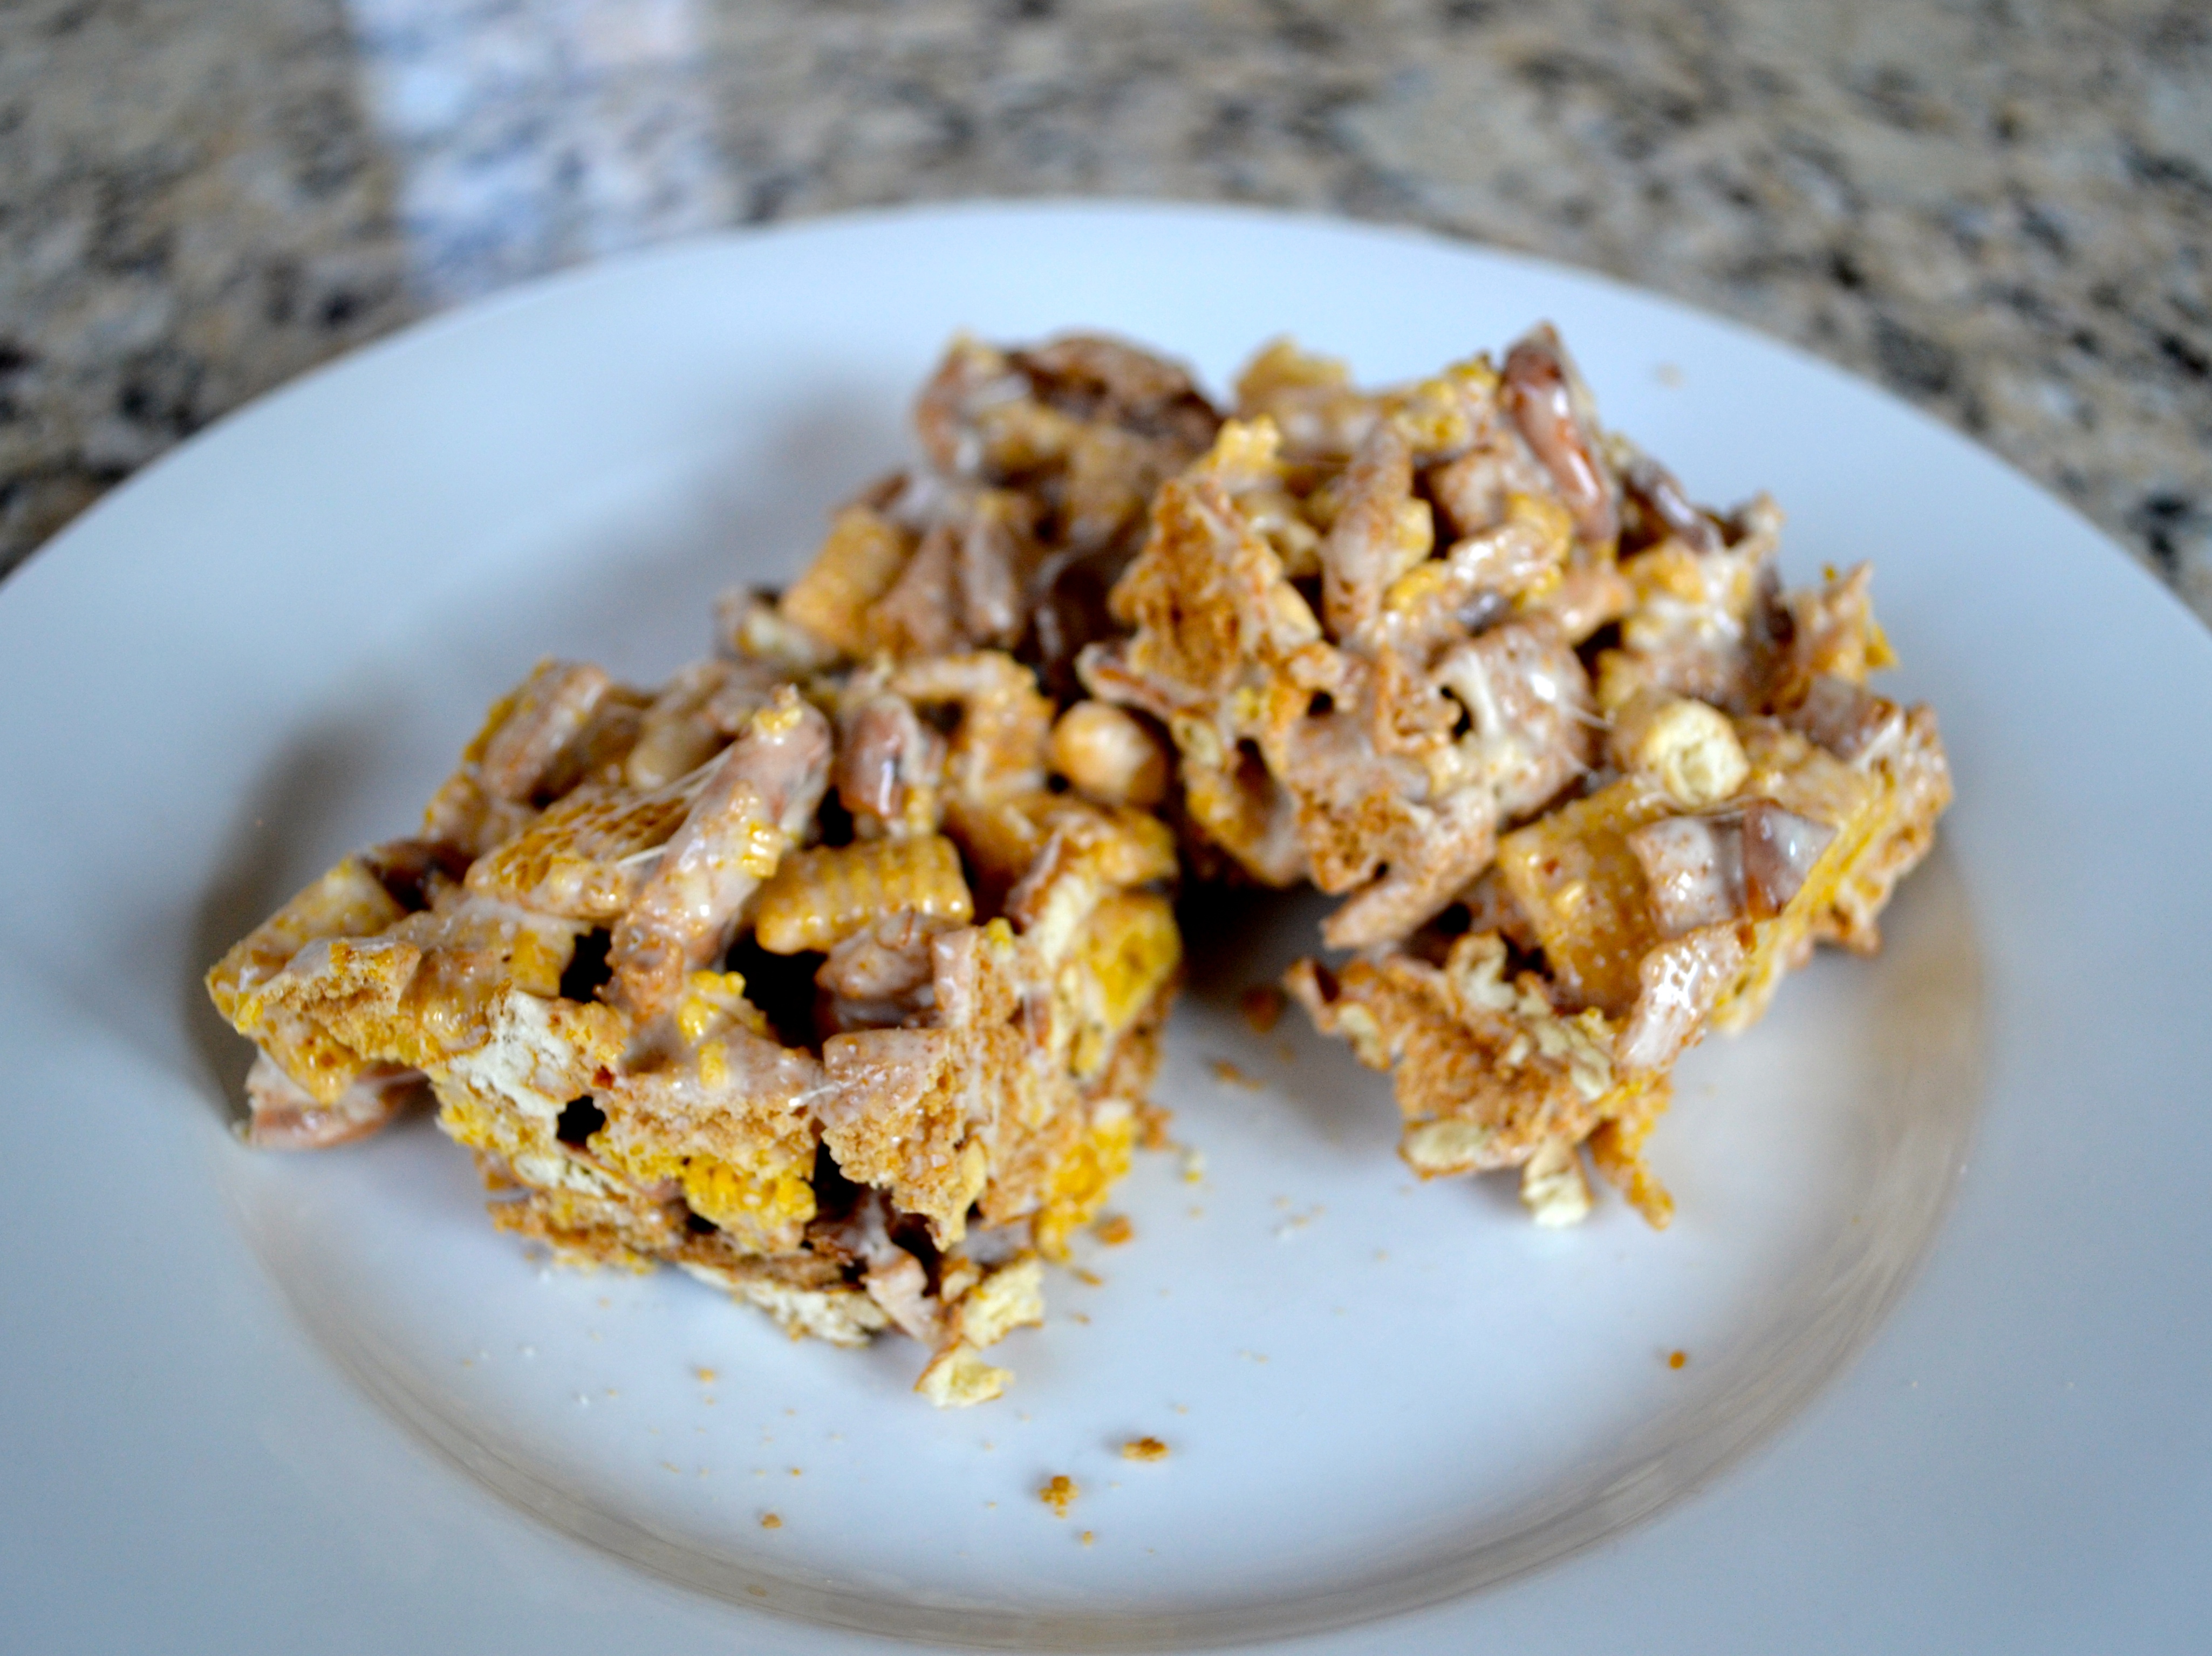
  Enjoy!3     

5 Ingredient Key Lime Pie

by Emily Brother ’19

Made with only five ingredients and taking less than twenty minutes to prepare, this recipe is easy to conceive but never fails to impress! The filling’s acidity pairs wonderfully with its smooth, velvety texture and the crumbles of graham cracker crust to make a pie that you’ll never want to stop eating. As my first attempt at baking here at Harvard (in the basement of Wigg B), a little improv, some effort, and a big mess were a part of the process of making this pie. But all said and done, the recipe turned out truly delicious! Just follow the steps below and you’ll have the most irresistible treat to share with your suitemates (or just eat by yourself)!

IMG_3756


Recipe:

Ingredients:

  • 1 9-inch prepared graham cracker crust
  • 3 cups sweetened condensed milk
  • ½ cup sour cream
  • ¾ cup key lime juice
  • 1 tablespoon grated lime zest

IMG_3748

Directions:

  1. Preheat the oven to 350 degrees F.
  2. In a medium bowl, combine the condensed milk, sour cream, limejuice, and lime zest. Mix well and pour into the graham cracker crust.
  3. Bake in preheated oven for 5 to 8 minutes or until tiny pinhole bubbles burst on the surface of the pie. Do not brown!
  4. Chill pie thoroughly (I suggest overnight) before serving.
  5. Garnish with lime slices and whipped cream or a dollop of ice cream.

IMG_3768

Much thanks to:

  • Annrichardson from AllRecipes.com for the recipe.
  • Sue Brother (a.k.a. my amazing Mom) for finding this recipe online, making it all of these years, and sending me the ingredients from Portland, Oregon!

Toll House’s best kept secret: Chocolate Chip Cookie Bars

By Victoria Piccione ’16

When it comes to baked goods, there are two kinds of people in this world: cookie people and cake people. I’ve always been infuriated when people ask me what camp I fall into because I don’t discriminate against any baked goods. And they’re so completely different that I don’t think it’s a fair question anyway. Cakes are for celebrations; cookies are for everyday consumption. But when asked if I’m a cookie or cookie bar person, I can confidently state that I fall into the latter camp.

DSC_0693

For your sake, I really hope that you’ve consumed a chocolate chip cookie bar at least once in your lifetime. If you haven’t, you need to put down the computer, print out this recipe, and go whip up a batch right now because they are (1) so easy and (2) absolutely delicious. They pack the chewy interior and slightly crunchy exterior of a regular cookie, along with the buttery, vanilla-y, slightly salty goodness that we all love about a Toll House cookie, but then they do it better. They’re thicker, kind of like blondies, but chock full of chocolate and the consistency is more like a cookie.

DSC_0713

This recipe is an old standby in my house, and for many reasons. It’s versatile: you can throw in M&Ms, coconut, toasted hazelnuts, or swirl in some peanut butter, Nutella, or salted caramel. They’re also the perfect base for a scoop of ice cream and a drizzle of hot fudge. It’s too easy: rather than spending as much time rolling out balls of cookie dough as you spent mixing up the dough itself, this dough you just spread in a pan and throw in the oven. I’m all about immediate gratification. And there’s just something about biting into a thick bar that’s intensely satisfying.

DSC_0715

Chocolate chip cookies have done a good job of keeping their younger, more attractive sister hidden, but I think it’s time that she finally make her debut!

Ingredients:

2 ¼ cups unsifted flour

1 tsp. baking soda

1 tsp. salt

1 cup (2 sticks) butter, softened

¾ cup sugar

¾ cup packed brown sugar

2 tsp. vanilla extract

2 eggs

1 12-oz package (2 cups) semi-sweet chocolate chips

Directions:

  1. Preheat oven to 375°F, and grease a 15” x 10” x 1” baking pan.
  2. In a small bowl, stir together flour, baking soda, and salt; set aside.
  3. In a large bowl fitted for an electric mixer, combine butter, sugar, brown sugar and vanilla extract; beat until creamy. Beat in eggs one at a time.
  4. Gradually add flour mixture, scraping down the bowl between additions. Mix until completely incorporated.
  5. Stir in chocolate chips, then spread into greased baking pan.
  6. Bake in preheated oven for 20-25 minutes, or until golden brown on top.
  7. Let cool, then cut into 2” squares.

Recipe adapted from Toll House

Gluten- Free Puppy Chow

By Danielle Leavitt’ 17

This summer I welcomed a new brother into my home. Adorable, furry, curious, and smart, my new puppy won my affection instantly. Always on the go, he made me think of a quick and easy gluten-free snack that I could make at school. “Puppy Chow” is usually a staple, eaten at holiday parties and snacked on anytime and anywhere. This easy treat can be made entirely in a microwave with very simple ingredients. The ingredients can all be found at Broadway Market and at Whole Foods. Sweet, crunchy, gooey, chocolaty, and delicious, “Puppy Chow” is an easy-to-make, satisfying snack that even my new puppy would love to try.

puppychow4

Ingredients:


puppychow1


3 tbsp. butter

10oz marshmallows

5 tbsp. Peanut Butter

Chocolate chips to taste (Enjoy Life brand are gluten, soy, and dairy free)

4 cups Chex cereal (all flavors are Gluten free, but this was made with Rice Chex, which you could totally poach from the d-hall…)

Powdered sugar (optional)


Directions:


puppychow2


Microwave butter, marshmallows, peanut butter, and chocolate chips. Stir every 2-3 minutes. Add Chex cereal. Mix together.

Additions: you can put some powdered sugar on top, and mix thoroughly

Enjoy!

A Recap of Passover and Easter Eating

Whether you went home this weekend for the holidays, or stayed on campus, we’re sure you ate some delicious food.  The Crimson Crave has compiled a collection of pictures of meals that several members of the Harvard community enjoyed over the Easter/Passover holiday.  Bring on the food porn!

Orlea Miller ’16

Charoset is one of the foods traditionally eaten during the Passover Seder, and many families have their own special way of making it. The basic recipe includes chopped fruit, nuts, grape juice or wine, and spices. Its burnt red color and nutty texture symbolize the mortar used by the ancient Israelites to assemble bricks when they were enslaved in Egypt.

everything mixed
Charoset

Rachel Talamo ’18

Dessert, dinner and brunch from Passover in Montreal!

unnamed-2
A scrumptious dessert called “il flotant”


unnamed
Stuffed cornish game hen, asparagus, sweet potato, apple, chestnuts, cranberries, and fruit sauce


unnamed-1
Hard-boiled eggs with avocado and greens; smoked salmon with asparagus, butter lettuce, onions, avocado, and cream sauce; greek yogurt with berries and maple syrup

Annelie Hermann ’18

These are “sunflower cupcakes,” garnished with an Oreo, green frosting, and orange/yellow frosting applied with a ziploc bag. Very spring-like, indeed!

Sunflower2
Sunflower Cupcake

Caroline Gentile ’17

Every Easter brunch, my mom makes french toast, and she recently just found a delicious recipe for overnight french toast with raspberries and orange in Ina Garten’s new cookbook, Foolproof.  The sweet tartness of the raspberries and orange perfectly cut the rich egg-y taste of the challah bread and custard.

Raspberry-Orange Overnight French Toast

For dessert, we had coconut cupcakes with coconut buttercream frosting, garnished with egg-shaped M&Ms.  The recipe can be found on browneyedbaker.com!

DSC_0009
Coconut Cupcakes


A Recipe for Hamantaschen: Three-Cornered Treats

By Orlea Miller ’16

When I tell my friends a Jewish holiday is coming up, they know there will be food involved. Delicious food, and lots of it. There’s bagels and lox all year long, challah for Shabbat on Friday nights, apples and honey for the Jewish New Year, latkes and jelly-filled donuts for Hanukkah, and the list goes on. But if you haven’t tried hamantaschen yet, you’re missing out.

The most recent holiday, Purim, celebrates the survival of the Jewish people in ancient Persia despite Haman’s plot to destroy them. Haman, the villain of the story, wore a three-cornered hat, which the traditional hamantaschen are meant to resemble. The rest of the word was derived from two German words: “mohn,” meaning poppy seed and “taschen,” meaning pockets. Today, we eat pocket-filled pastries to symbolically destroy Haman’s memory in every bite.

When I was younger, my sister, my mom, and I would gather in the kitchen year after year, filling our hamantaschen with our favorite ingredients: poppy seed (which tasted too bitter for me, but my grandfather’s preference), raspberry, strawberry, and peach jelly, and, the best, if you ask me: any form of chocolate. We would each make our mark, filling our own hamantaschen (and often writing on the foil above it before placing it in the oven) just so we would know which were ours.

These delectable treats are quick, easy to make, and require few ingredients! They’re a great way to involve everyone in the family/blocking group and let each baker add their special touch. (And if you’re really advanced, I’d recommend going for apple pie or brownie filled hamantaschen instead – http://cantstopbaking.blogspot.com/2012/02/ode-to-my-broand-some-hamantaschen-on.html instead.)

Last week, students baked hamantaschen at Harvard Hillel, using a recipe from Student Activities Director Paige LaMarche!


Ingredients:

2 eggs

1/2 cup sugar

2/3 cup oil

filling

1 cup flour

1 tsp baking powder

pinch of salt

2

Directions:

Mix eggs with sugar and add oil. Add baking powder and salt, and flour, stirring all the time. It will be a moist dough. Next, place enough flour on a board to prevent the dough from sticking, and roll the mixture.

3


Cut out round forms with cup.

4


Put 1/2 tsp of filling in each circle. Options above include: jelly, poppy seed, and chocolate chips.

5

Fold into shape of triangle. Place on ungreased cookie sheet and bake at 350 degrees F for 15 minutes. Cool, then enjoy!


7


Photo credits: Aaron Klein and Talia Weisberg

Three Cheers for Chocolate: Triple Chocolate Mousse Cake

By Victoria Piccione ’16

You can also follow Victoria’s baking adventures on her personal blog Sweet Dreams: Adventures in Baking

You know it’s going to be a good night when you walk into the dhall and find chocolate cream pie for dessert. There’s something about the light and creamy chocolate filling paired with the crumbly graham cracker crust that causes your stresses from the day to melt away. I know you know what I’m talking about because the excitement is audible as people first see the night’s dessert offering. There are proclamations of satisfaction. You just don’t get that with the lemon shortbread bars. Needless to say, my Saturday brunch was made when I saw that little mound of sugary heaven.

DSC_0438

But what if I told you that you could make something with not one but two layers of chocolate mousse? And rather than a disintegrating graham cracker crust that honestly could benefit from a little butter to hold it together, a layer of flourless chocolate cake serves as the base for these two-toned layers of chocolate decadence? Don’t get me wrong; I’ll be the first to admit to embarrassingly excessive excitement when HUDS spoils us with chocolate cream pie. But I’ve also tasted the magic of Cook’s Country Triple Chocolate Mousse Cake and experienced its transformative effect.

DSC_0472

The cake takes some effort: with three layers of different flavors and consistencies, there are a good number of steps to this recipe. But none are particularly challenging, and you can work on one layer while the other is baking or chilling. It’s almost like science class in sixth grade where you experiment with colored liquids of different densities that form a beautiful rainbow of layered liquids. Except the cake and mousses aren’t going to move through each other, so…

DSC_0439

Maybe the comparison doesn’t work, but the idea is there. The excitement is the same, the thrill of three distinct layers of different colors, the same. Except unlike middle school science class, it’s not water and rubbing alcohol and baby oil, so I can promise you it’ll be much more edible than any retro density-related science project. And for everyone who shares my sentiments that chocolate cream pie is HUDS gold, I promise you that this triple chocolate mousse cake will exceed even your sweetest dreams.

Ingredients:

Flourless Chocolate Cake (Bottom Layer)

6 Tbs. butter, cut into pieces

7 oz. bittersweet chocolate, chopped

¾ tsp. instant espresso powder

2 tsp. vanilla extract

4 eggs, separated

Pinch of salt

⅓ cup brown sugar

Dark Chocolate Mousse (Middle Layer)

2 Tbs. cocoa powder

5 Tbs. hot water

7 oz. bittersweet chocolate, chopped

1 ½ cups heavy cream

1 Tbs. granulated sugar

⅛ tsp. salt

White Chocolate Mousse (Top Layer)

¾ tsp. powdered gelatin

1 Tbs. water

6 oz. white chocolate chips

1 ½ cups heavy cream

Bottom Layer:

  1. Preheat oven to 325°F, and grease sides and bottom of 9” springform pan that’s at least 3 inches in height.
  2. In a double boiler, melt the butter, chocolate and espresso powder, stirring occasionally until smooth. Remove from heat and let cool for about 5 minutes, then whisk in the egg yolks and vanilla. Set aside.
  3. In a stand mixer with whisk attachment, beat the egg whites and salt at medium-high speed until frothy, about 30 seconds. Add half of the brown sugar, beating until combined. Add the remaining brown sugar and beat on high until soft peaks form, about 1 minute longer.
  4. Whisk one-third of the beaten egg whites into the chocolate mixture, then fold in the remaining whites with a rubber spatula until fully incorporated and no white streaks remain. Transfer batter to prepared springform pan, smoothing top.
  5. Bake in the preheated oven for about 12 – 18 minutes, or until the cake has risen, is firm around the edges and the center is set but still soft (center springs back when pressed gently with finger). Let cool completely, about 1 hour, leaving the cake in the pan.

Middle Layer:

  1. In a small bowl, whisk together the cocoa powder and hot water. Set aside.
  2. In a double boiler, melt the chocolate. Remove from the heat and cool for about 5 minutes.
  3. In a stand mixer with whisk attachment, whip the cream, granulated sugar and salt on medium speed until begins to thicken, about 30 seconds. Increase speed to high and whip until soft peaks form, about 30 – 60 seconds. This is easiest if the cream and bowl/whisk attachment are cold.
  4. Whisk the cocoa mixture into melted chocolate, then whisk in one-third of the whipped cream to lighten chocolate mixture. Fold in remaining whipped cream with rubber spatula until no streaks remain.
  5. Spoon mousse into springform pan over cooled cake, gently tapping pan on counter to remove air bubbles. Smooth top and refrigerate for at least 15 minutes as you prepare the white chocolate mousse.

Top Layer:

  1. In a small bowl, sprinkle gelatin over the water and let stand for at least 5 minutes.
  2. Place the white chocolate in a medium heatproof bowl, then bring ½ cup of heavy cream to simmer in small saucepan over medium heat. Remove from heat, add the gelatin mixture, and whisk until fully dissolved.
  3. Immediately pour the cream mixture over the white chocolate chips and let sit for about 1 minute. Whisk the mixture until the chocolate is melted and mixture is completely smooth. This may require some reheating in the microwave, but make sure to temper the chocolate by using only short intervals. Let cool to room temperature, stirring occasionally; the mixture will thicken somewhat.
  4. In a stand mixer with whisk attachment, whip remaining cup of cream on medium speed until it begins to thicken, then increase speed and whip until soft peaks form, about 30 – 60 additional seconds.
  5. Whisk one-third of whipped cream into white chocolate mixture, then fold in remaining whipped cream with rubber spatula until no streaks remain.
  6. Spoon white chocolate mousse into pan over dark chocolate mousse layer, smoothing top. Let chill in refrigerator until set, at least 2 ½ hours.
  7. Remove the cake from fridge and let sit at room temperature for 45 minutes before releasing from springform pan. Dust top with shaved chocolate or cocoa. Before releasing from pan, run a thin knife around sides of cake. For clean, picture-perfect slices, dip sharp knife in hot water and pat dry between cuts.
  8. Enjoy, knowing you’ve exceeded even the best that HUDS had to offer!

DSC_0486

Recipe adapted from Cook’s Illustrated.

Snickerdoodles: Spice things up this Valentine’s Day

By Victoria Piccione ’16

I’m the first to acknowledge Valentine’s Day for what it really is, or what it should be: the chocolate holiday. If you’re in a relationship, chances are you’ll get a box of truffles with maybe a dozen red roses. If you’re single, rich and indulgent chocolate is undoubtedly better than any significant other anyway. And while chocolate raspberry torte, chocolate covered strawberries, chocolate lava cakes, or just about any form of chocolate all say romance, this Valentine’s Day why not spice things up? Because with enough snow outside to justify two consecutive snow days and even colder temperatures in the forecast, we could all use some warming up.

DSC_0363

Aphrodisiacs are foods that spark romance. Oysters, avocadoes, chocolate, and strawberries are all examples. Cinnamon, as a spice, falls into this category as well. And because nothing says I love you like a freshly baked batch of cookies, Snickerdoodles would make the perfect addition to your Valentine’s Day celebration. The cinnamon brings the warmth; the butter brings the comfort, and the sugar brings the sweet. Best of all, these cookies are remarkably simple, and they stay moist and chewy for days.

DSC_0357

The original recipe describes them as Mrs. Field’s copycats, which, while I’ve never had a Mrs. Field’s Snickerdoodle, seems to be the gold standard. Airy but substantial, not too crumbly and ridiculously chewy, the right amount of sweet and the perfect amount of cinnamon, these cookies beat out even some of my favorite chocolate-based alternatives. So this Valentine’s Day, whip up a batch and say I love you in the sweetest, warmest way possible.

Snickerdoodles

Recipe adapted from Averie Cooks

Ingredients:

½ cup unsalted butter, softened

½ cup granulated sugar

⅓ cup light brown sugar

1 large egg

1 tsp. vanilla extract

¾ tsp. cinnamon

1 ½ cups flour

½ tsp. baking soda

¼ tsp. cream of tartar

¼ tsp. salt

For rolling:

+ ¼ cup granulated sugar

+ 2 tsp. cinnamon

  1. In the bowl of an electric mixer, beat together the butter and sugars on medium speed until creamed and combined.
  2. Once well combined, add the egg and vanilla, and beat on high speed until light and fluffy, scraping down the sides of the bowl.
  3. Add the cinnamon, flour, baking soda, cream of tartar, and salt, beating on low and then medium speed, until just combined.
  4. Important: The dough must be allowed to chill in the fridge for at least an hour. If you do not give it this time to set up, the cookies will come out flat and will not reach their full potential. During this time, make your special someone a beautiful handmade Valentine.
  5. Once the cookies have chilled for at least an hour, remove from fridge. Preheat the oven to 350°F, and grease two baking sheets with cooking spray. In a small bowl, combine the extra sugar and cinnamon for rolling.
  6. Using two spoons, scoop dough and roll into balls about 1-inch in diameter. Roll the balls in the cinnamon-sugar until fully coated, then place them on the baking sheet, at least one inch apart from each other.
  7. Bake in the preheated for no more than 9 minutes. The cookies may appear under-baked and very soft in the middle: these are done! The cookies will firm up as they cool on the baking sheets, and over-baking them will leave them less chewy and soft.
  8. Enjoy with your loved one/best friend/platonic Valentine!

DSC_0362

A Dorm-Friendly Super Bowl Snack: Chex Mix Treats

by Caroline Gentile ’17

I don’t know about you, but for me, the Super Bowl is about much more than just football. If my beloved Packers had made it this year, perhaps I would care more about the football aspect, but still, commercials, puppies, and of course, food, always play a major role in my Super Bowl Sunday experience.

Perhaps one of my favorite snacks while watching the game (or, let’s be honest, the tear-jerkingly adorable Budweiser puppy commercials) is Chex Mix. Deliciously salty and crunchy, there isn’t much more that one could want out of a snack. But wait! What if Chex Mix could be sweet, too? It seems too good to be true, but such a snack exists in the form of Chex Mix treats, an improved version of the classic Rice Krispie treats!

f1116864


f1048832

A harmonious trilogy of flavors—sweet, salty, and crunchy—is what makes these Chex Mix treats so dangerously addicting. Seriously. I made these at home over break, and the whole pan was gone in a day. But you don’t have to have access to a real kitchen like you would at home in order to make Chex Mix treats. All you really need in terms of cooking equipment is a microwave, a large heatproof bowl, and a 9X13 inch pan.

Now, for the recipe, courtesy of the Food Network magazine.

You’ll need:

4 TB unsalted butter

1 bag (usually 10 oz) of mini marshmallows

1 15 oz. bag of Chex Mix

Instructions:

If you are using a stove, melt the butter and marshmallows in a small saucepan, stirring constantly. If using a microwave, melt the butter and marshmallows in a large heatproof bowl at high heat for 1 minute. Stir, then continue microwaving in 30-second increments, stirring between each increment, until everything has melted.

Once the marshmallows and butter are melted together, pour the Chex Mix into the bowl and combine, either with a wooden spoon, spatula, or even your bare (clean!) hands. Make sure that all of the Chex Mix gets coated in melted marshmallows and butter. Once combined, press the mixture into a 9X13 pan. Allow it to set for one hour at room temperature before cutting the treats into squares. Enjoy!


DIY Ice Cream Cake

By Caroline Gentile ’17

My go-to birthday present for my friends is food.  More specifically, I like to give people ice cream cake.  To me, there is no better food combination than ice cream and cake!  While JP Licks offers delicious ice cream cakes, they tend to be on the more expensive side.  Behold, a recipe for an ice cream cake for which the ingredients can all be purchased at CVS and that can be made in your very own dorm room!

You’ll need:

2 boxes of vanilla ice cream sandwiches (12 bars)

Cool whip

Oreos

Any cookie of your choice (I use Chips Ahoy)

Hershey’s chocolate sauce

A plate that will fit in your sad little dorm room freezer

A knife


Assembly:

Lay three ice cream bars next to each other on the plate. Using your knife, spread a nice, thick layer of Cool Whip over all three of the bars.  The Cool Whip may be a bit hard to spread, so let it sit out at room temperature for 10-15 minutes until it becomes more spreadable. Then, on top of the cool whip, layer crumbles of Oreos and/or other cookies of your choice.

Now, for the next layer: three more ice cream bars on top of the Cool Whip/cookie crumbles.  Then another layer of Cool Whip and cookie crumbles. Repeat with three more ice cream bars. Your cake should have three layers, with 9 ice cream bars.  You can attempt to make a four layer cake, but this is very ambitious, and such cakes tend not to fit in the typical, Harvard-approved freezers.

Once you have assembled all of your layers, cover the whole cake in Cool Whip.  On top of the cake, decorate with cookies and drizzle with chocolate sauce.  Enjoy!!