Gluten-Free Pumpkin Bread

By Danielle Leavitt ’17

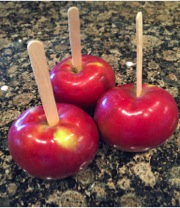
China has the fuzzy kiwi, England has its apple, and even Mexico has its avocado. But America? No national fruit. Well, if you were to ask me, my vote would be the pumpkin. Yes, the majestic, bright orange oval that has become a symbol of Halloween and Thanksgiving is indeed a fruit! Pumpkins are amazingly versatile plants, boasting flowers, seeds and a firm flesh that is not only delicious, but also rich in vitamins A and B, high in fiber, potassium, protein, and iron.
Final pumpkin
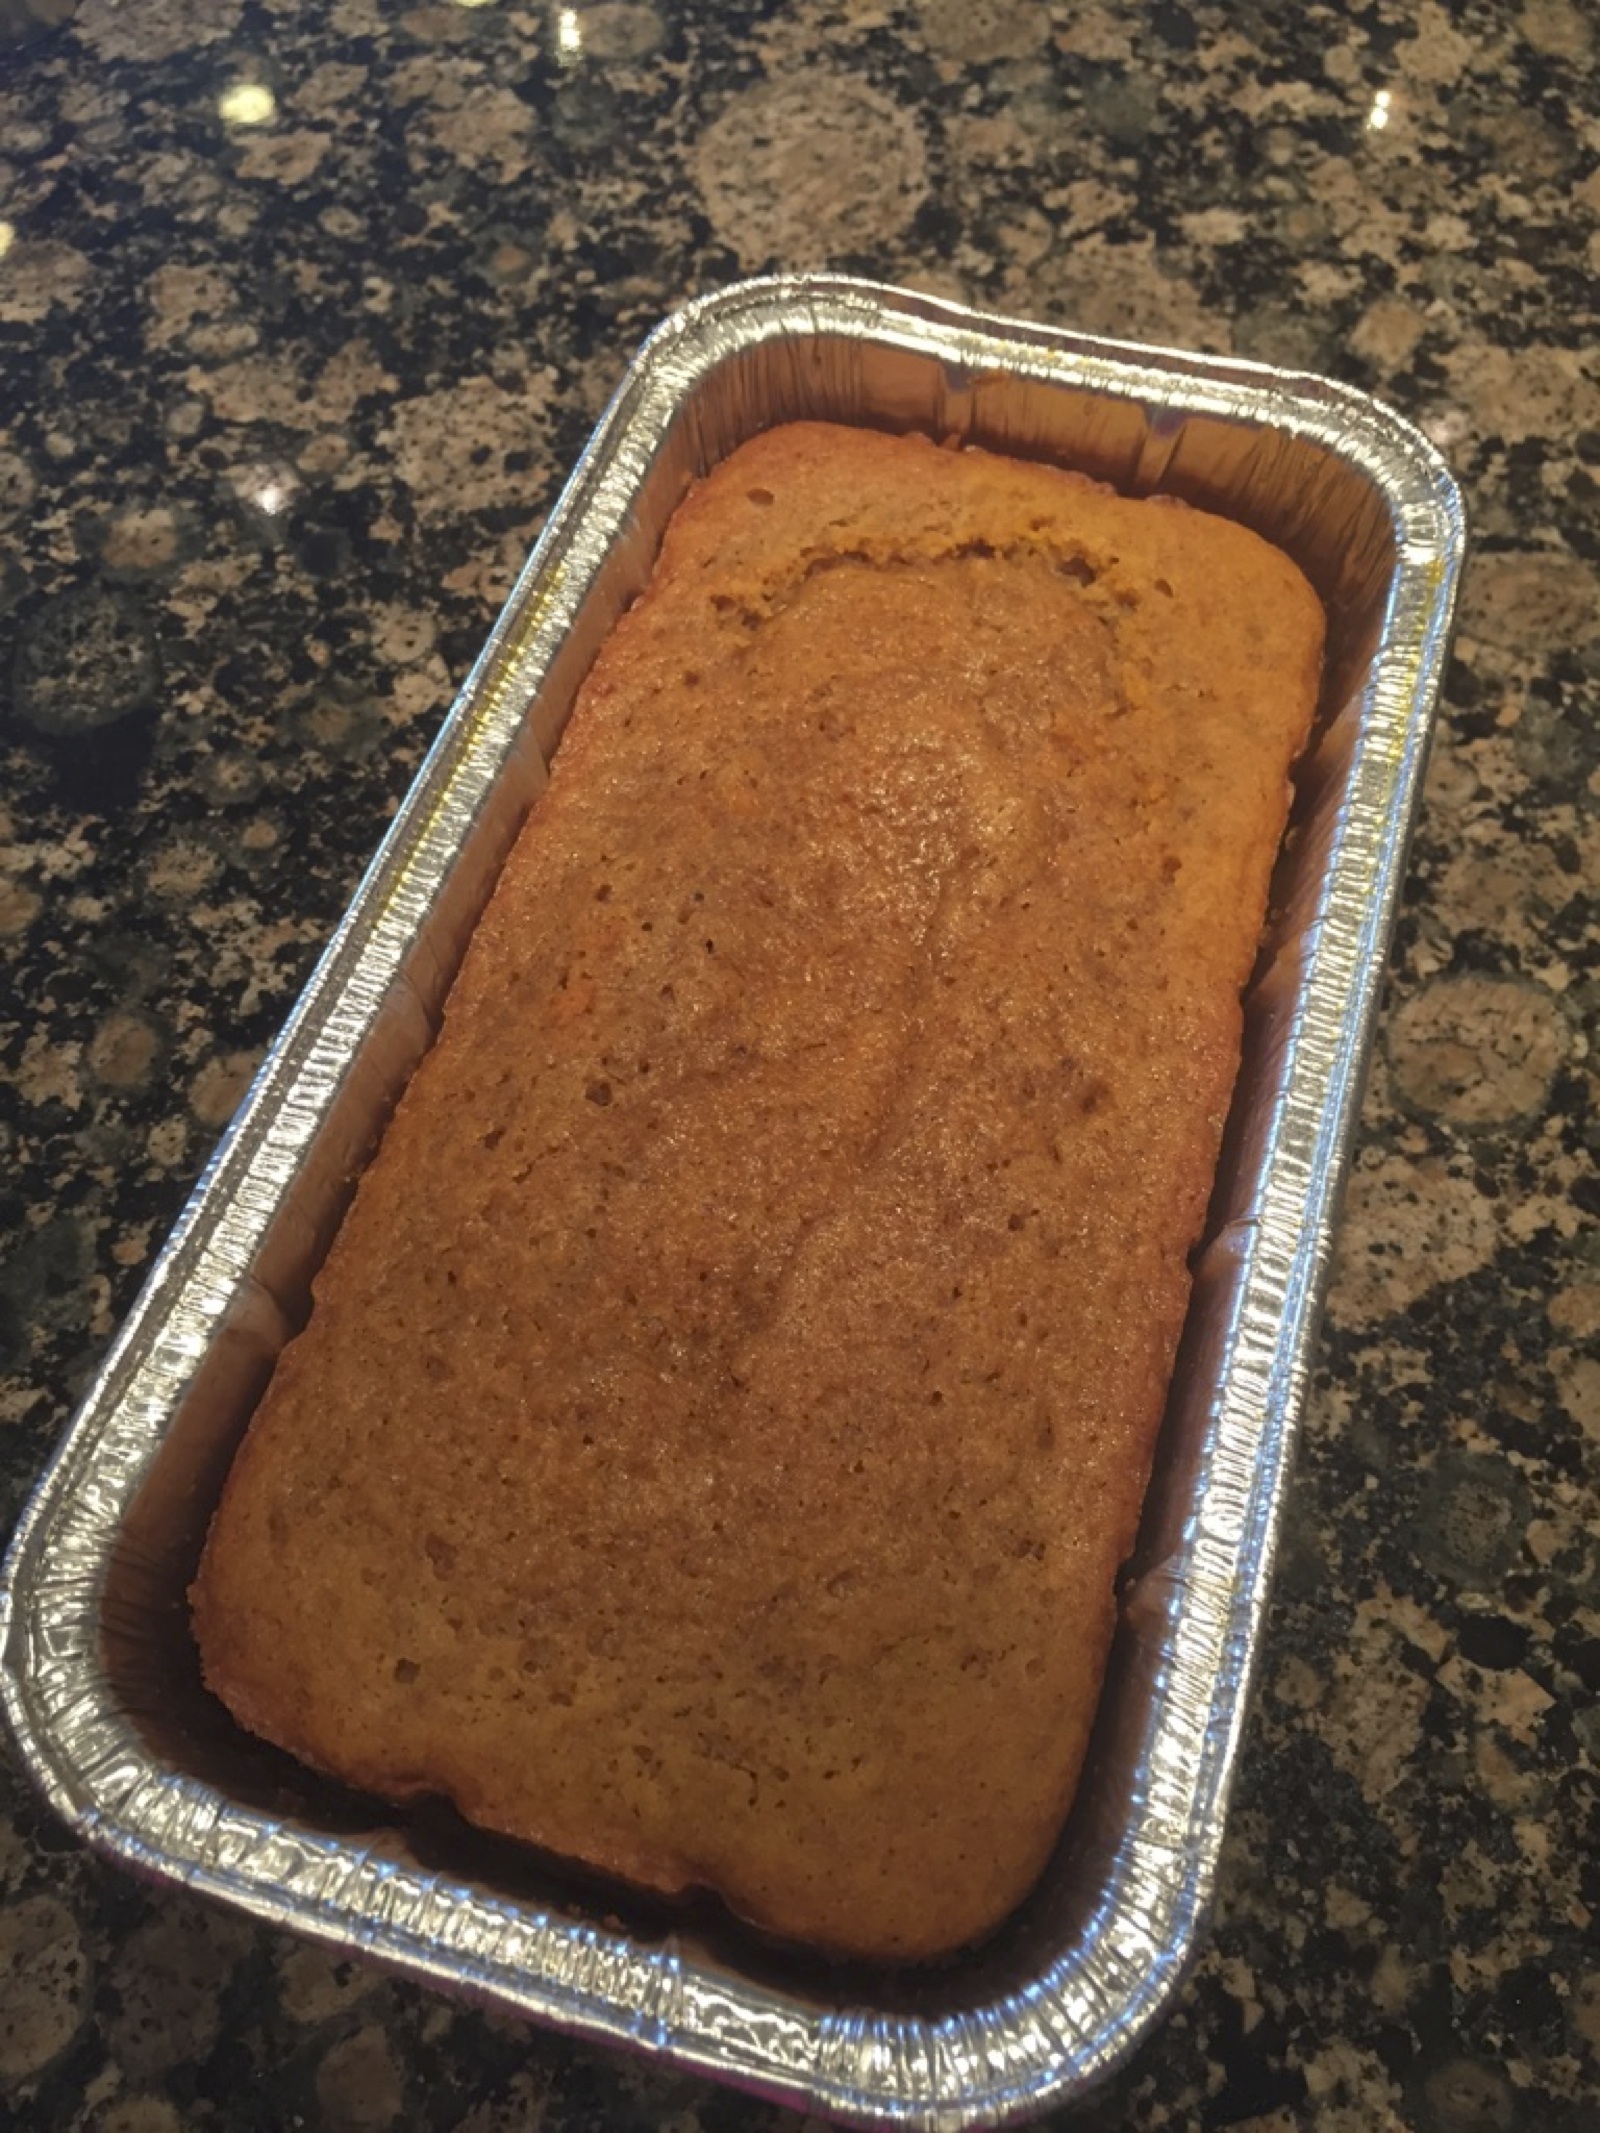
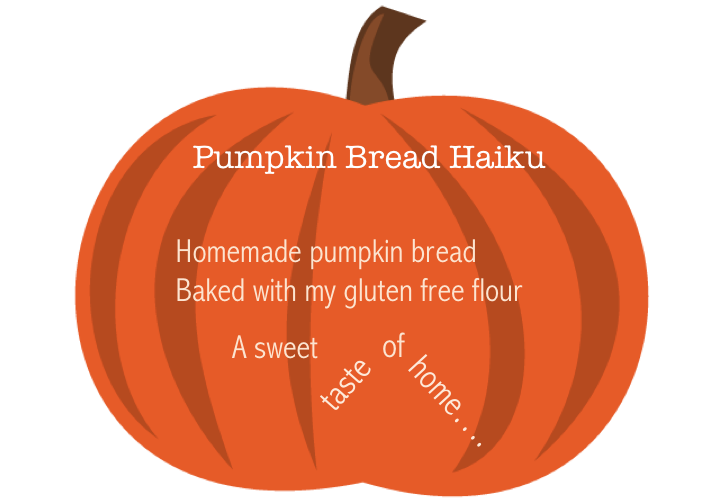
With Thanksgiving right around the corner, I am really looking forward to heading home for an amazing, well worth the wait, dinner. In years past, my feast was somewhat boring, (just turkey and green beans for me) because the stuffing and pumpkin pie were unfortunately not gluten free. What’s a Thanksgiving feast without dessert? Luckily, all that has changed in the last few years, as more and more gluten-free products and recipes have been added to our table—like this pumpkin bread recipe. While there are quite a few ingredients, they are all easily found in most grocery stores, and the recipe itself is very easy. With a perfect cinnamon-nutmeg taste, gluten free pumpking bread will totally satisfy your craving for a Thanksgiving dessert.


Gluten Free Pumpkin Bread

Ingredients

Ingredients for Pumpkin Bread1 stick unsalted butter, room temperature, plus more for pan

  • 1 3/4 cups gluten-free all-purpose flour (spooned and leveled)
  • 1 1/2 teaspoons gluten-free baking powder
  • 1/2 teaspoon baking soda
  • 3/4 teaspoon fine salt
  • 1 teaspoon ground cinnamon
  • 1/2 teaspoon ground nutmeg
  • 1 1/4 cups sugar
  • 3 large eggs
  • 2 teaspoons pure vanilla extract
  • 1 1/4 cups pure pumpkin puree
  • 3/4-cup buttermilk


Directions

  1. Preheat oven to 350 degrees. Lightly butter a 4 1/2-by-8 1/2-inch Pumpkin Bread with Whiskloaf pan.
  2. Whisk together flour, baking powder, baking soda, salt, cinnamon, and nutmeg.
  3. In a large bowl, using a mixer, beat butter and sugar on medium-high until light and fluffy, 7 minutes. Add eggs, one at a time, beating well after each addition and scraping down bowl as needed. Beat in vanilla.
  4. With mixer on low, gradually add flour mixture and beat until just combined. Add pumpkin and buttermilk and beat until just Pumpkin Bread with Mixercombined.
  5. Transfer batter to pan, smooth top, and bake until a toothpick inserted in center comes out with a few moist crumbs attached, about 1 hour 15 minutes (cover with foil if overbrowning). Let cool in pan on a wire rack, 15 minutes. Turn out onto rack and let cool completely. Enjoy!

Pumpkin Bread in Foil

I can only imagine what wonderful pumpkin-treats were at the first Thanksgiving feast. And now with gluten-free flour, dessert this Thanksgiving can be a treat that all feasters, even gluten-free lovers, can look forward to.Final Pumpkin Bread


Recipe from: http://www.marthastewart.com/945741/pumpkin-bread

To the One-Dimensional Eater: A Manifesto

By Dana Ferrante ’17

This past week, I hadScreen Shot 2014-10-31 at 11.03.47 AM to write a manifesto as part of a course about youth protest in Europe during 1968. Having read everything from anarchist memoirs to situationist leaflets, we were asked to use the ideas, language, and rhetorical styles of these sources to create a manifesto about a topic of our choosing. Naturally, I chose to write mine about the food system. If you’d like to learn more about actual (and less accusatory/radical) plans that are currently in the works, check out the Massachusetts Food System Plan, as well as the Food Better Campaign going on here at Harvard. 


A specter is haunting our stomachs: the specter of what locavore’s call “carelessness.” This specter has not appeared out of thin air—it is the inevitable consequence of the present culture of instant-gratification and ignorance, perpetuated by people across the globe. It was born at a time when the advancing industrial society quickened the speed and immediacy of life, forcing our food system to follow suit. And yet this society is irrational as a whole. How do people expect something that grows in the summer to be on their plates year round? Why do the eggs in the grocery store come from across the country, instead of from the farm right down the road? We all bear responsibility for the present state of affairs, and it is because of this that we must commit ourselves to change —for ourselves, for future generations, and for the sake of the global environment.

  1. Whoever does not consider what they eat, where it comes from, and how it is produced, remains ignorant of one of the most essential aspects of his or her well-being and that of society as a whole.
  2. These are called One-Dimensional Eaters.
  3. As the shelves of our supermarkets become fuller each year, food has become less of a source of sustenance or means to survive. Today, it is a commodity, and the global population is compelled to consume far more than it needs.
  4. This generation now prefers the copy to the original, the appearance of culture, fake food to the authentic recipes. Time and effort have gone by the wayside, and only the illusion of freshness and culture is satiating.
  5. Without farmers, there would be no more food.
  6. The general separation of food production and the consumer has made us blind to the people and energy that it takes to get dinner on the table each night. Society now demands speed, while food requires exactly the opposite: patience.
  7. Through this, society as a whole has forsaken the importance of the home-cook. This is both the result and the cause of the on-going food illiteracy

Therefore, the locavores propose:

  • To inform the population of the real environmental and societal situation created by our ignorance of the food system
  • To become more conscientious of where our food comes from and how it is produced
  • To eat locally and seasonally, therefore supporting local agriculture
  • To slow down our consumption and reintroduce patience to the consumer
  • To initiate a home-cook movement
  • To work with producers, business owners, food system stakeholders, and consumers to find out how the food system can be improved
  • To teach the newest generations to eat according to region, season, and availability, as our ancestors did
  • To eliminate one-dimensional eaters


A Recap of the Boston Vegetarian Food Festival

by Caroline Gentile ’17

I walked into the Reggie Lewis Athletic Center on Sunday afternoon and followed my nose to the gymnasium, where hundreds of vegetarian and vegan food vendors had set up shop. Let me start out by saying this: I am not vegetarian, nor am I a vegan. I love meat and I love animal products. In fact, I am usually skeptical of vegetarian and vegan food, especially when it resembles what I think of as ‘normal’ food. So what was I doing at a food festival that only served food of which I’m usually skeptical?

Well, I wanted to learn and I wanted to try new things. After all, most vegan and vegetarian food aims to replace their non-vegetarian or non-vegan counterparts, like cheese and meat. What intrigues me most about these kinds of foods is that if they are not actually cheese or meat or the like, then what are they?

The first food I tried as I entered the festival was nacho cheese dip from the O2 Yoga stand. I was surprised when it actually tasted like nacho cheese! Intrigued, I asked what it was made of: cashew, potato, carrot, shallot, onion, sunflower seeds, lemon juice, and spices.

IMG_7762

As it turns out, vegan “cheese” usually has a cashew base, as I found out from several other vendors who sold it. Nuttin Ordinary, another vendor, boasted cashew cheese spread made from 100% raw cashews and no added oils, which was delicious. The consistency was like that of goat cheese, and the flavor itself was very cheesy. A few stands over was Teese, which was also giving out samples of vegan nacho cheese with a cashew base.   All three “cheeses” that I sampled are available at Whole Foods, and all were delicious.


Many of the vendors were selling and offering free samples of vegan baked goods. FoMu, a bakery and ice cream store located in both Allston and Jamaica Plain, had an assortment of baked goods and ice creams. I decided to try their best seller, the Magic Bar, which is made of shredded coconut, pecan, vegan chocolate, and a dulce de leche base. It tasted like a tried-and-true, absolutely not-vegan seven-layer-bar. I kept telling myself that it was healthy because it was vegan, but there is no way that something that tasted so good was healthy!

IMG_7765


Another standout bakery at the festival was Sabertooth Bakery, located in Jamaica Plain by the Forest Hills T-stop, which had a variety of flavors of vegan donuts, like butterfinger, Reese’s peanut butter cup, blueberry crumble, earl grey, powdered sugar and lemon, and peanut butter and jelly. I opted to try the PB&J donut, and it was one of the best donuts I have ever had. The consistency was different from normal donuts in that it was less cakey and more dense. In fact, it was almost like a muffin. Nevertheless, I was quite a fan.

IMG_7771

I also had to sample a Mompop, from a vendor from Pennsylvania whose company is called—you guessed it—Mompops. Both vegan and gluten free, these popsicles are made of fruit, coconut milk, agave syrup, and water, and are only 89 calories. I tried the banana raspberry cream, and my friend tried the chocolate sea salt. Both were very light and refreshing.


All of the flavors of Mompops

To accompany all of the vendors who were selling vegan ice cream, there was also a vegan hot fudge stand. Coop’s hot fudge is made right here in Boston, and uses coconut oil and coconut cream instead of milk and butter. It honestly tasted just like real hot fudge. And if hot fudge wasn’t enough, there was also a stand for vegan whipped cream, with one variety made of rice and the other of soy.

IMG_7775

The highlight of the festival for me and my friend was definitely the Dandies stand, which was giving out free samples of their gelatin-free, vegan marshmallows. My friend started keeping kosher a few years ago, so she had not been able to eat gelatin, and thus marshmallows until she tried Dandies’s marshmallows. Much denser and stickier than normal marshmallows, Dandies did not disappoint. In fact, I think I like them more than regular marshmallows. I’ll be sure to look out for them at Whole Foods.

IMG_7773

Posha’s natural post-workout nutrition shake was the only sample I did not like, but I had known for a fact before trying it that I did not like plant-based protein powder.

Overall, I would say that my day at the Boston Vegetarian Food Festival was a success; I learned a lot about how certain specialty vegan and vegetarian foods are made, and I learned that I actually liked a lot of them!


Salted Caramel Candy Corn Bark

by Caroline Gentile ’17

For me, bark is usually something that I don’t make until Christmas.  It makes a great gift, and is always a quick and easy treat to whip up at the last minute during all of the holiday craziness.  Melt some chocolate, let it set, sprinkle on toppings. That’s all it takes.  Perhaps the best thing about bark, besides the fact that it is delicious and easy to make, is how versatile it is.  Basically, you can make bark with any kind of chocolate and whatever toppings your heart desires.

IMG_7692

I love salted caramel and I love candy corn, but I couldn’t think of a way to combine the two.  And then it dawned on me- bark! Make it into bark!  So I did, and the result was perfection.   I used milk chocolate for the bottom layer, homemade salted caramel for the middle layer, and of course, candy corn on top. The sweetness of the candy corn was offset by the saltiness of the caramel, and the smooth milk chocolate layer balanced out the chewy caramel and crunchy candy corn.  This bark is definitely my new favorite Halloween treat.

IMG_7702

For the chocolate layer:

1lb milk chocolate, chopped (or dark chocolate, depending on your preference)


For the salted caramel layer (adapted from Sally’s Baking Addiction):

1 cup granulated sugar

6 T salted butter, cut into 6 pieces

1/2 cup heavy cream

1 tsp salt


For the candy corn layer:

1 bag of candy corn

Line a 9×13 baking dish with aluminum foil.  Make sure that foil is hanging over the sides. Set aside. Melt all but 3/4 cup of the chocolate in a large heat-proof bowl over a small saucepan of simmering water.  Stir using a wooden spoon until melted, heating in intervals of 10 seconds on the heat and 20 seconds off.  This may take time, but you really want to make sure that you do not burn the chocolate.

IMG_7697

Once it is all melted, remove from heat and add the remaining chocolate into the melted chocolate.  Stir until all of the chocolate is melted.  Pour all of the chocolate onto the foil in the baking dish. Using a spatula, spread out the chocolate across the bottom of the dish.  Allow to set for 30 minutes at room temperature. Do not cheat and put it in the refrigerator! This will cause the chocolate to become too hard. During this time, make the salted caramel!

Heat granulated sugar in a medium saucepan over medium heat, stirring with a wooden spoon to ensure that the sugar does not burn.  The sugar will eventually form clumps and turn into an amber-colored liquid as you stir.

IMG_7693

Once the sugar is entirely melted, add the butter immediately.  Be careful! The melted sugar will boil rapidly once the butter is added.

IMG_7694

Stir the butter into the sugar until it is completely melted, about 2-3 minutes.

Very, very slowly, add the heavy cream.  Again, the mixture will bubble vigorously and may splatter, so be extra careful.  Allow to boil for 1 minute.  The mixture will rise in the pan as it boils.

IMG_7695

Remove from heat and add the salt. Stir.  Allow to cool before using.

IMG_7696

Once the salted caramel is cool, pour over the hardened chocolate layer (make sure that the chocolate layer is hardened before adding the caramel!)  Immediately sprinkle the candy corn over the salted caramel, pressing each individual corn into the caramel. Allow the bark to set for 30 minutes to an hour.  Enjoy!

IMG_7712


Salted Caramel Apple Crumb Bars

By Victoria Piccione ’16

As a native New Englander, the end of September and the whole of October have always had a special place in my heart. As much as I love watching the leaves turn and feeling a bit of a nip in the air – at last, an excuse to don cozy sweaters and curl up in soft blankets! – I think it’s really all of the desserts that make fall my favorite time of the year.

DSC_0129

I can’t remember a single year growing up when we didn’t pile into the car in late September for our annual apple picking trip. As kids, we used to eat our weight in apples, but the real treat was always the fresh cider doughnuts that followed. A perk of having two younger siblings is that the childhood activities don’t stop even when you cease to be a kid. So last year, once again I piled into the car with my family, we ate (maybe half) our weight in apples, finished the day with cinnamon sugar cider doughnuts, and left with not one, but two half-bushel bags of freshly picked apples.

DSC_0091

During the glory days of living in DeWolfe, baking was a weekly occurrence, so it seemed reasonable to bring back a half-bushel of apples for my own use at school. In the beginning, though, I thought I’d been blinded by ambition. Even after making two different kinds of apple crisps and an apple cobbler, it seemed like I hadn’t even begun to make a dent in the apples. Things were going to have to get creative, so I searched my favorite baking blogs for interesting alternatives to the standard apple pie, apple crisp, and baked apples. And thus began my beautiful love affair with salted caramel apple crumb bars.

DSC_0103

I only had to make salted caramel sauce once to become completely obsessed. Chocolate chip cookie bars, buttercream frosting, pumpkin bread, I find an excuse to put caramel on and in everything. In these bars, the cinnamon-y, perfectly sweetened apple filling combined with the buttery crust and crumb topping are divine on their own, but the toasty saltiness of the caramel cuts through the apples and makes for a mouthwatering combination.

DSC_0118


Though the recipe has three major steps – making the shortbread-like dough, preparing the apple filling, and making the salted caramel – it’s fairly straightforward, and the shortbread is used for both the crust and the crumble on top. Additionally, store-bought caramel would serve just as well. Preparing the caramel first gives it time to cool and thicken, and then preparing the apples gives them time to soak up all the sugary cinnamon-y goodness. The best part of this recipe? Apples are plentiful in the dining hall year-round, so even if you didn’t go apple picking or even if it’s the middle of February, these delicious salted caramel apple crumb bars are only ever a few dhall apples away!

DSC_0110

Salted Caramel Apple Crumb Bars

Recipe adapted from Two Peas and Their Pod

Salted Caramel Sauce

2 cups granulated sugar

12 tablespoons unsalted butter, room temperature, cut into pieces*

1 cup heavy cream, room temperature*

1 tablespoon fleur de sel or kosher salt

(1) Before starting, make sure all of the ingredients are measured and ready to use so that once the caramel reaches the appropriate stage you can add them without hesitation. *Also, it’s essential that the butter and cream be at room temperature; if they are not, when you add them to the melted sugar, the sugar may harden rapidly into a nearly unusable mess that should be delicious caramel sauce.

(2) Heat the sugar over medium-high heat in the bottom of a heavy (relatively big) saucepan. When the sugar starts to melt, start whisking the sugar. The sugar will clump; just keep mixing. Once the sugar is melted, stop mixing and swirl the pan vigorously.

(3) Continue cooking the sugar until it reaches a deep amber color. Watch the pan closely so that you don’t overcook the caramel. If you have a candy thermometer on hand, cook the caramel until it reaches 350°F.

(4) Once the caramel reaches the right temperature/color, carefully add the butter. I’ll usually add one piece at a time and continue whisking vigorously until it’s fully combined. Just keep whisking. Be aggressive with the whisking.

(5) Remove the pan from the heat and carefully pour in the heavy cream, whisking as you pour. Whisk until the cream is incorporated and the caramel is smooth. Whisk in the fleur de sel or kosher salt.

(6) Let the caramel sauce cool in the pan for at least 10 minutes.

Note: this recipe makes a lot of caramel sauce! It can be stored in an air-tight container in the fridge for the next time you make cookie bars or decide to indulge in an ice cream sundae.

For the Apple Filling:

5 cups peeled and diced apples (I use Cortland or Granny Smith)
½ cup all-purpose flour
1 teaspoon cornstarch
1 cup granulated sugar
1/4 teaspoon salt
1 ½ teaspoons ground cinnamon
1/4 teaspoon ground nutmeg

For the crust:

3 cups all-purpose flour
1 cup granulated sugar
1 teaspoon baking powder
1/4 teaspoon salt
1/4 teaspoon cinnamon
1 cup cold unsalted butter, cut into small pieces
1 egg, lightly beaten
1/2 teaspoon vanilla extract

To make the Apple Crumb Bars:

(1) Preheat the oven to 375°F. Spray a 9×13-inch baking pan with cooking spray and set aside.

(2) Place the apples in a large bowl. In a small bowl, whisk together the flour, cornstarch, sugar, salt, cinnamon and nutmeg. Pour over the apples and mix until the apples are coated entirely. Set aside.

(3) In another large bowl, whisk together the flour, sugar, baking powder, salt, and cinnamon. Use your fingertips to incorporate the butter into the dry ingredients until a few small chunks of butter remain.

(4) In a separate bowl, mix the egg and vanilla together. Add into the flour and butter mixture and stir to combine. The dough will be crumbly and a little dry.

(5) Pat half of the dough into the prepared pan. Spread the apple mixture evenly over the bottom crust.

(6) Generously drizzle salted caramel sauce over the apple filling, at least ¾ cup. Crumble the remaining dough over the apple caramel layer and pat gently.

(7) Bake for 40-45 minutes, or until the top is golden brown. Cool completely. Cut into squares and drizzle salted caramel sauce.

Note: You can also find cinnamon and nutmeg where they keep spices in the dhall!

Life Alive: Organic, Friendly, and Fresh

By Katja Lierhaus ’16

IMG_4138

It’s 7:30pm on a Thursday,and there is already a line out the door. Located on a street corner in Central Square, Life Alive might not seem like it would be a popular offering, since it serves what some people consider “hippie food,” but meat-lovers and vegetarians alike flock to feast at this laid-back and humble food joint.


The moment IMG_4141
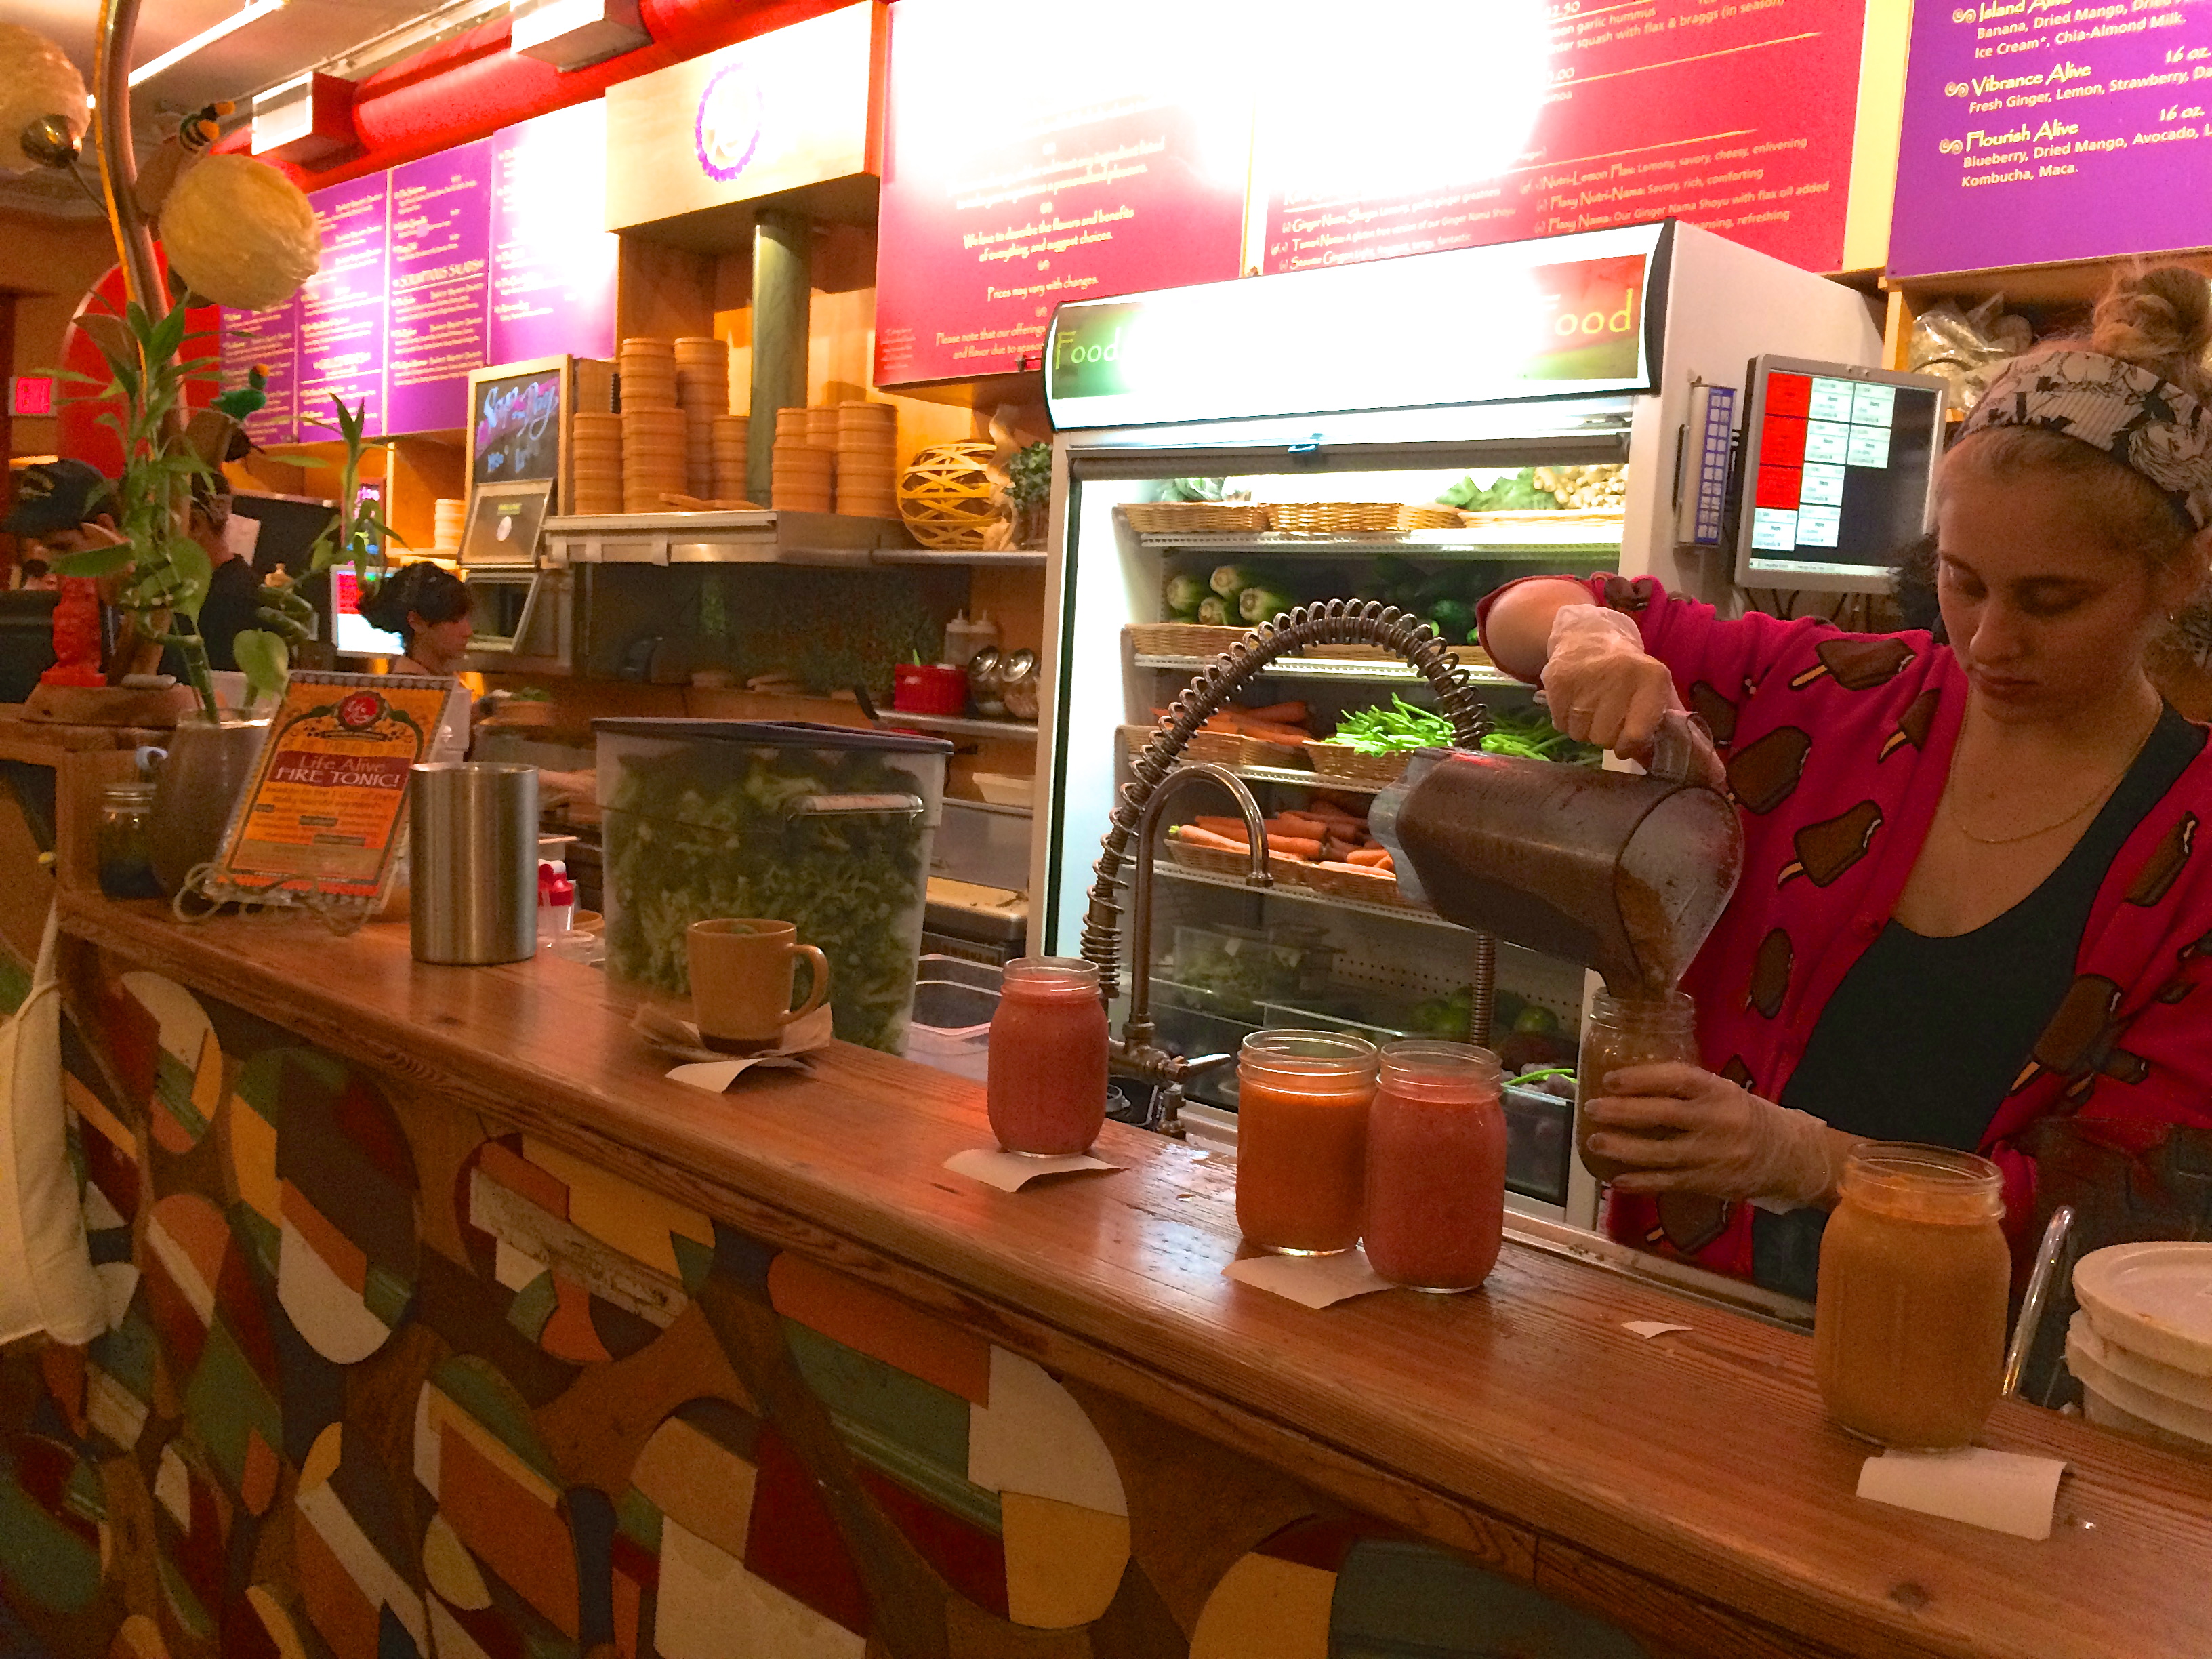
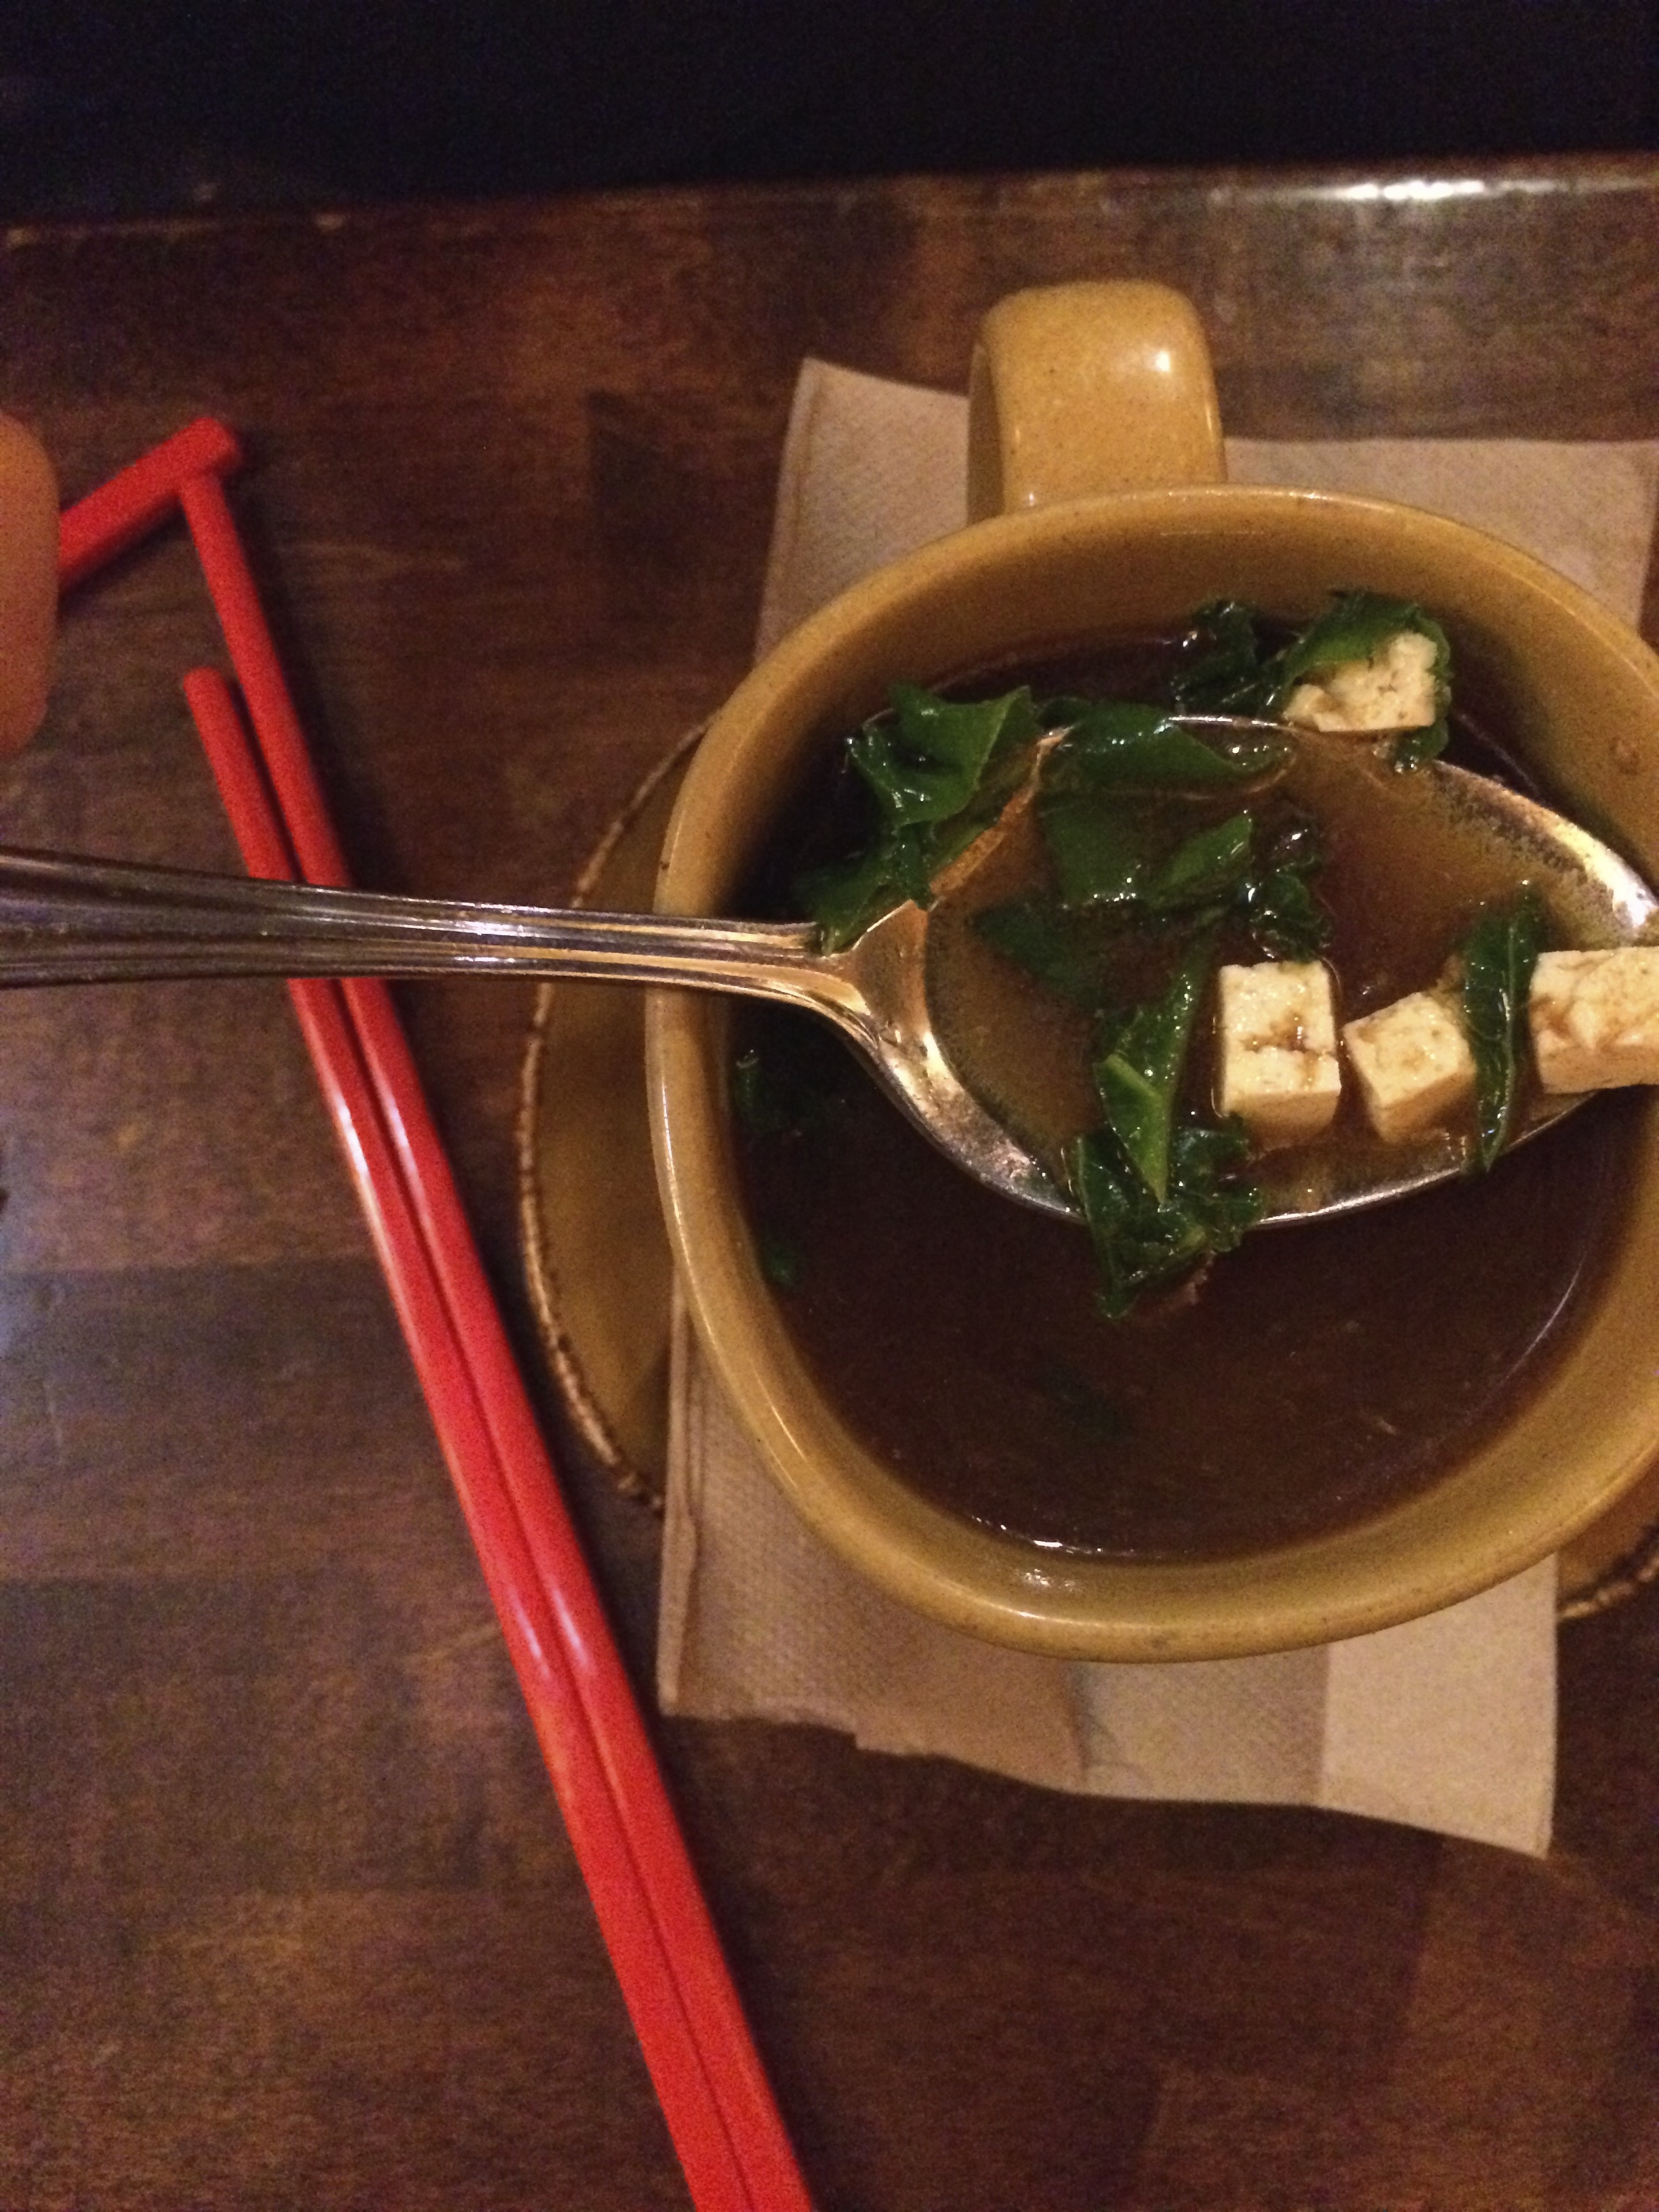
you enter the comfortable yet quirky space, you can’t help but feel relaxed. As their menu reads, you truly cross into a “world of delicious, organic, and therapeutic food, created with love to feed your vitality.”The food here is meant to heal, nurture, and strengthen the body. Everything is fresh and wholesome, but also incredibly delicious. With options for omnivore, vegetarian, vegan, macrobiotic, raw, gluten-free and other diets, fantastic taste is never compromised.


Life Alive offer a wide assortment of teas, fresh pressed juices, smoothies (made coconut ice cream instead of milk), salads, wraps, udon noodle bowls, and side snacks.

IMG_4142


However, their main dishes and most popular items are the rice/quinoa bowls with steamed veggies, topped with a certain je-ne-se-quoi, kick-ass, unbelievable, out of this world, #yourtastebudswillthankyou sauce. Trust me, I’ve tried to create their bowls at home: I can’t come close to the awesome goodness they somehow incorporate in their sauce.

IMG_4144
Miso Soup

You won’t find any meat options here, but I am certain anyone can find a dish they are crazy about. I brought my big, Rugby-playing, protein-loving friend here before, and he loved the “Hot and Healthy Bachelor,” which consists of melted cheddar, hardboiled egg, broccoli flowers, dark greens, Braggs and nutritional yeast, all nestled in a soft whole-wheat tortilla. He also downed the “Elvis Alive” smoothie: peanut butter, cocoa, banana, coconut ice cream, and rice milk. I swear, anyone will love this place.

IMG_4148
Swami Bowl

I have tried almost every main dish at this point and I have never been disappointed. All of the veggie bowls offer something different. This time I chose to sit in the basement where they have live music is played every Thursday night. Here people are chatting about the week on couches topped with pillows, against a backdrop of empowering aphorisms and colorful, geometric art.

IMG_4152


DSCN2146


My thoughts about midterms and p-sets melt away. A waitress brings my “Carrot Cake Alive” smoothie and “Rebel Bowl” and I am in a total bliss. The Rebel Bowl is both juicy and crunchy, oozing with sesame ginger nama sauce with flax oil, enlivening carrots, beets, broccoli, dark greens, legumes and hijiki, which is all over quinoa and short grain brown rice. I slowly devour this beautiful display of food as I sip the not-too-sweet smoothie.

Rebel Bowl

I could eat there every day, which is why I am often thankful it is located in Central Square. (It is about a fifteen-minute walk from the yard going east on Mass Ave past Berry Line, and Crate and Barrel.) Any closer, and I would seriously eat there every meal, which would mean I would be broke in no time.

Life Alive. Go, and you’ll never look back.

Roxy’s Gourmet Grilled Cheese

By Dana Ferrante ’17

Unknown to most students, Friday and Sunday are arguably the best days to get food in the Science Center Plaza. Absurdity? Not in the slightest. Go to Roxy’s Gourmet Grilled Cheese food truck and you’ll find out why. 

Featured on Food Network’s The Great Food Truck Race a few years back, this food truck brings originality and herbs to some classic greasy food staples. Even better, it’s not nearly as overpriced as many food trucks seem to be nowadays, making it a great option for your stomach and wallet.  

Source: http://www.roxysgrilledcheese.com/menu/

The basic menu includes, of course, an assortment of grilled cheese varieties. You can start off basic with the classic grilled cheese with 5 different types of cheese to pick from (fontina, cheddar, muenster, swiss and pimento), or go wild with the Green Muenster ( muenster cheese, guacamole, and bacon) or the Allston (goat cheese, fig jam, caramelized onions, and arugula ). To make things even more indulgent, you can add bacon to any sandwich for just a dollar. Unlike the typical half-butter, half-bread ratio of most grilled cheese sandwiches, Roxy’s instead puts mayonnaise on the bread to get a crispy, grilled texture. 

201109-grilled-cheese-roxys-ss
Source: http://www.foodandwine.com/slideshows/best-grilled-cheese-in-the-us/3 Photo by Zac Wolf

But Roxy’s Gourmet Grilled Cheese is much, much more than grilled cheese. It’s four types of decked-out burgers grilled to order, three different types of dipping sauce, and best of all, truffle fries. I repeat: truffle fries.

IMG_5387 copy
I apologize for this really poor picture of the fries (not that any picture could ever fully capture their flavor).

In line for the world’s most addicting food, these fries are consistently crispy, perfectly seasoned with rosemary and salt, and bathed in the distinct (some even say pungent) flavor of truffle oil. Truffles, a type of mushroom, are a very expensive staple ingredient of haute cuisine, and are typically found on menus with the words “quail” and “foie gras”. Essentially, Roxy’s truffle fries are pretty much the fanciest greasy food you will ever hold in your hand. And forget about ketchup, there’s enough flavor to get you through a week’s worth of dining hall food.

Thanks to DAPA, the Roxy’s food truck was parked outside of Pforzheimer and Currier House this past Saturday from 10pm-2am, serving up fries, shandy, and all sorts of melted-cheese dreams. I guess the Quad isn’t that bad after all. 


Sources:

http://www.roxysgrilledcheese.com/menu/

http://www.foodandwine.com/slideshows/best-grilled-cheese-in-the-us/3

Cooking Sounds

by Faye Zhang


Snap. Crisp. Twist. Chop. Sizzle. Slurp. Cooking sounds 

familiar as mother’s apron, well worn 

grooves of wood pan handle, plush pad of kitchen rug—

cat clock in caddy corner (lifted of some garage sale) watches over kitchen. 

Child reaches hand towards hot

stove, mother slaps hand back, cat clock

mews the hour—twelve noon for lunch—

sandwiches laid out cut like maple leaves. 

Chipped blue china bowls ring out the souping 

hour, scraped clean by metal spoons: Slurps 

chicken egg noodle, slurps sweet carrots, slurps steam, 

broth homemade, talisman against cold of all sorts.

Cooking sounds, familiar as mother’s apron, well worn 

grooves of cutting board, grooves in tomato vine grown, 

kitchen rag worn to gray, like home—

cat clock in caddy corner watches over mouse hours.

Sounds missed: sounds echoing off to 

nowhere, replaced with conveyer belt, 

replaced with plastic trays ringing

hollow, with formations of numbered things.

Cat clock in caddy corner mews the hour—

12 noon for lunch—both back home (repeat: home

and here: where shuffled papers dip casually in marinara,

and fingers grasp for pallid pastries factory fresh.

Plastic wraps float in plastic trash

sterile steams billow by metal jaws: Slurps 

coffee, slurps papers, slurps knowledge, slurps computer clacking keys, 

slurps time until time trickles down corners of mouths. Here is cold of all sorts.

Missed cooking sounds: Crunchy heads of broccoli. 

Charred meat on outdoorsy dad grill. 

Wurst upon bursted wurst. 

Knead dough, need dough, kneed dough. 

Flour fluffs. 

Powder puffs of whipped egg peaks. 

Oven sounds. 

Stove sounds. 

Love sounds—oh—something missing from the repertoire 

here, amongst made trellises, amongst cold stone stairs, 

amongst cut iron fences, amongst dusty books, among armies of grown children 

dressed like scholars, consuming canned foodstuff by the forkful.

The register pings, edibles servers 

textured packages by well meaning folks in aprons—not mother’s—

tables just disinfected, never greased with history’s salty layers, 

last week’s ravioli, dreams of yesteryear. 

Chairs like troughs, pig remainders. Men, 

men, men with beards, buttons, dark historic jackets, watch from walls. 

Chandeliers dangle from ceilings;

if they fall to the ground and no one there to witness, would they make a sound?

Perhaps, back home (repeat: home), 

the cat clock would mew the hour, raise paw in salute, tick noon, 

tick back hours to a past time

when a small child reached towards stove, confident in mother’s hand

—call back memory of making something wholly made. 

From scratch takes on new meaning. Perhaps one thing only remains,

one thing only possible: to place hand on pan, place pan on stove, 

listen deep to crackle of grease—breath—and remember love in cooking sounds.

Gluten-Free Halloween Treats

by Danielle Leavitt ’17

Yes, it’s that time of the year again. Fall leaves, apple cider, donuts…and Halloween! To those who eat gluten-free, Halloween may, at first glance, seem like a trick. With so many delectable candy options, how can one know which are gluten-free? You would be very surprised to find out that something that does not look like it has gluten in it— like Twizzlers, for example—actually contains gluten. To make things easier, I have found two lists with the latest updates on Halloween candy on reputable websites. However, remember to use these lists only as a guide as ingredients and formulas can change at any time, and as always, make sure to read labels.

Complete 2014 list of Gluten-Free Halloween Candy:

http://celiac.org/wp-content/uploads/2013/10/2014-Halloween-Treat-List.compressed.pdf (Celiac.org)

Quick list of Gluten-Free Halloween Candy, including CVS brand items:

http://surefoodsliving.com/2014/10/gluten-free-halloween-candy-quick-list-2014/ (Surefoodsliving.com)

For the “stay at home trick-or-treater,” or for a festive Halloween party, here is a simple recipe for caramel apples that is easy to make, requires very little time, tastes amazing, and is, of course, gluten-free!

ingredients

Ingredients

  • 3 medium apples, washed, well dried
  • 1 bag (14 oz.) Kraft Caramels* (Kraft Caramels are gluten-free)
  • 2 tablespoons water
  • Popsicle sticks

Directions

Insert one wooden Popsicle stick into stem end of each apple. Cover a large plate with waxed paper; spray with cooking spray.

apples

Set aside. Place caramels in medium saucepan. Add water; cook on medium-low heat 3 minutes, or until caramels are completely melted; stirring constantly.

caramel

Dip apples into melted caramel until evenly coated, spooning caramel over apples if necessary. Allow excess caramel to drop off. Scrape bottoms of apples; place on prepared plate. Refrigerate at least 1 hour. Remove from refrigerator 15 minutes before serving. Store any leftover apples in refrigerator.

You can roll freshly dipped caramel apples in toppings like chopped peanuts if you’d like. Or melt 2 squares Baker’s Semi-Sweet Baking Chocolate and drizzle the chocolate over freshly dipped apples before setting them aside to cool.

Halloween can truly be a frightening holiday, but with gluten-free candy guidelines and great make at home gluten-free Halloween recipes, you will still have a ghoulish time!!

Dorm-Friendly Popcorn Hacks

by Caroline Gentile ’17

Growing up, my dad was obsessed with popcorn. Every time my family got together to watch a movie, he made an obscene amount of it, but only made it plain. As a result, I love popcorn, but I always thought that plain popcorn was well, plain. Even buttered popcorn can get pretty boring, too.

On my most recent visit home, my younger sister had her friends over for a slumber party, and they all wanted popcorn. This was the perfect opportunity to test some more flavorful popcorn recipes!

The girls and I decided we wanted to do two sweet recipes and one salty. After looking at what we had in our pantry, we were inspired to make cinnamon toast crunch, nacho, and Oreo-flavored popcorn. Even though we ultimately made all of these popcorn recipes in my home kitchen, a kitchen isn’t necessary at all. As long as you have a microwave, these popcorn recipes are completely dorm-friendly!

Cinnamon Toast Crunch

1 bag of popped, plain popcorn

1/4 cup unsalted butter, melted

2 T granulated sugar

1 tsp cinnamon

Pour butter over the popped popcorn, either in a bag or a bowl. Toss.  Add sugar and cinnamon, and toss again.

IMG_7708
Cinnamon Toast Crunch Popcorn

Nacho

1 bag of plain, popped popcorn

1/4 cup unsalted butter, melted

2 cups shredded cheddar cheese

1/2 tsp chili powder

1 cup Fritos

Pour butter over popcorn, in a microwave safe bowl.  Toss.  Add chili powder and Fritos, and toss again.  Sprinkle the cheese over the popcorn.  Put bowl of cheesy popcorn back into the microwave for a minute, or until the cheese is melted to your liking.

Nacho Popcorn
Nacho Popcorn

Oreo

1 bag of popped, plain popcorn

4 oz. sweetened condensed milk

14 Oreos, crushed (you can use any kind of Oreo you’d like!)

Pour sweetened condensed milk over the popcorn, either in a bag or a bowl. Toss. Sprinkle the crushed Oreos over the popcorn and toss again to make sure the popcorn is evenly coated in Oreo deliciousness.

Oreo Popcorn
Oreo Popcorn

Enjoy!